Because I seem to be a glutton for punishment, I decided to build an API for my startup Fasten Health using Go + Serverless Framework + Newrelic. As expected this was difficult for a number of reasons:
- Go is not a first class citizen in the Serverless Framework ecosystem. While it is supported, it is not as well documented as NodeJS.
- Newrelic’s AWS Lambda integration has gone through multiple iterations, and their documentation is not clear what is the “best” way to integrate.
- Newrelic’s CloudWatch integration has been deprecated and replaced with a Lambda Layer.
- The Lambda layer integration requires code changes in Go, unlike the NodeJS, Python and other integrations
- The Lambda layer integration only works with the new Amazon Linux 2023
providedruntime instead of the older but more commonly usedgo1.xruntime.
- The Amazon Linux 2023
providedruntime has a requirement that the entrypoint binary is namedbootstrap. This is difficult to do natively with the Serverless Framework, and requires a custom plugin]() - There is no “agentless” integration for Newrelic. You must install the Newrelic agent in your Lambda function, and then configure your app/code to send data to Newrelic.
Since there doesn’t seem to be much public documentation for how to get everything working correctly, I’ve documented my process below.
1. Linking AWS & Newrelic
The Newrelic documentation for linking your AWS account is pretty thorough, however the “Linking accounts manually” alternative method was completely broken for me.
While I was unhappy installing another tool on my dev machine, the newrelic-lambda cli tool worked perfectly.
newrelic-lambda integrations install --nr-account-id YOUR_NR_ACCOUNT_ID \
    --nr-api-key YOUR_NEW_RELIC_USER_KEY
Here’s how you get the Account ID and User Key for use with the CLI:
- YOUR_NR_ACCOUNT_ID
- From one.newrelic.com, click the user menu, and then go to: Administration > Access management > Accounts to see account IDs.
- YOUR_NEW_RELIC_USER_KEY
- Create and manage your API keys from the API keys UI page so you can start observing your data right away
- NOTE: You must select a
USERkey, not anINGEST - *key, otherwise you’ll get an error when attemping to link your account.
Immediately after this step, you should be able to see your AWS account listed in the Newrelic UI. The newrelic-lambda cli tool will also
create a NEW_RELIC_LICENSE_KEY secret in your AWS Secrets Manager, which is used by the Newrelic Lambda Layer.
NOTE: if all you care about is invocation and error metrics, you can stop here. The AWS Integration will allow you to see invocation and error metrics in Newrelic, but you won’t be able to see any custom metrics, logs or traces. The following steps are required if you would like to see this additional telemetry in Newrelic.
2. Serverless Framework - Golang Plugin
The first change we need to make to our Serverless Framework configuration is to add the Serverless Framework Golang Plugin.
This plugin allows us to build our Go binaries, and and is compatible with the Amazon Linux 2023 provided runtime which is required for the Newrelic Lambda Layer.
plugins:
  - serverless-go-plugin
...

custom:
  go:
    baseDir: .
    binDir: bin
    cgo: 0
    # compile command, make sure GOOS and GOARCH are set correctly
    cmd: GOARCH=amd64 GOOS=linux go build -ldflags="-s -w"
    # the plugin compiles a function only if runtime is declared here (either on function or provider level)
    supportedRuntimes: ["provided.al2"]
    # builds and archive function with only single "bootstrap" binary, required for `provided.al2` and `provided` runtime
    buildProvidedRuntimeAsBootstrap: true
3. Serverless Framework - Newrelic Lambda Layer Plugin
Next, we need to add the Serverless Framework Newrelic Lambda Layer Plugin
This plugin allows us to add the Newrelic Lambda Layer to our function, which contains a Newrelic agent that our Newrelic go-agent sdk will use send data to Newrelic.
We need to install the Serverless plugin, specify the provider runtime and then specify the configuration.
accountId- this is theYOUR_NR_ACCOUNT_IDvalue from Step 1apiKey- this is theYOUR_NEW_RELIC_USER_KEYvalue from Step 1
plugins:
  - serverless-newrelic-lambda-layers
...

provider:
  name: aws
  runtime: provided.al2

custom:
  newRelic:
    accountId: YOUR_NR_ACCOUNT_ID
    apiKey: YOUR_NEW_RELIC_USER_KEY
    debug: true
4. Serverless Framework - IAM Role & IAM Roles Per Function
While the steps above are documented in various locations on the internet, it wasn’t clear to me that the Newrelic Lambda Layer seems to require a AWS Secret Manager integration
to retrieve the Newrelic License Key. Initially, I tried manually specifying the key using newrelic.ConfigLicense(os.Getenv("NEW_RELIC_LICENSE_KEY")) to configure the Newrelic go-agent sdk, but that didn’t work.
The solution was to specify the an IAM Role for the Serverless function, giving it permissions to AWS Secret Manager to pull the NEW_RELIC_LICENSE_KEY secret.
plugins:
  - serverless-iam-roles-per-function

...

functions:
  healthcheck:
    handler: cmd/health/health.go
    iamRoleStatements:
      - Effect: "Allow"
        Action:
          - "secretsmanager:GetSecretValue"
        # This is the secret that was created by the newrelic-lambda cli tool.
        # To find it, open the AWS Console, and go to: Secrets Manager > Secrets > Find "NEW_RELIC_LICENSE_KEY", then copy the ARN
        Resource: "arn:aws:secretsmanager:us-east-1:1234567890:secret:NEW_RELIC_LICENSE_KEY-XXXXX"
    events:
      - httpApi:
          path: /health
          method: get
5. Application Code - Metrics
Finally, we need to modify our Serverless function code to use the go-agent sdk.
Notice how the newrelic.NewApplication() call has minimal configuration options specified (compared to the Raw AWS SDK Example)
package main
import (
	"context"
	"fmt"

	"github.com/newrelic/go-agent/v3/integrations/nrlambda"
	newrelic "github.com/newrelic/go-agent/v3/newrelic"
)

func handler(ctx context.Context) {
	// The nrlambda handler instrumentation will add the transaction to the
	// context.  Access it using newrelic.FromContext to add additional
	// instrumentation.
	txn := newrelic.FromContext(ctx)
	txn.AddAttribute("userLevel", "gold")
	txn.Application().RecordCustomEvent("MyEvent", map[string]interface{}{
		"zip": "zap",
	})

	fmt.Println("hello world")
}

func main() {
	// Pass nrlambda.ConfigOption() into newrelic.NewApplication to set
	// Lambda specific configuration settings including
	// Config.ServerlessMode.Enabled.
	app, err := newrelic.NewApplication(nrlambda.ConfigOption())
	if nil != err {
		fmt.Println("error creating app (invalid config):", err)
	}
	// nrlambda.Start should be used in place of lambda.Start.
	// nrlambda.StartHandler should be used in place of lambda.StartHandler.
	nrlambda.Start(handler, app)
}
6. Application Code - Logs
If you had deployed the Serverless function defined in Step 5 as-is, you would see your metrics, however you would not see any logs in Newrelic. This is because you’re missing the last bit of configuration to enable the Newrelic Lambda Extension to send logs to Newrelic.
package main
import (
  "context"
  "fmt"

  "github.com/newrelic/go-agent/v3/integrations/nrlambda"
  newrelic "github.com/newrelic/go-agent/v3/newrelic"
)
func main() {
	...


	app, err := newrelic.NewApplication(
        nrlambda.ConfigOption(),

		// This is the configuration that enables the Newrelic Lambda Extension to send logs to Newrelic
        newrelic.ConfigAppLogForwardingEnabled(true),
		func(config *newrelic.Config) {
			logrus.SetLevel(logrus.DebugLevel)
			config.Logger = nrlogrus.StandardLogger()
		},
	)
}
Fin
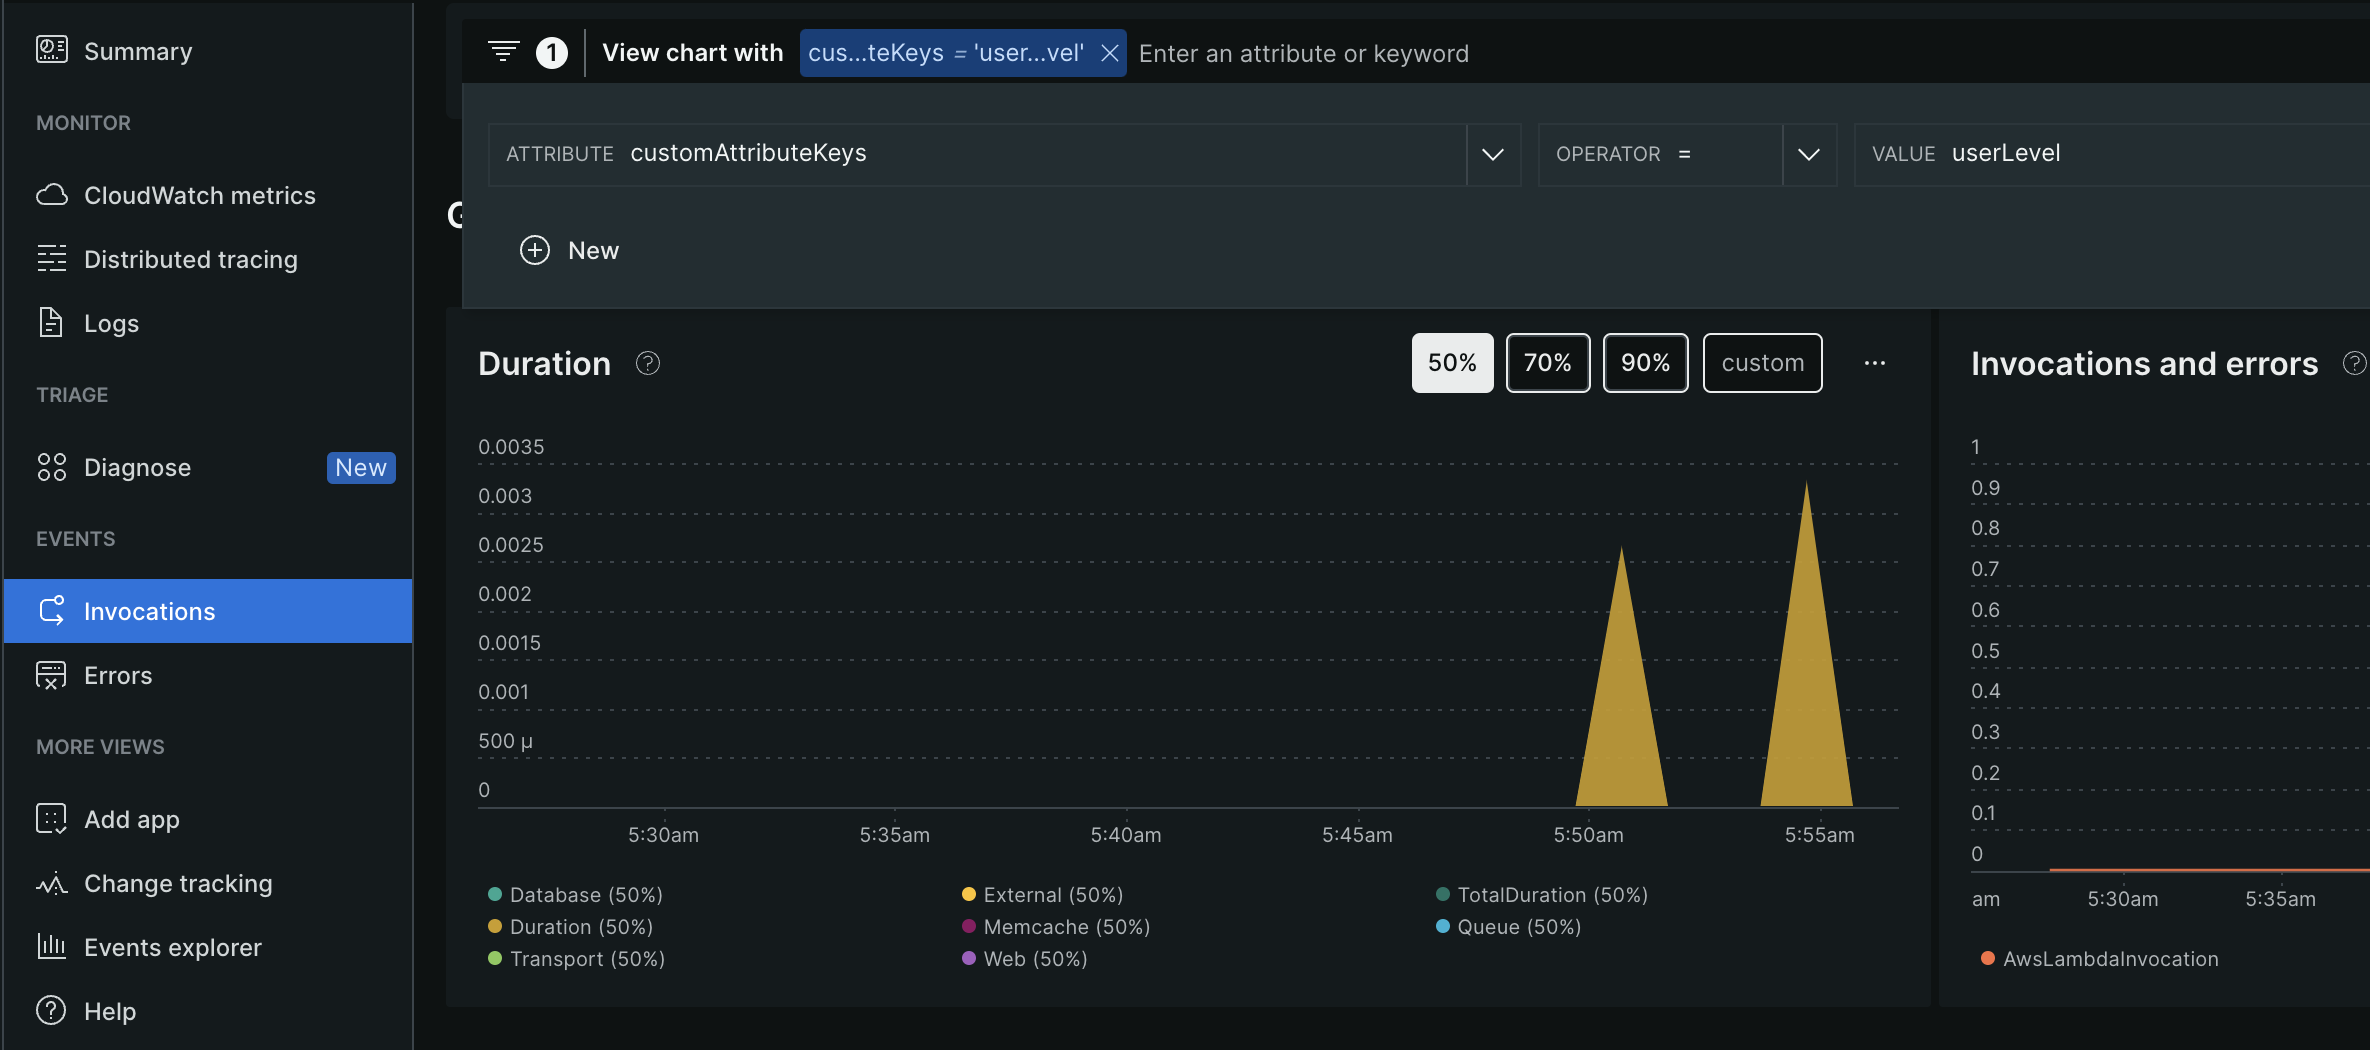
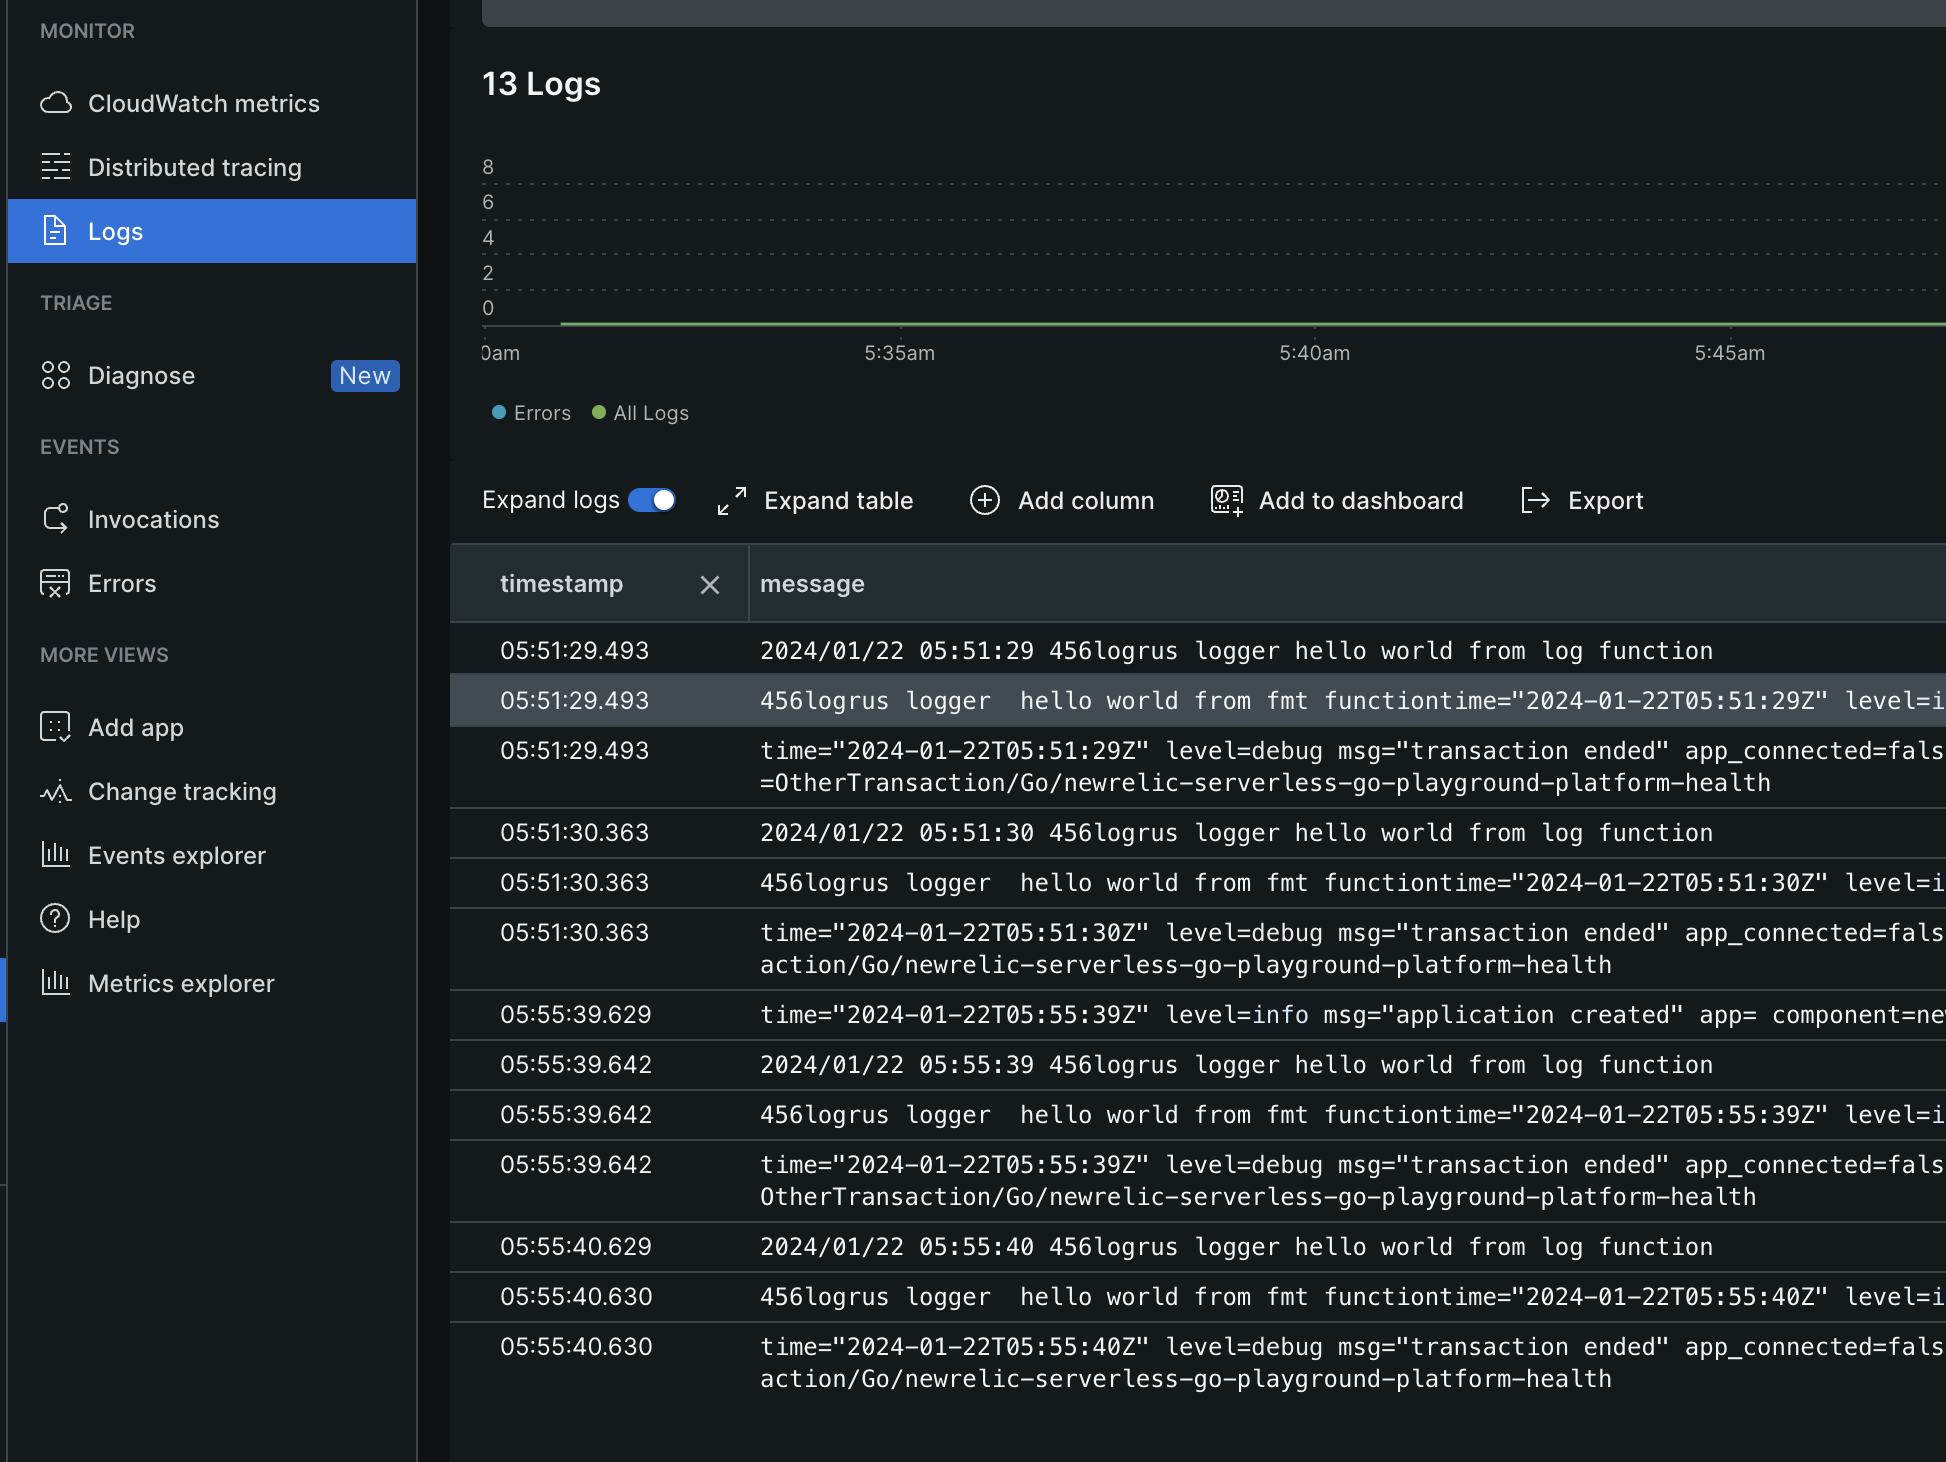
That’s it! Trigger a deployment, visit your Serverless function & you should now be able to see your Serverless function metrics and logs in Newrelic.
If you encounter any issues, refer to my GitHub repository for a working example. Happy coding!
References
- Newrelic Lambda Extension Example
- Newrelic Go-Agent SDK Lamdba Example
- Newrelic Go-Agent SDK Full Options
- Newrelic Lambda Layer Supported Runtimes
- Newrelic Troubleshooting Guide for Lambdas
- Newrelic Troubleshooting Guide for Lambdas - Forum Post - Part 1
- Newrelic Legacy manual instrumentation for Lambda monitoring
- Newrelic Lambda Layer Plugin for Serverless Framework
- Serverless Framework Go Plugin