I’ve referenced my home server many times, but I never had the time to go into the details of how it was built or how it works. Recently I decided to completely rebuild it, replacing the hardware and basing it on-top of a completely new operating system. I thought it would be a good idea to keep a build log, tracking what I did, my design decisions, and constraints you should consider if you want to follow in my footsteps.
This series will be broken up into multiple parts
- Part 1 - Hardware
- Part 2 - Build Log
- Part 3 - MediaDepot/CoreOS Configuration
- Part 4 - Application Docker Containers
This is Part 2, where I’ll be showing photos from the actual build, and pointing out issues (and solutions) working with such a small case.
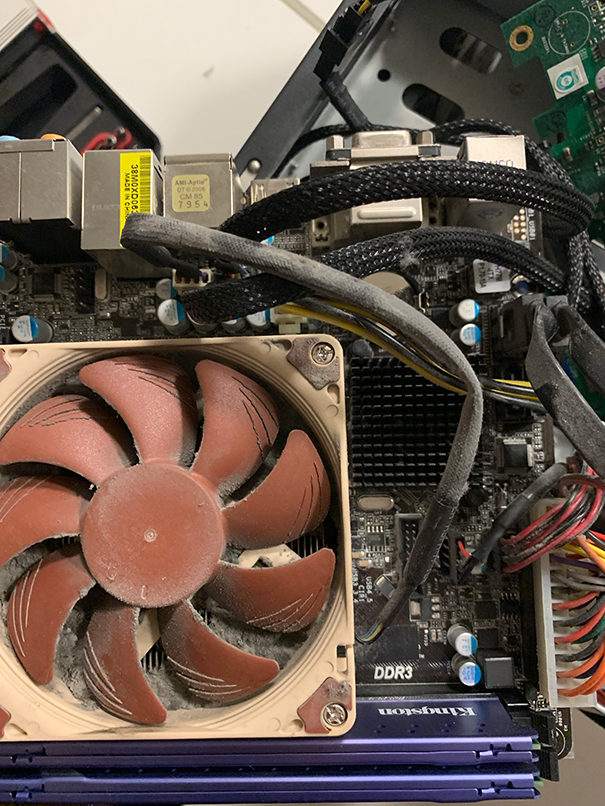
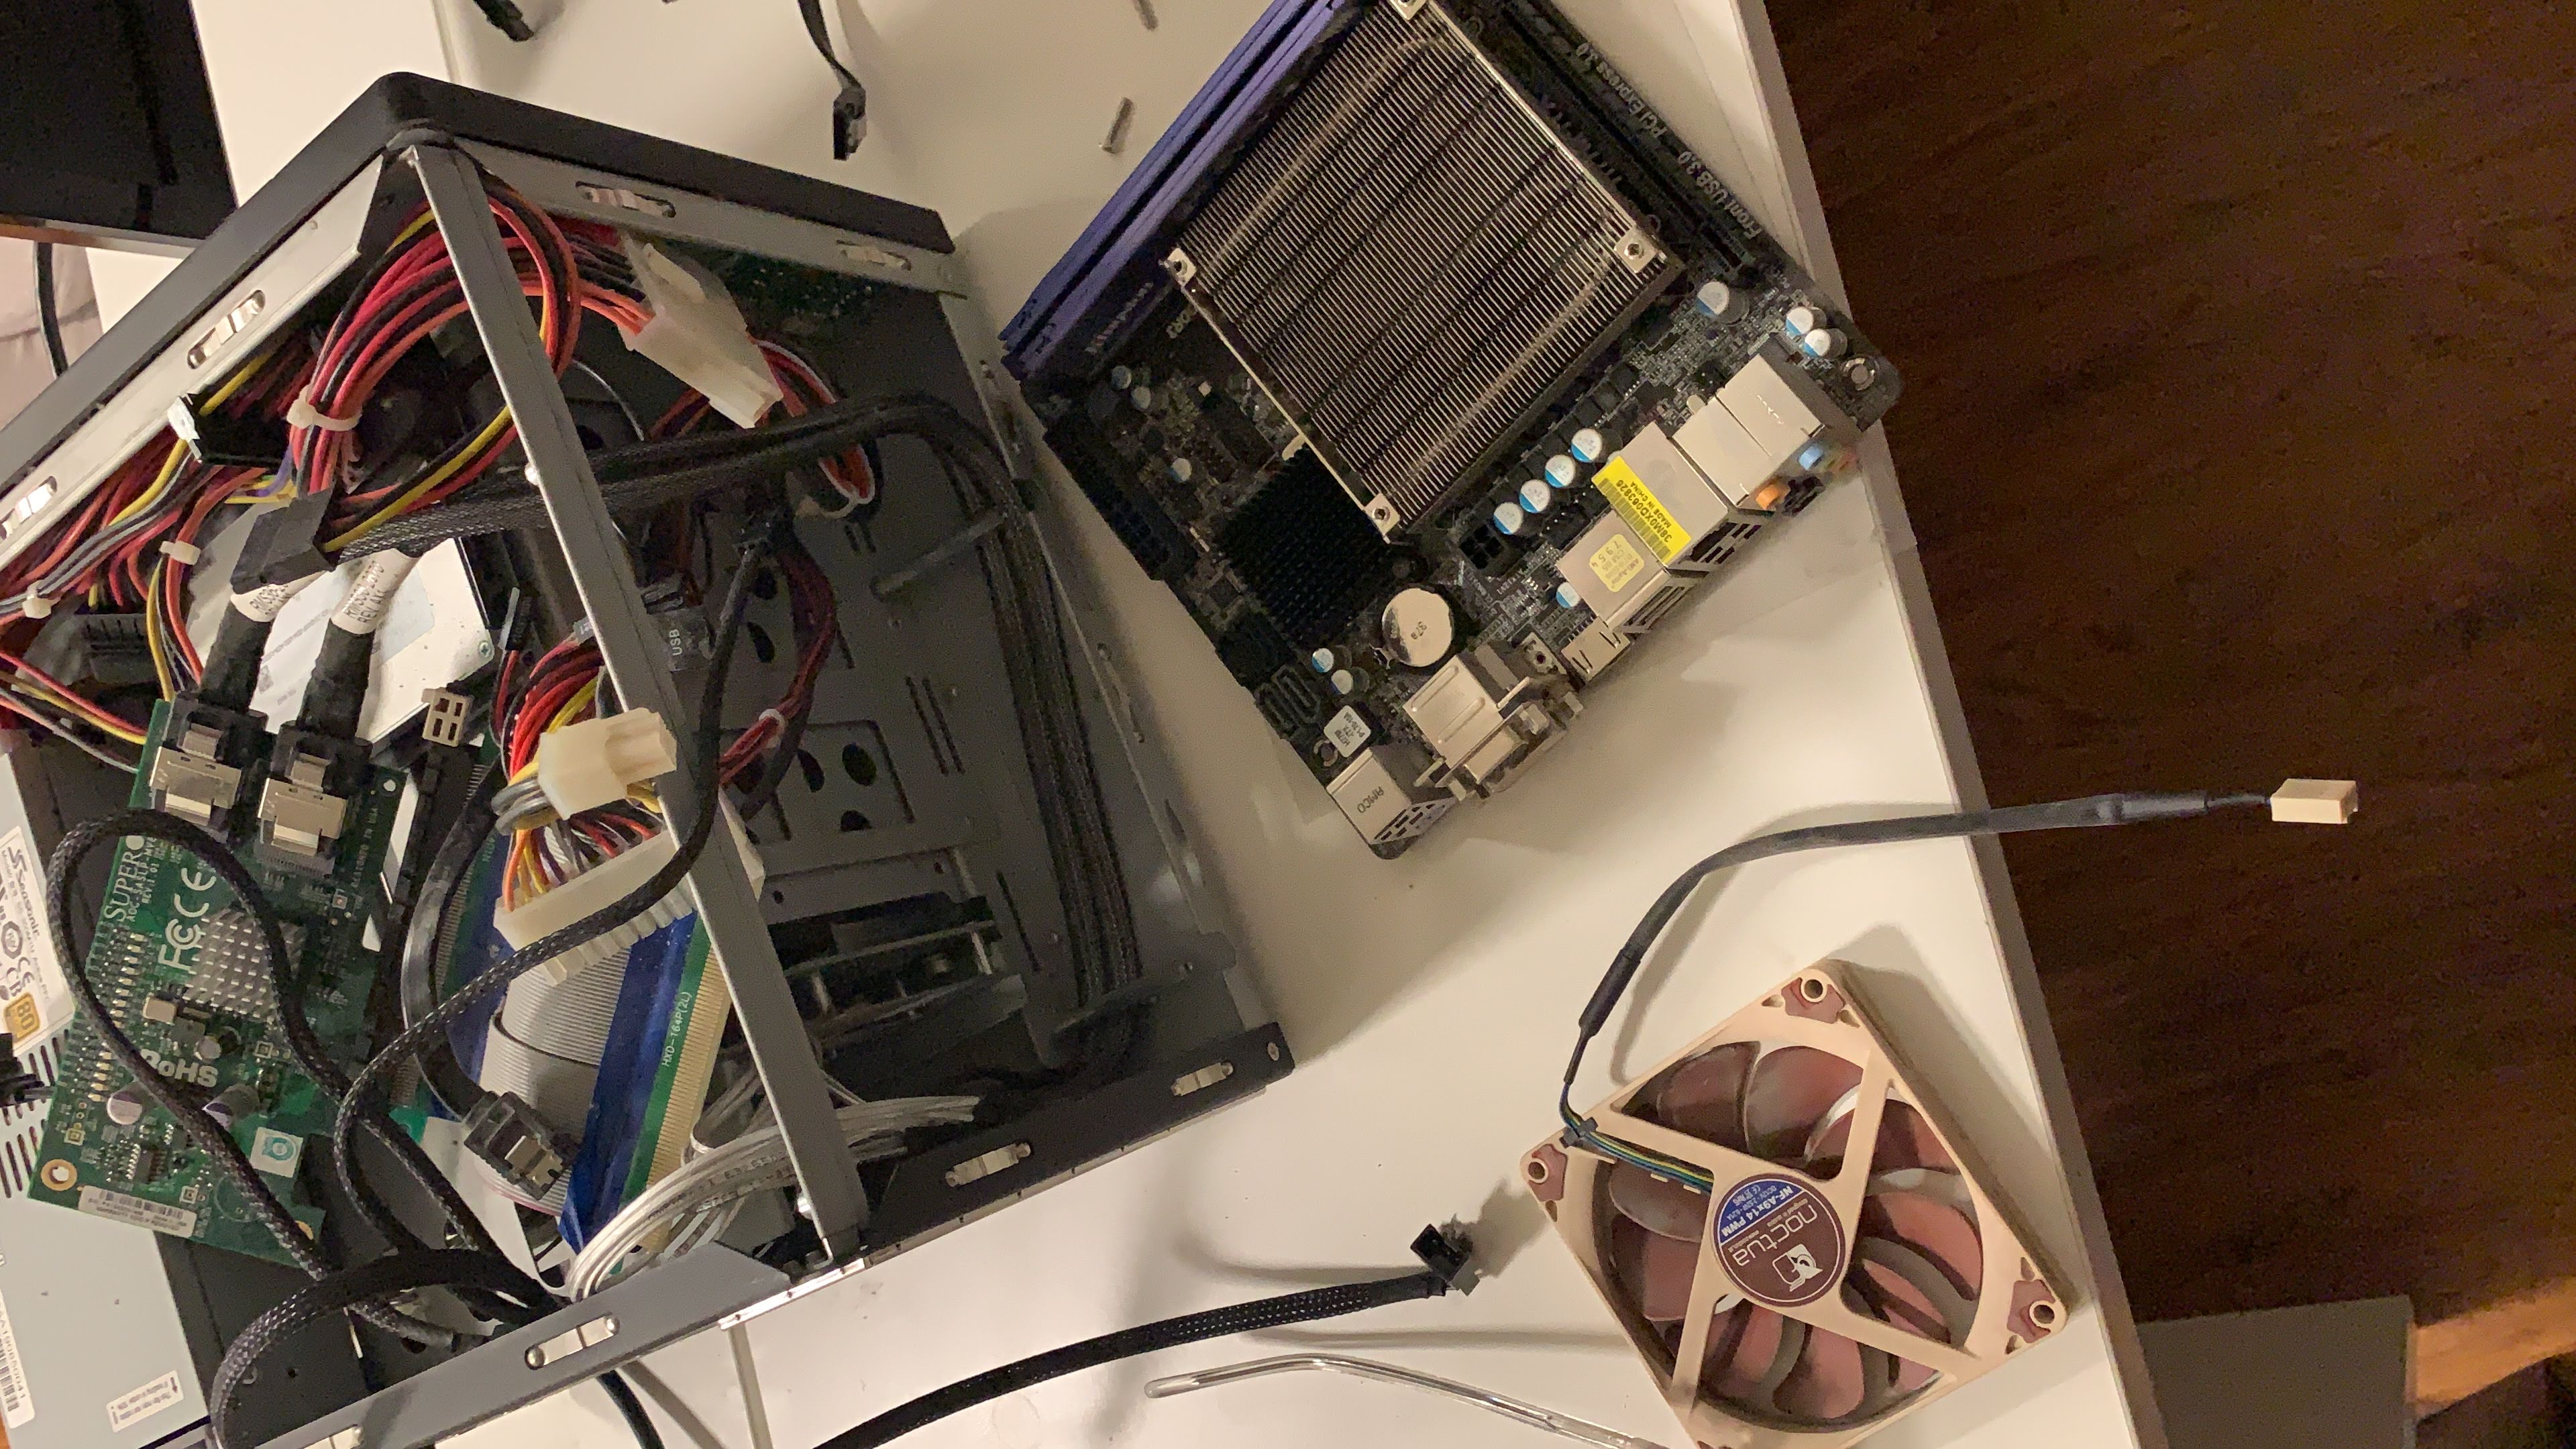
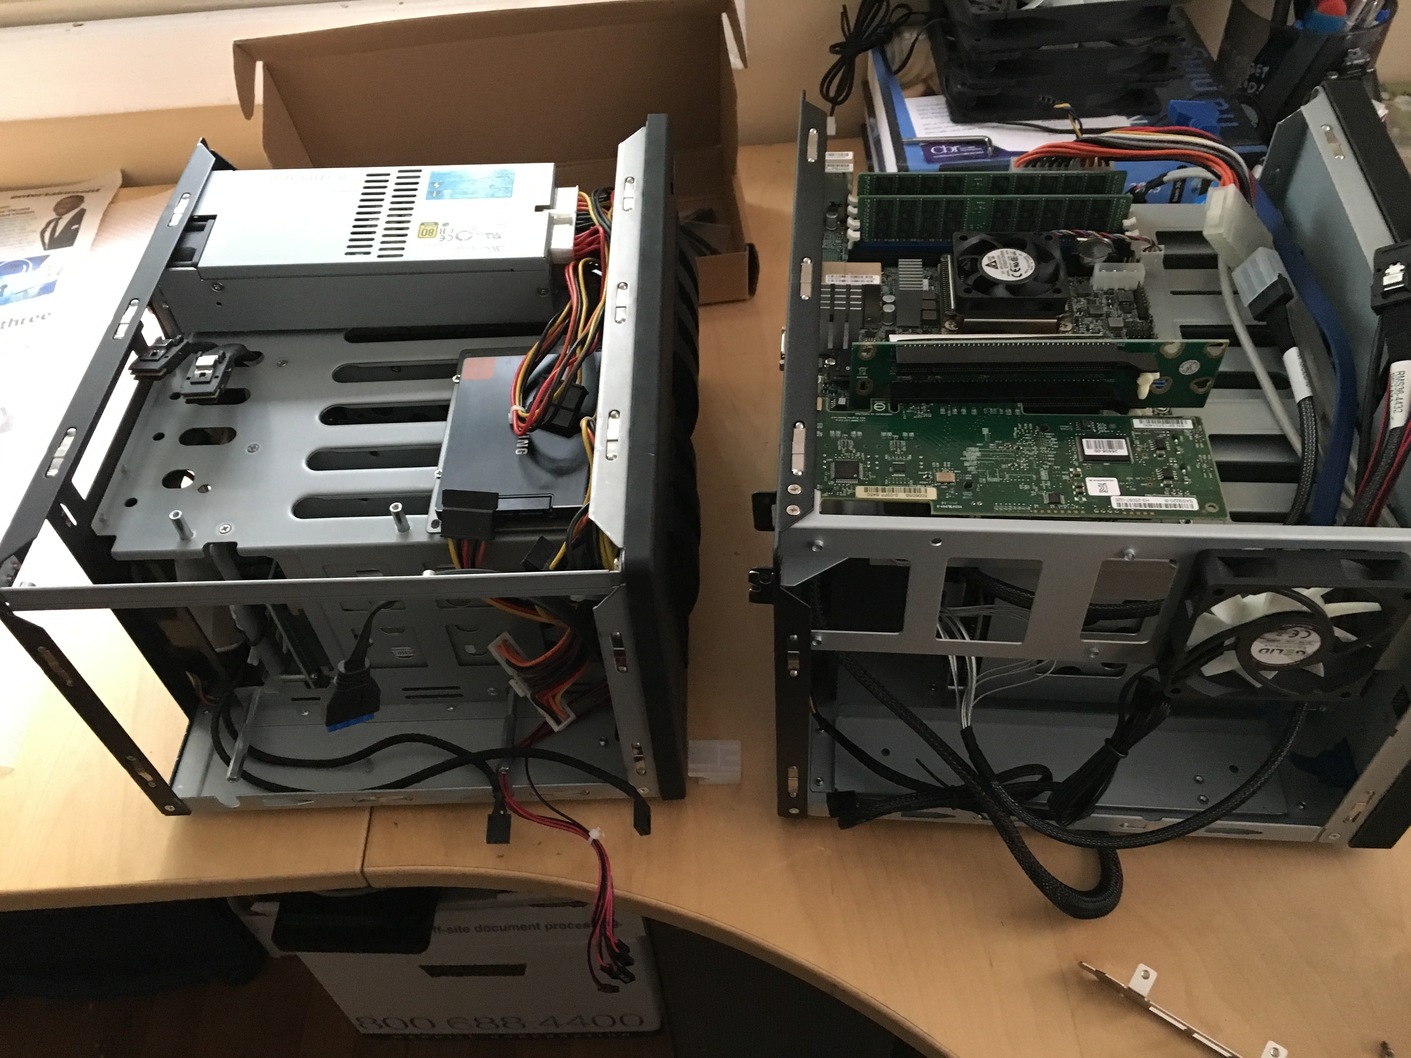
Before starting my new build, I needed to pull some hardware from my old server. I also wanted to clean and box up the remaining parts as I was hoping to re-sell them to make up some of the cost of my new server.
After that I started by unboxing the U-NAS NSC-810A box
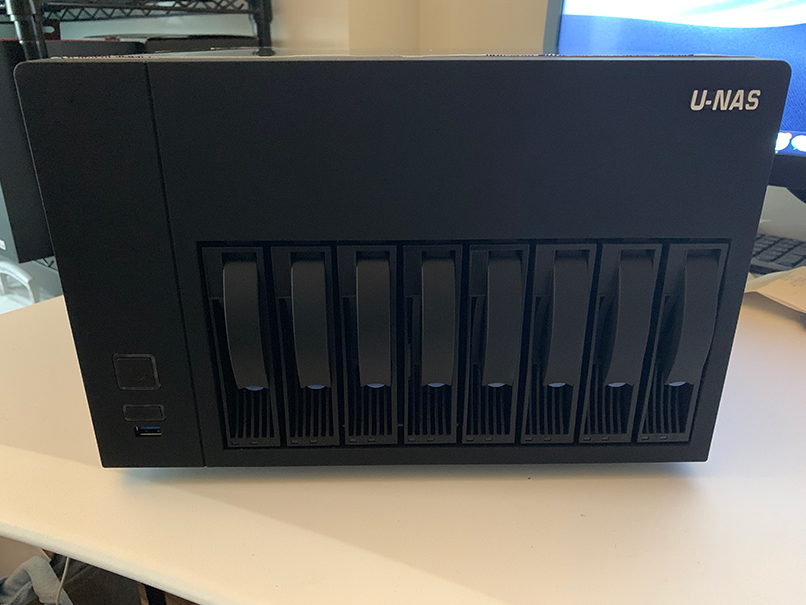
The footprint of the new server vs the old was very similar, with the NSC-810A being almost unnoticeably larger, while supporting micro-ATX motherboards.
 credit to nev_neo from serve the home
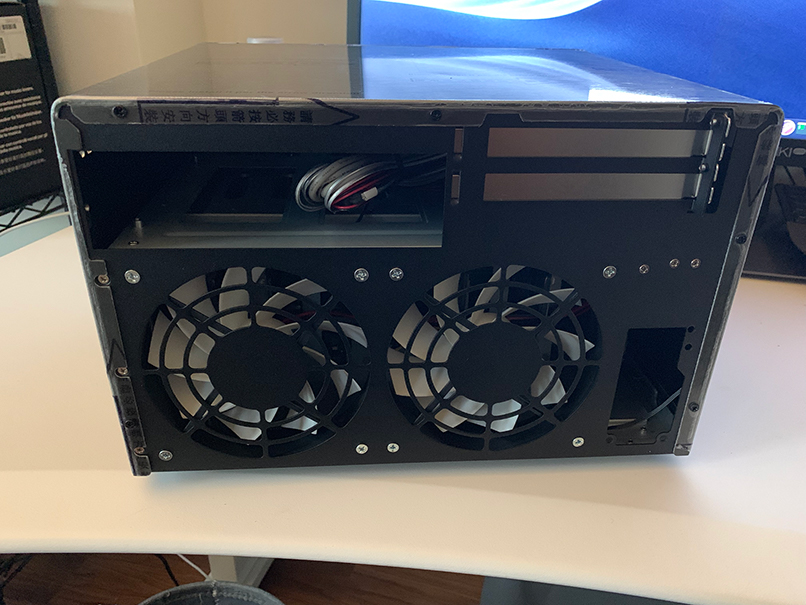
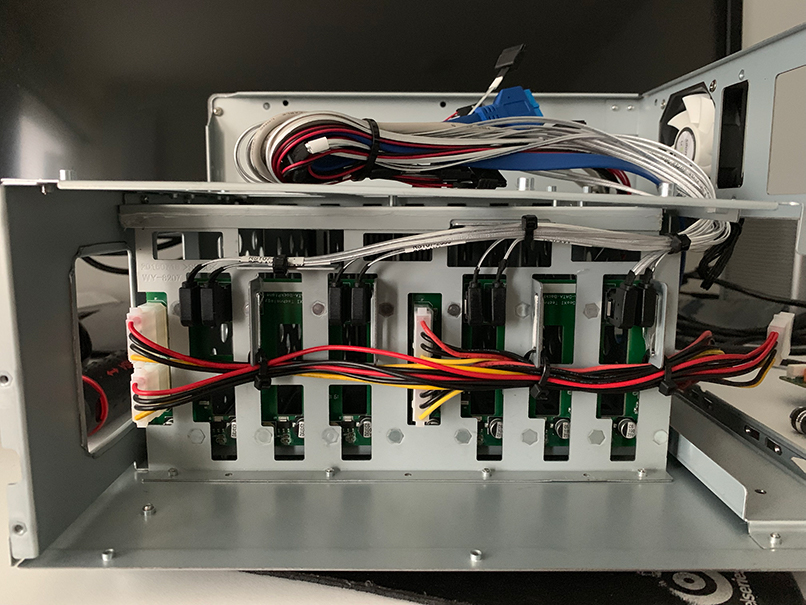
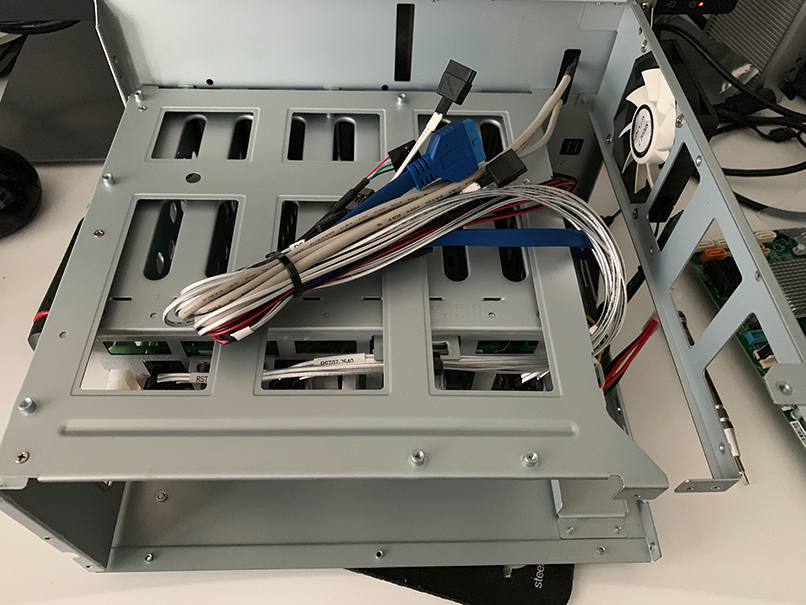
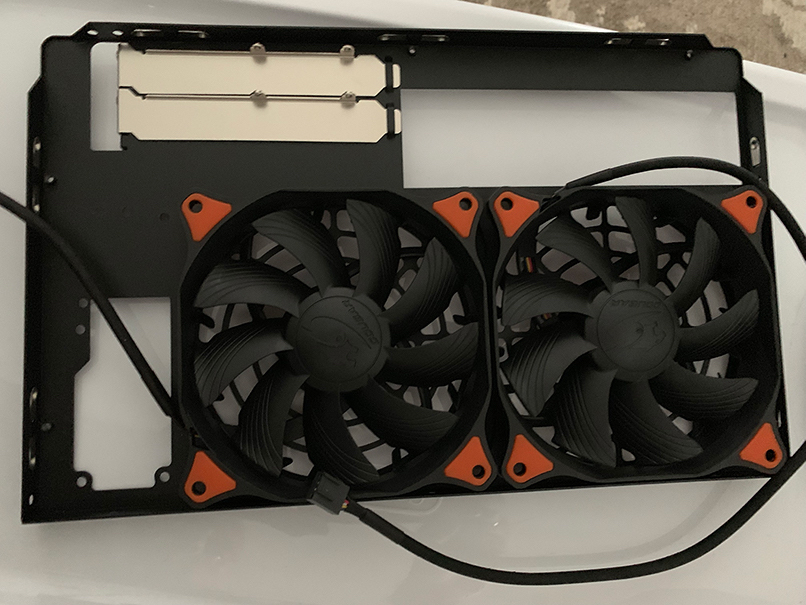
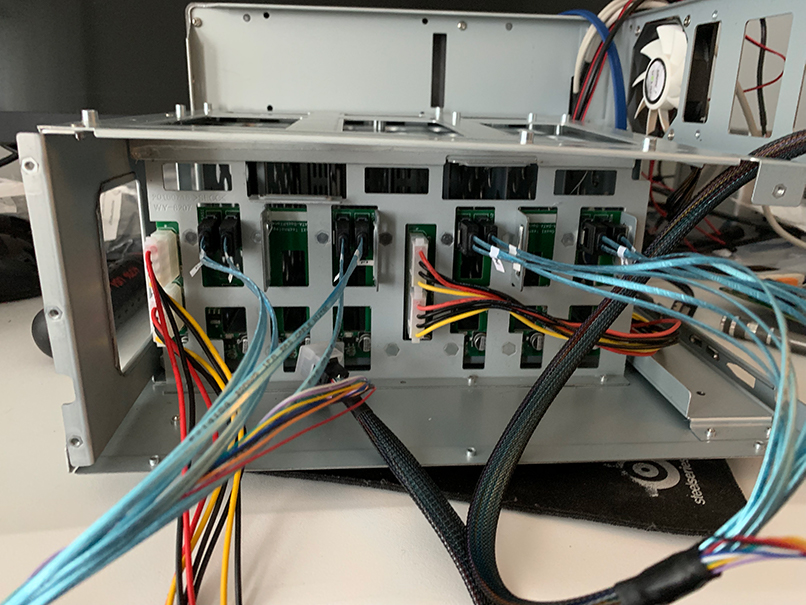
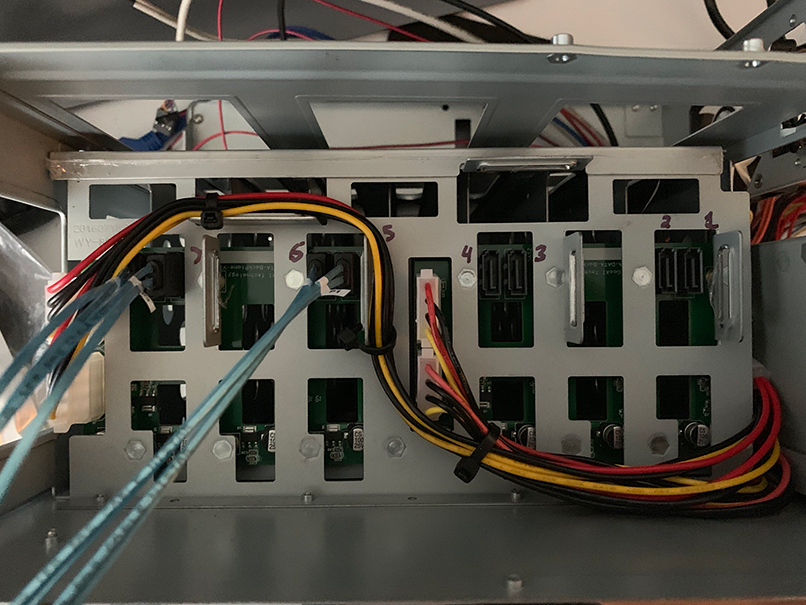
Now that I had the NSC-810A out, it was time to tear it down. I wanted to replace the stock 120mm case fans with some quieter cooling fans, and replace the provided thin SATA cables with my SAS-SATA breakout cables.
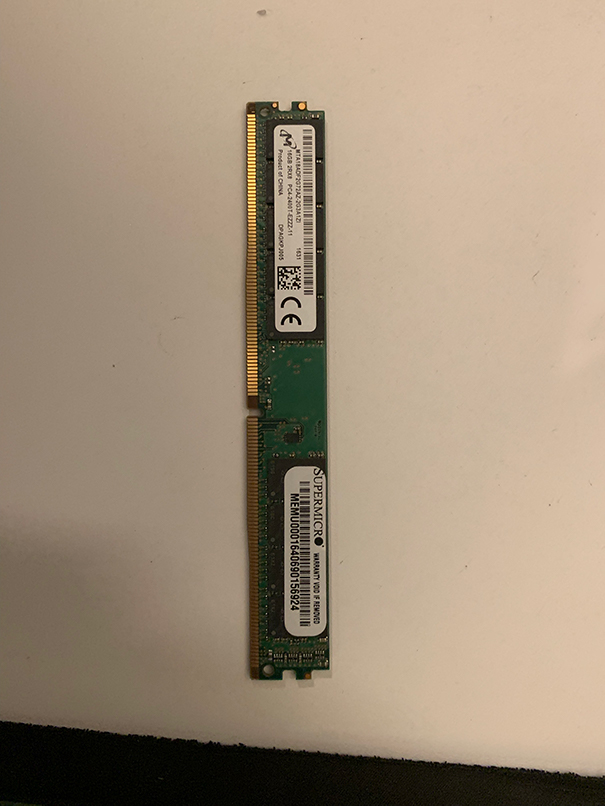
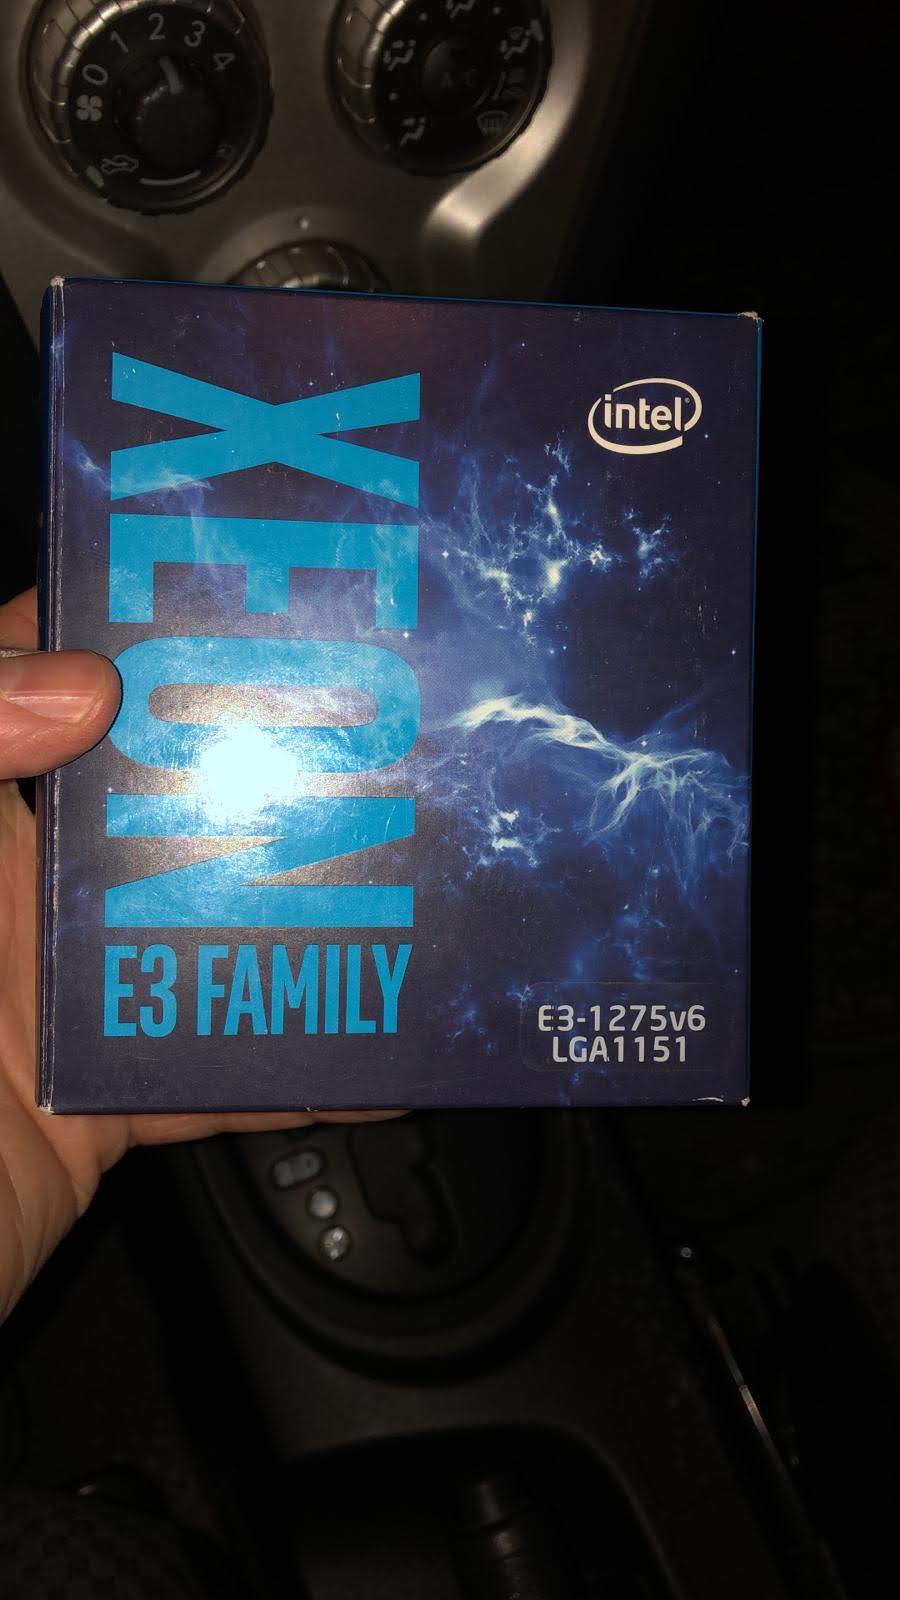
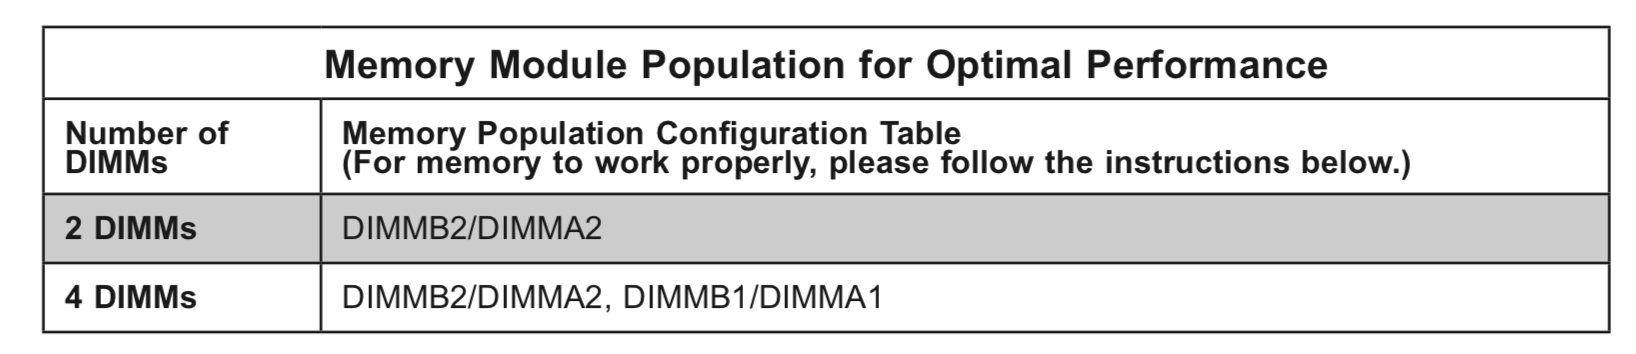
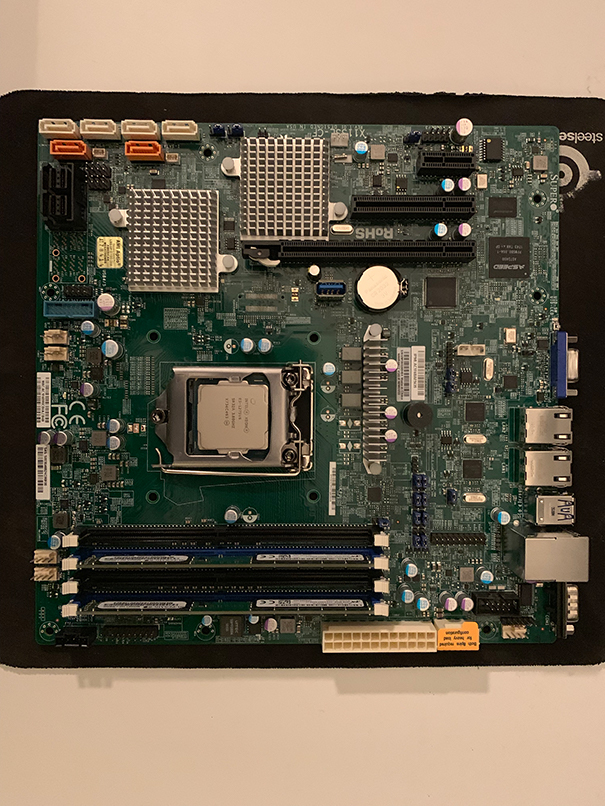
After the case teardown, I got to work unboxing my Supermicro X11SSL-CF motherboard, Xeon E3-1275 and 64GB of DDR4 ECC RAM.
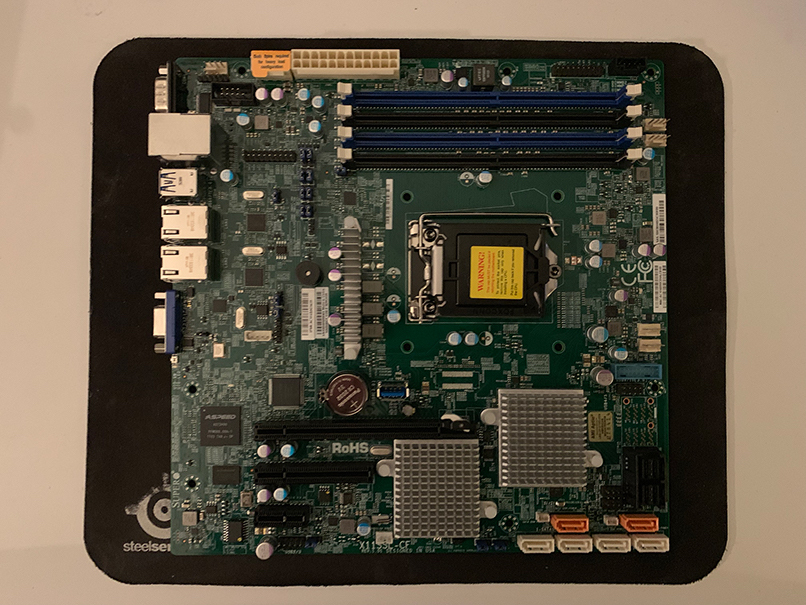
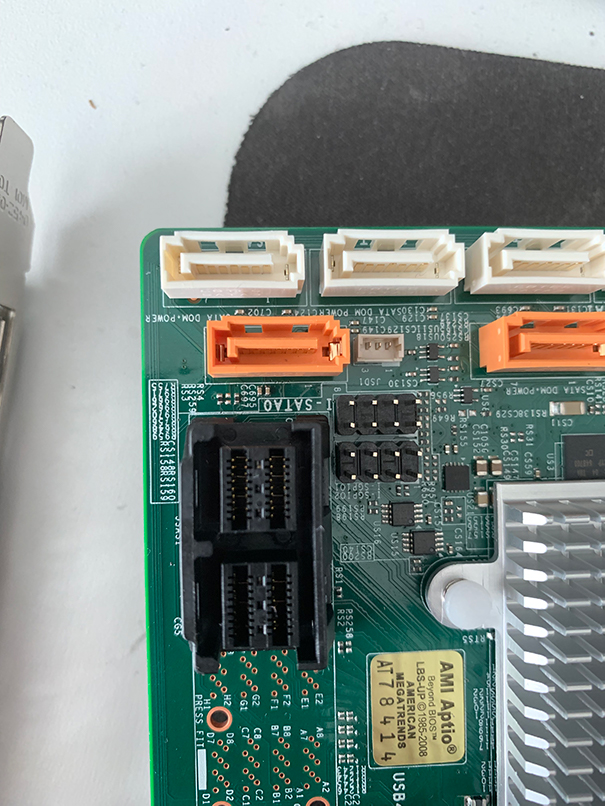
This is actually where I noticed that the SAS port was not what I was expecting. The Supermicro X11SSL-CF has a mini-SAS HD port (SFF-8644) rather than a mini-SAS port (SFF-8088), something not mentioned on the Supermicro spec website.
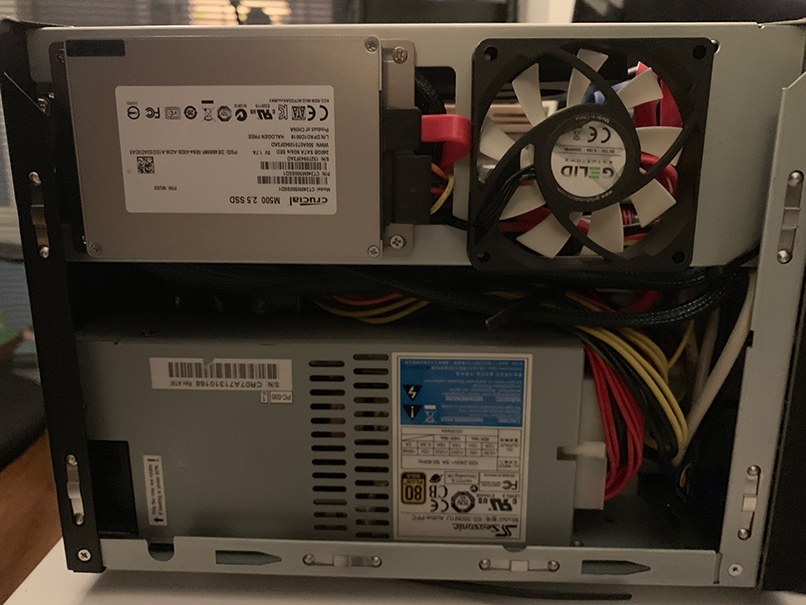
Pre-case-install, I wanted to test out the hardware, so I wired up the power supply to the motheboard, and attached a linux live-USB.
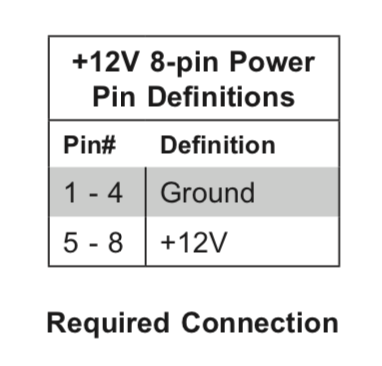
During this process, I noticed the next oddity with my hardware, the 8-pin power supply.
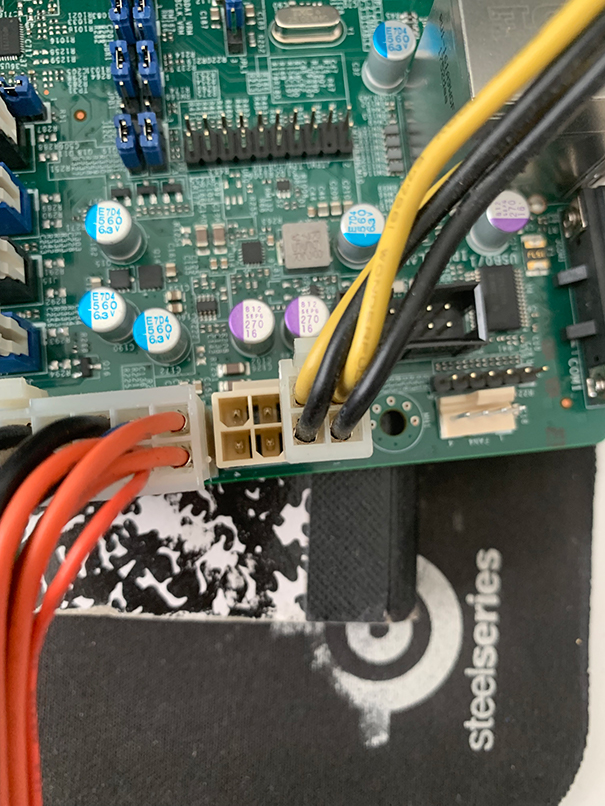
Unfortunately my Seasonic SS-350M1U does not have an 8pin motherboard power supply cable, only a 4pin. After taking a look at the Supermicro documentation however, it seems that I may be in the clear. In the X11SSL-CF manual, the secondary power supply pin-diagram states that 4 of the 8 pins are set to ground, and are unnecessary, saving me from purchasing a molex-4pin power supply adapter.
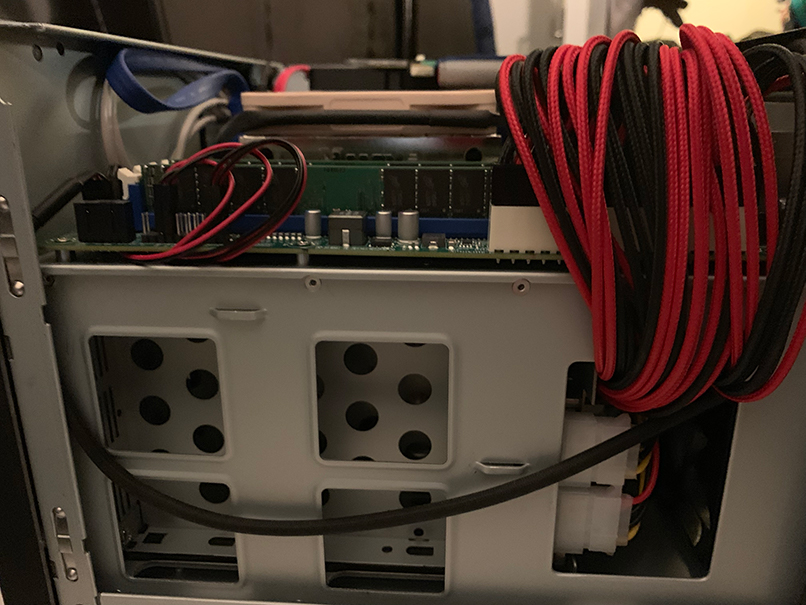
After verifying that the CPU/Motherboard/RAM combo was working, it was time to wire up the case.

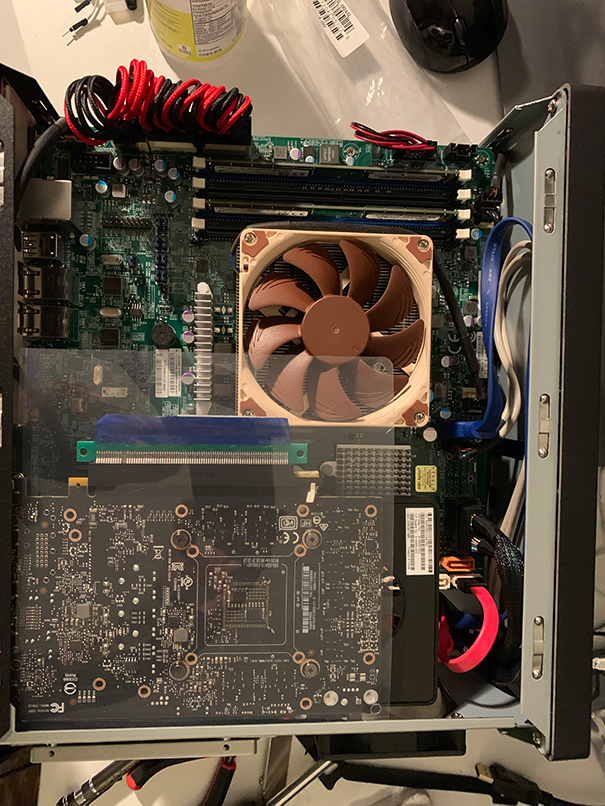
As you can see above, my Nvidia Quadro P2000 was uncomfortably close to the top of the case, and I was concerned that it may short against the top of the case. The NSC-810A comes with a handy plastic shield, which I ended up cutting and placing on the video card as added protection.
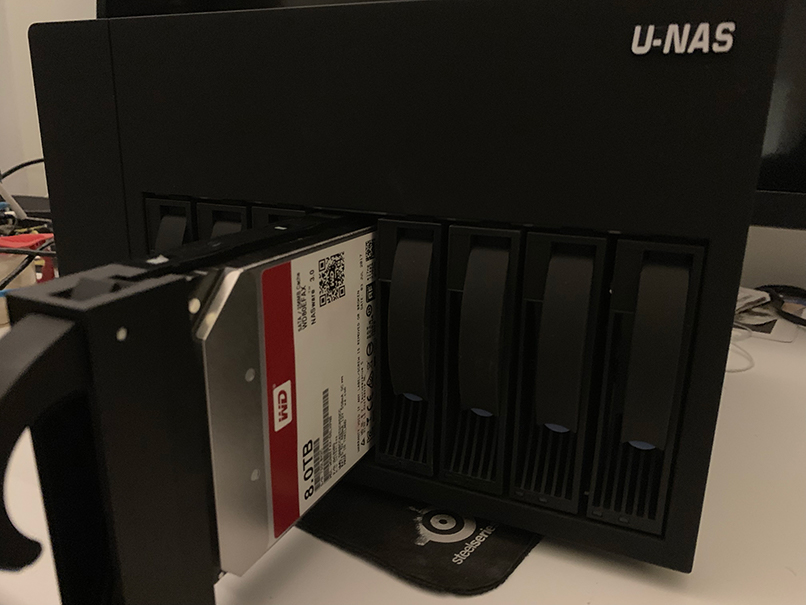
Finally, I started loading in my hard drives
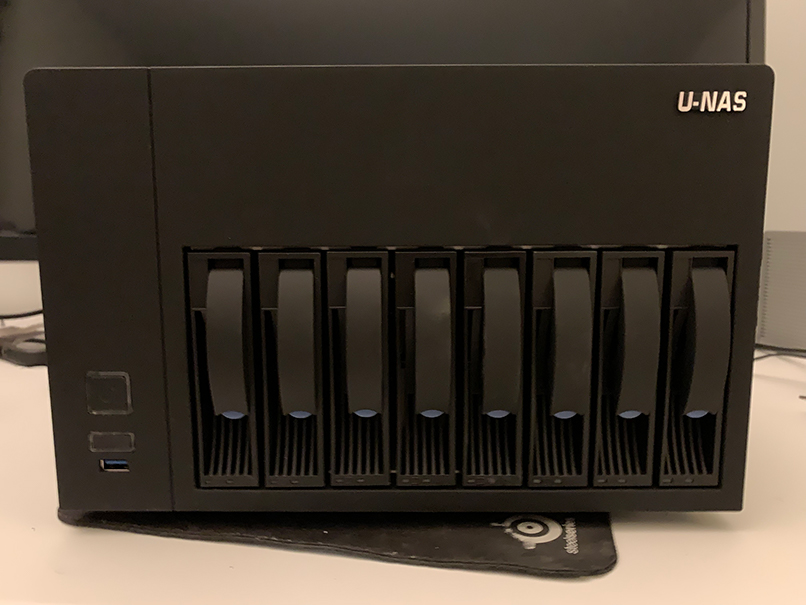
Here’s the final product.
IPMI Configuration
After closing up the case and placing the server in its final location, I began noticing the case fans (and CPU fans) were pulsating. I did some quick reading and determined that this was due to the fan speed thresholds set on my Supermicro motherboard. Basically the Noctua (and Cougar) fans are very quiet, and run at low RPM. This low RPM is below the standard threshold speed set in the motherboard config. The motherboard then thinks that the fan has failed, and to compensate it will rev up the remaining fans, at which point the Noctua or Cougar fan will speed up as well, and the motherboard will sense it and notify the fans to begin normal operations. Rinse & repeat.
Here’s how I fixed this issue.
First I needed to get the IPMI tools installed on my OS. Since I’m running CoreOS, that’s a bit more work than normal
Setup ipmitool on CoreOS
`$ sudo modprobe ipmi_si ipmi_devintf # make sure that ipmi kernel modules are loaded.
$ toolbox --bind=/dev/ipmi0 # start the CoreOS toolbox container
$ dnf install ipmitool # install  ipmitool
$ ipmitool -I open channel info 1 # verify that ipmitool is working
Set fan thresholds
Now that we have the IPMI tools installed, lets update the fan thresholds:
# Noctua - https://noctua.at/en/nh-l9i/specification
ipmitool sensor thresh FAN3 lower 300 400 500

# Cougar FAN1
ipmitool sensor thresh FAN1 lower 400 500 600

#Cougar FAN4
ipmitool sensor thresh FAN4 lower 400 500 600
Reboot BMC
Next try to reboot BMC by going to IPMI web interface » Maintenance » Unit Reset.