I’ve referenced my home server many times, but I never had the time to go into the details of how it was built or how it works. Recently I decided to completely rebuild it, replacing the hardware and basing it on-top of a completely new operating system. I thought it would be a good idea to keep a build log, tracking what I did, my design decisions, and constraints you should consider if you want to follow in my footsteps.
This series will be broken up into multiple parts
- Part 1 - Hardware
- Part 2 - Build Log
- Part 3 - MediaDepot/CoreOS Configuration
- Part 4 - Application Docker Containers
This is Part 3, where I’ll be discussing the software I use to run my ultimate media server, specifically focusing on installing and configuring CoreOS for MediaDepot.
The hardware and build process for “The Ultimate Media Server” was outlined in previous posts, but hardware is only one part of the solution. Software (OS & Applications) determine the functionality and ultimately the value of our home server.
Before we dive into the details, let’s start with a bit of a teaser showing off some of the applications and services that I run on my server.
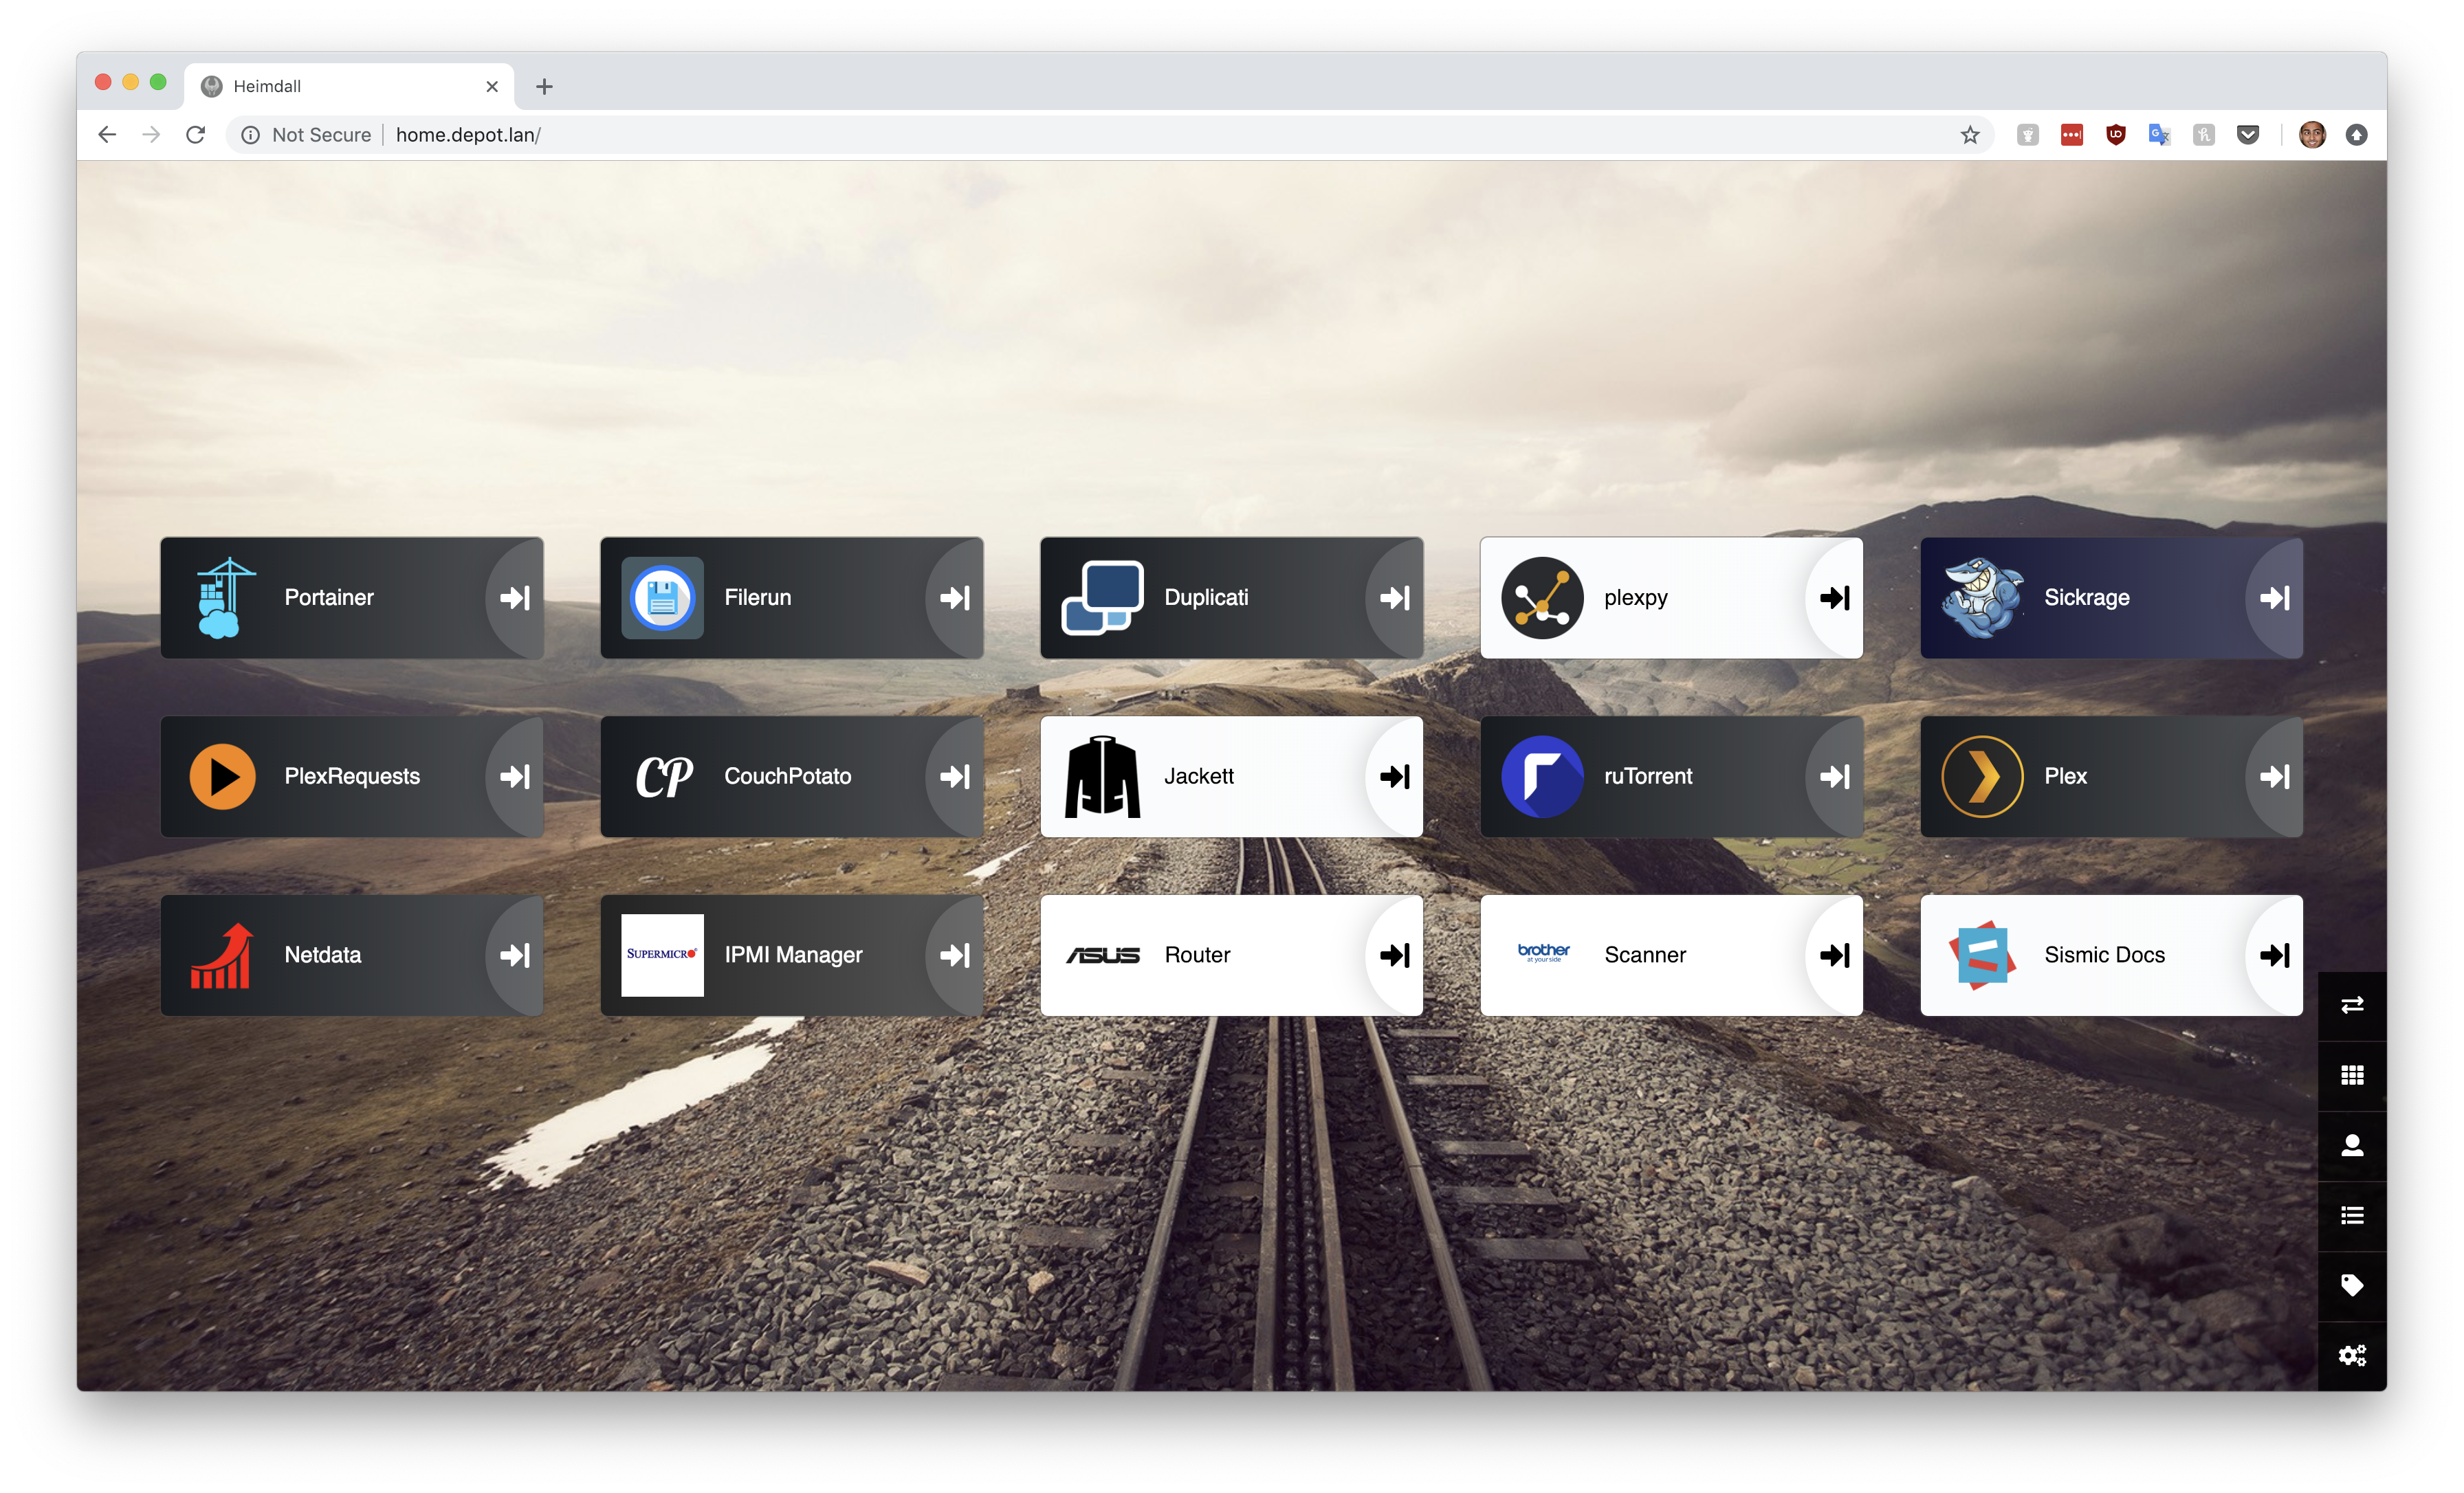

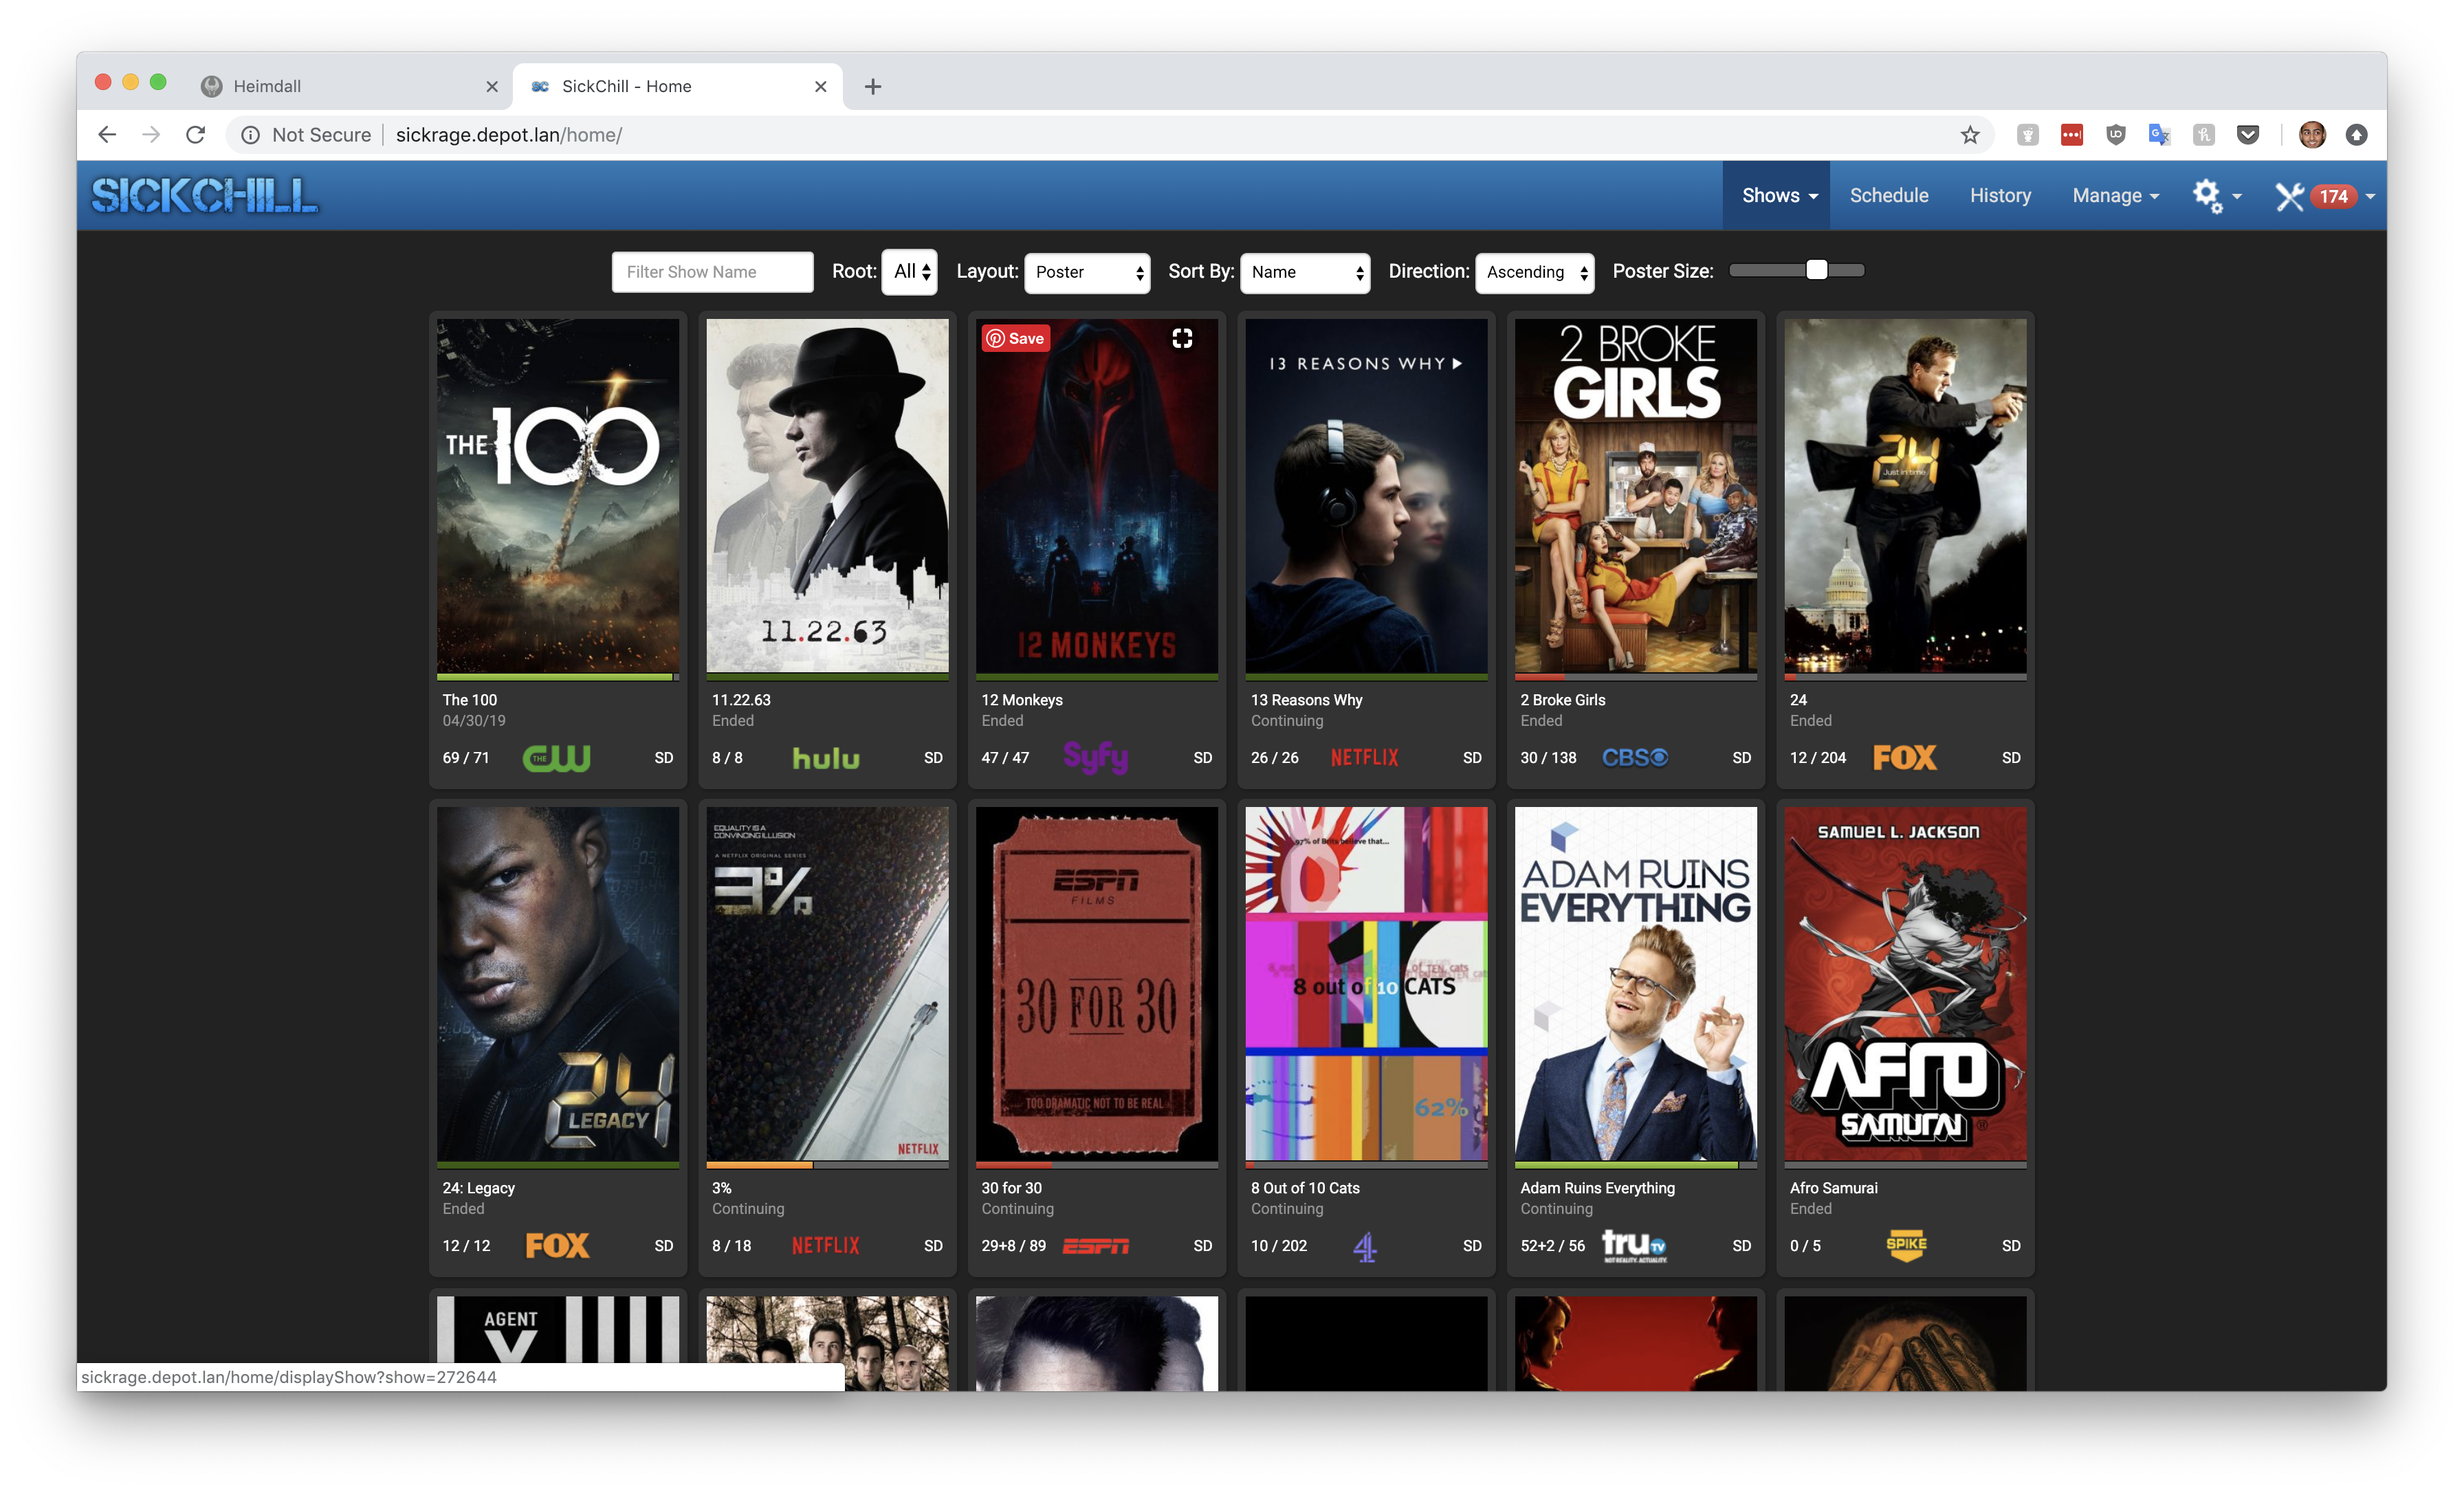
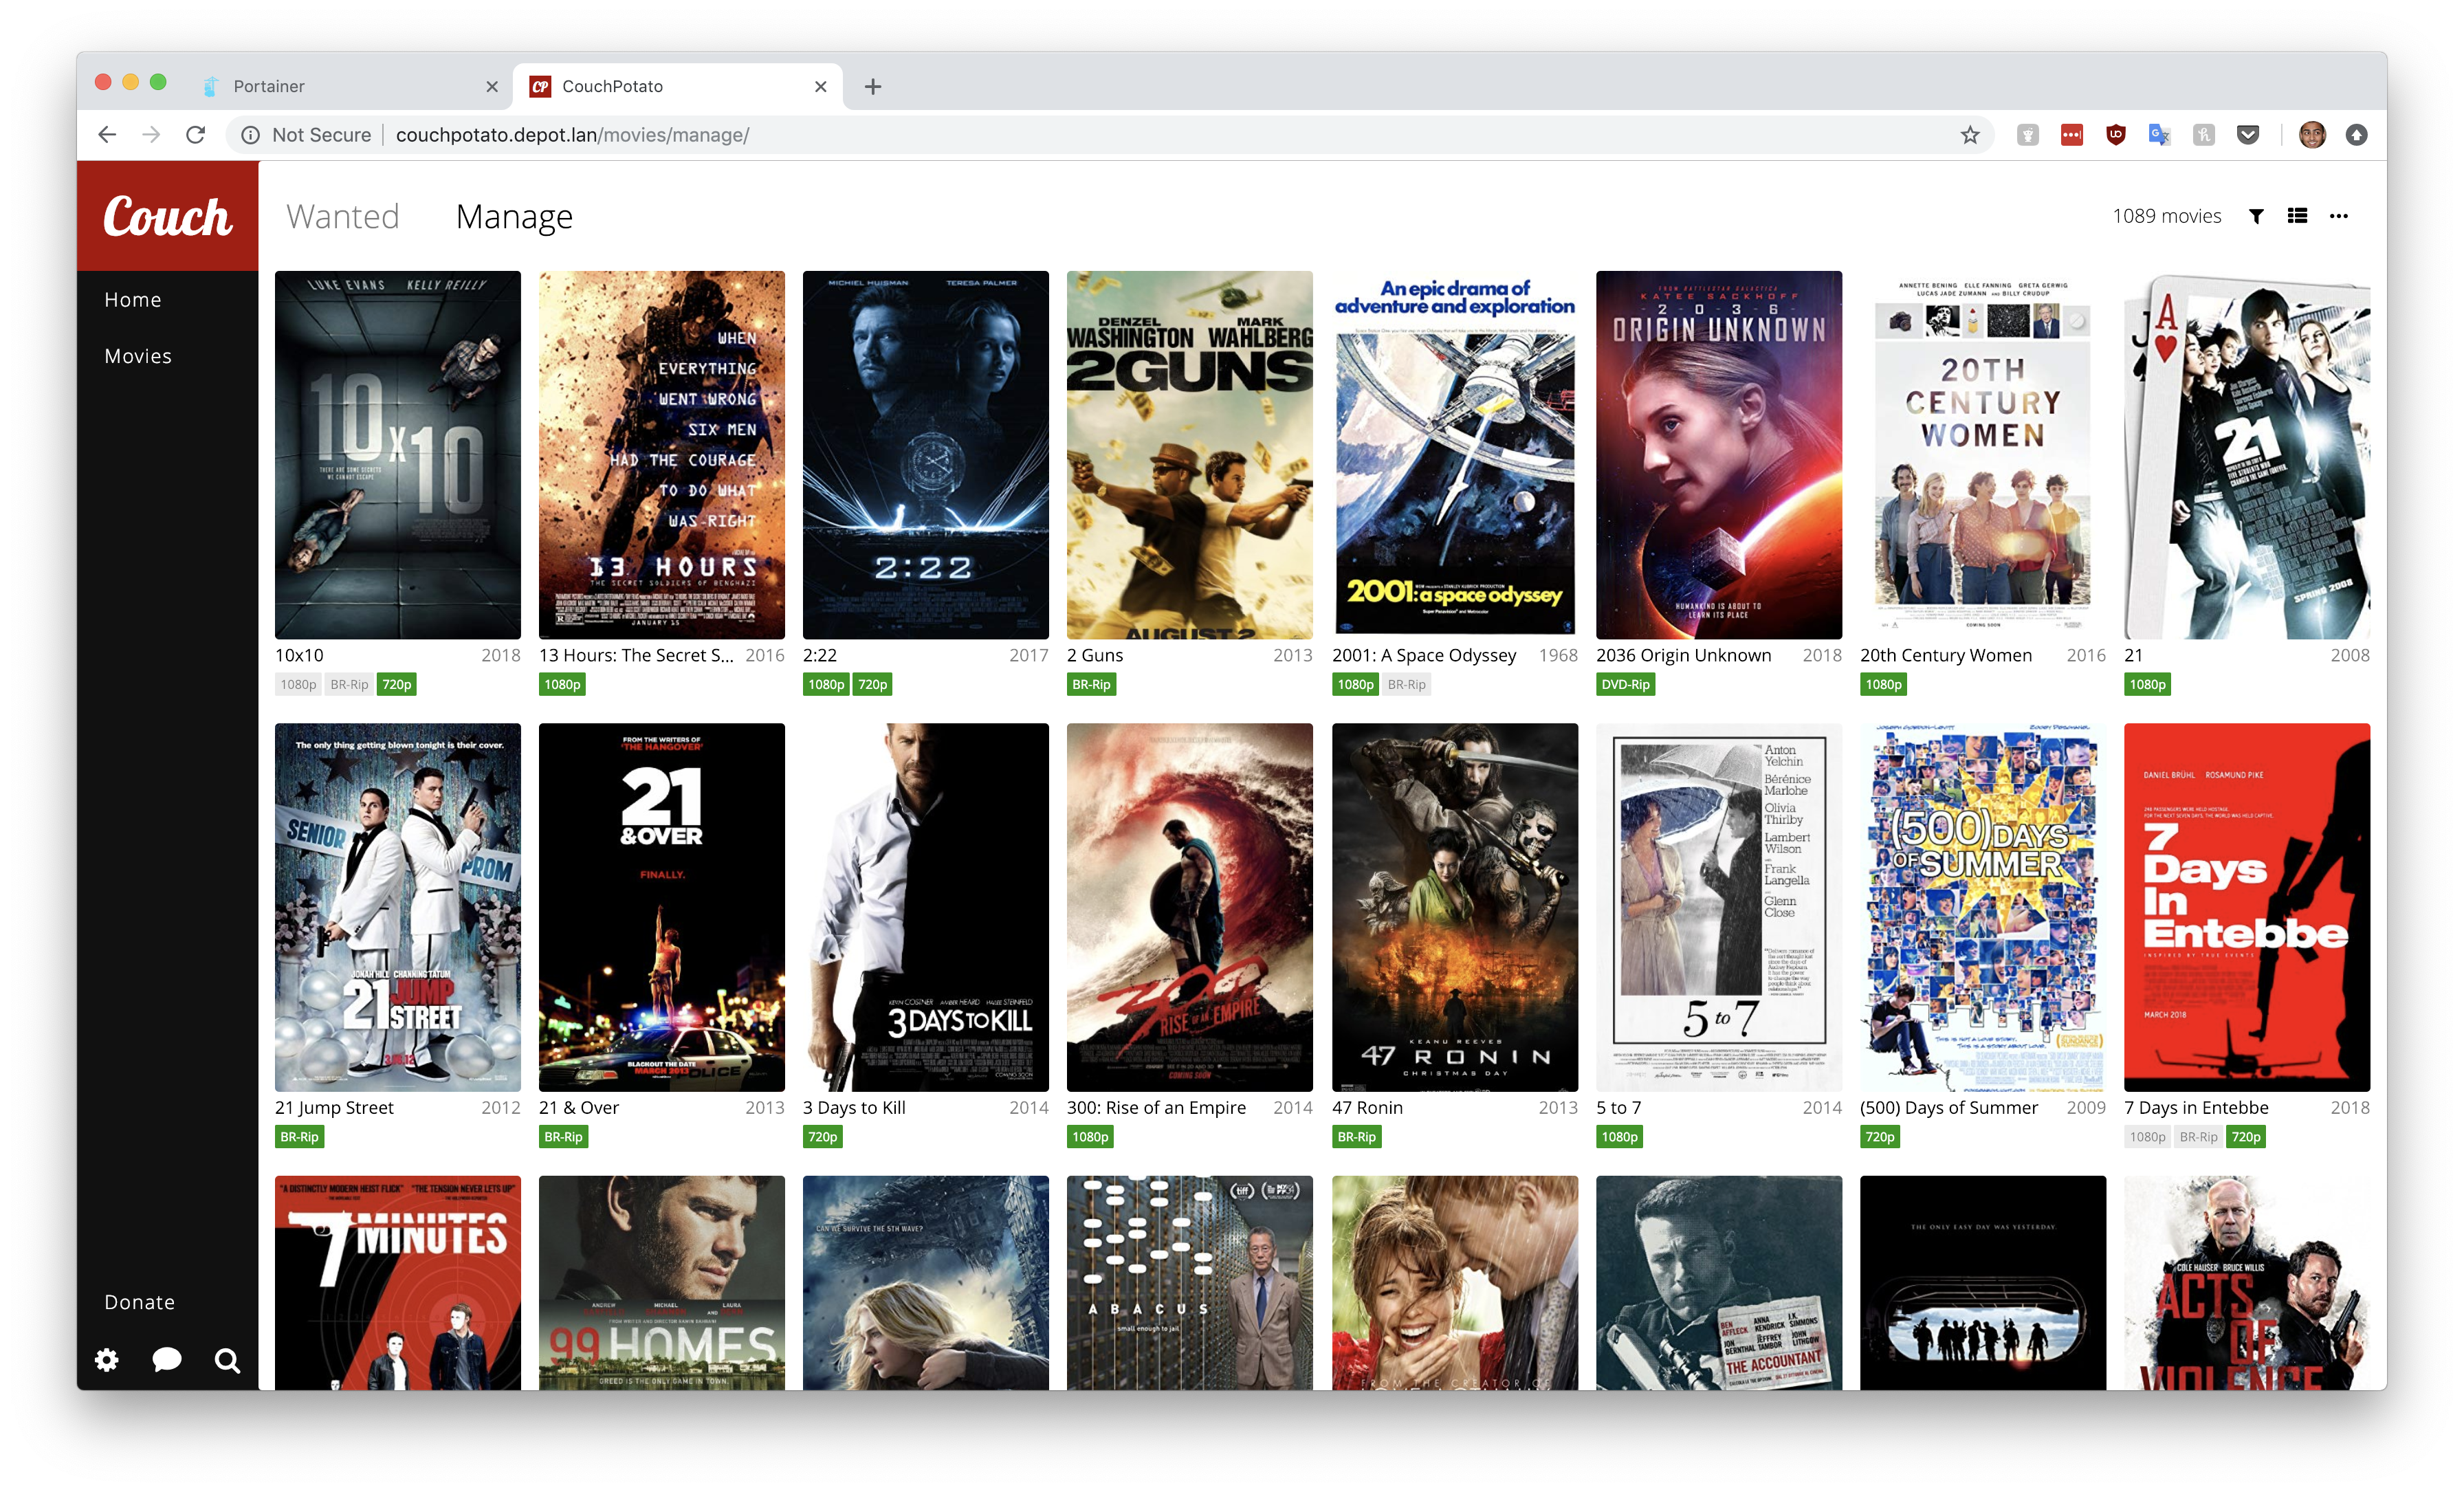
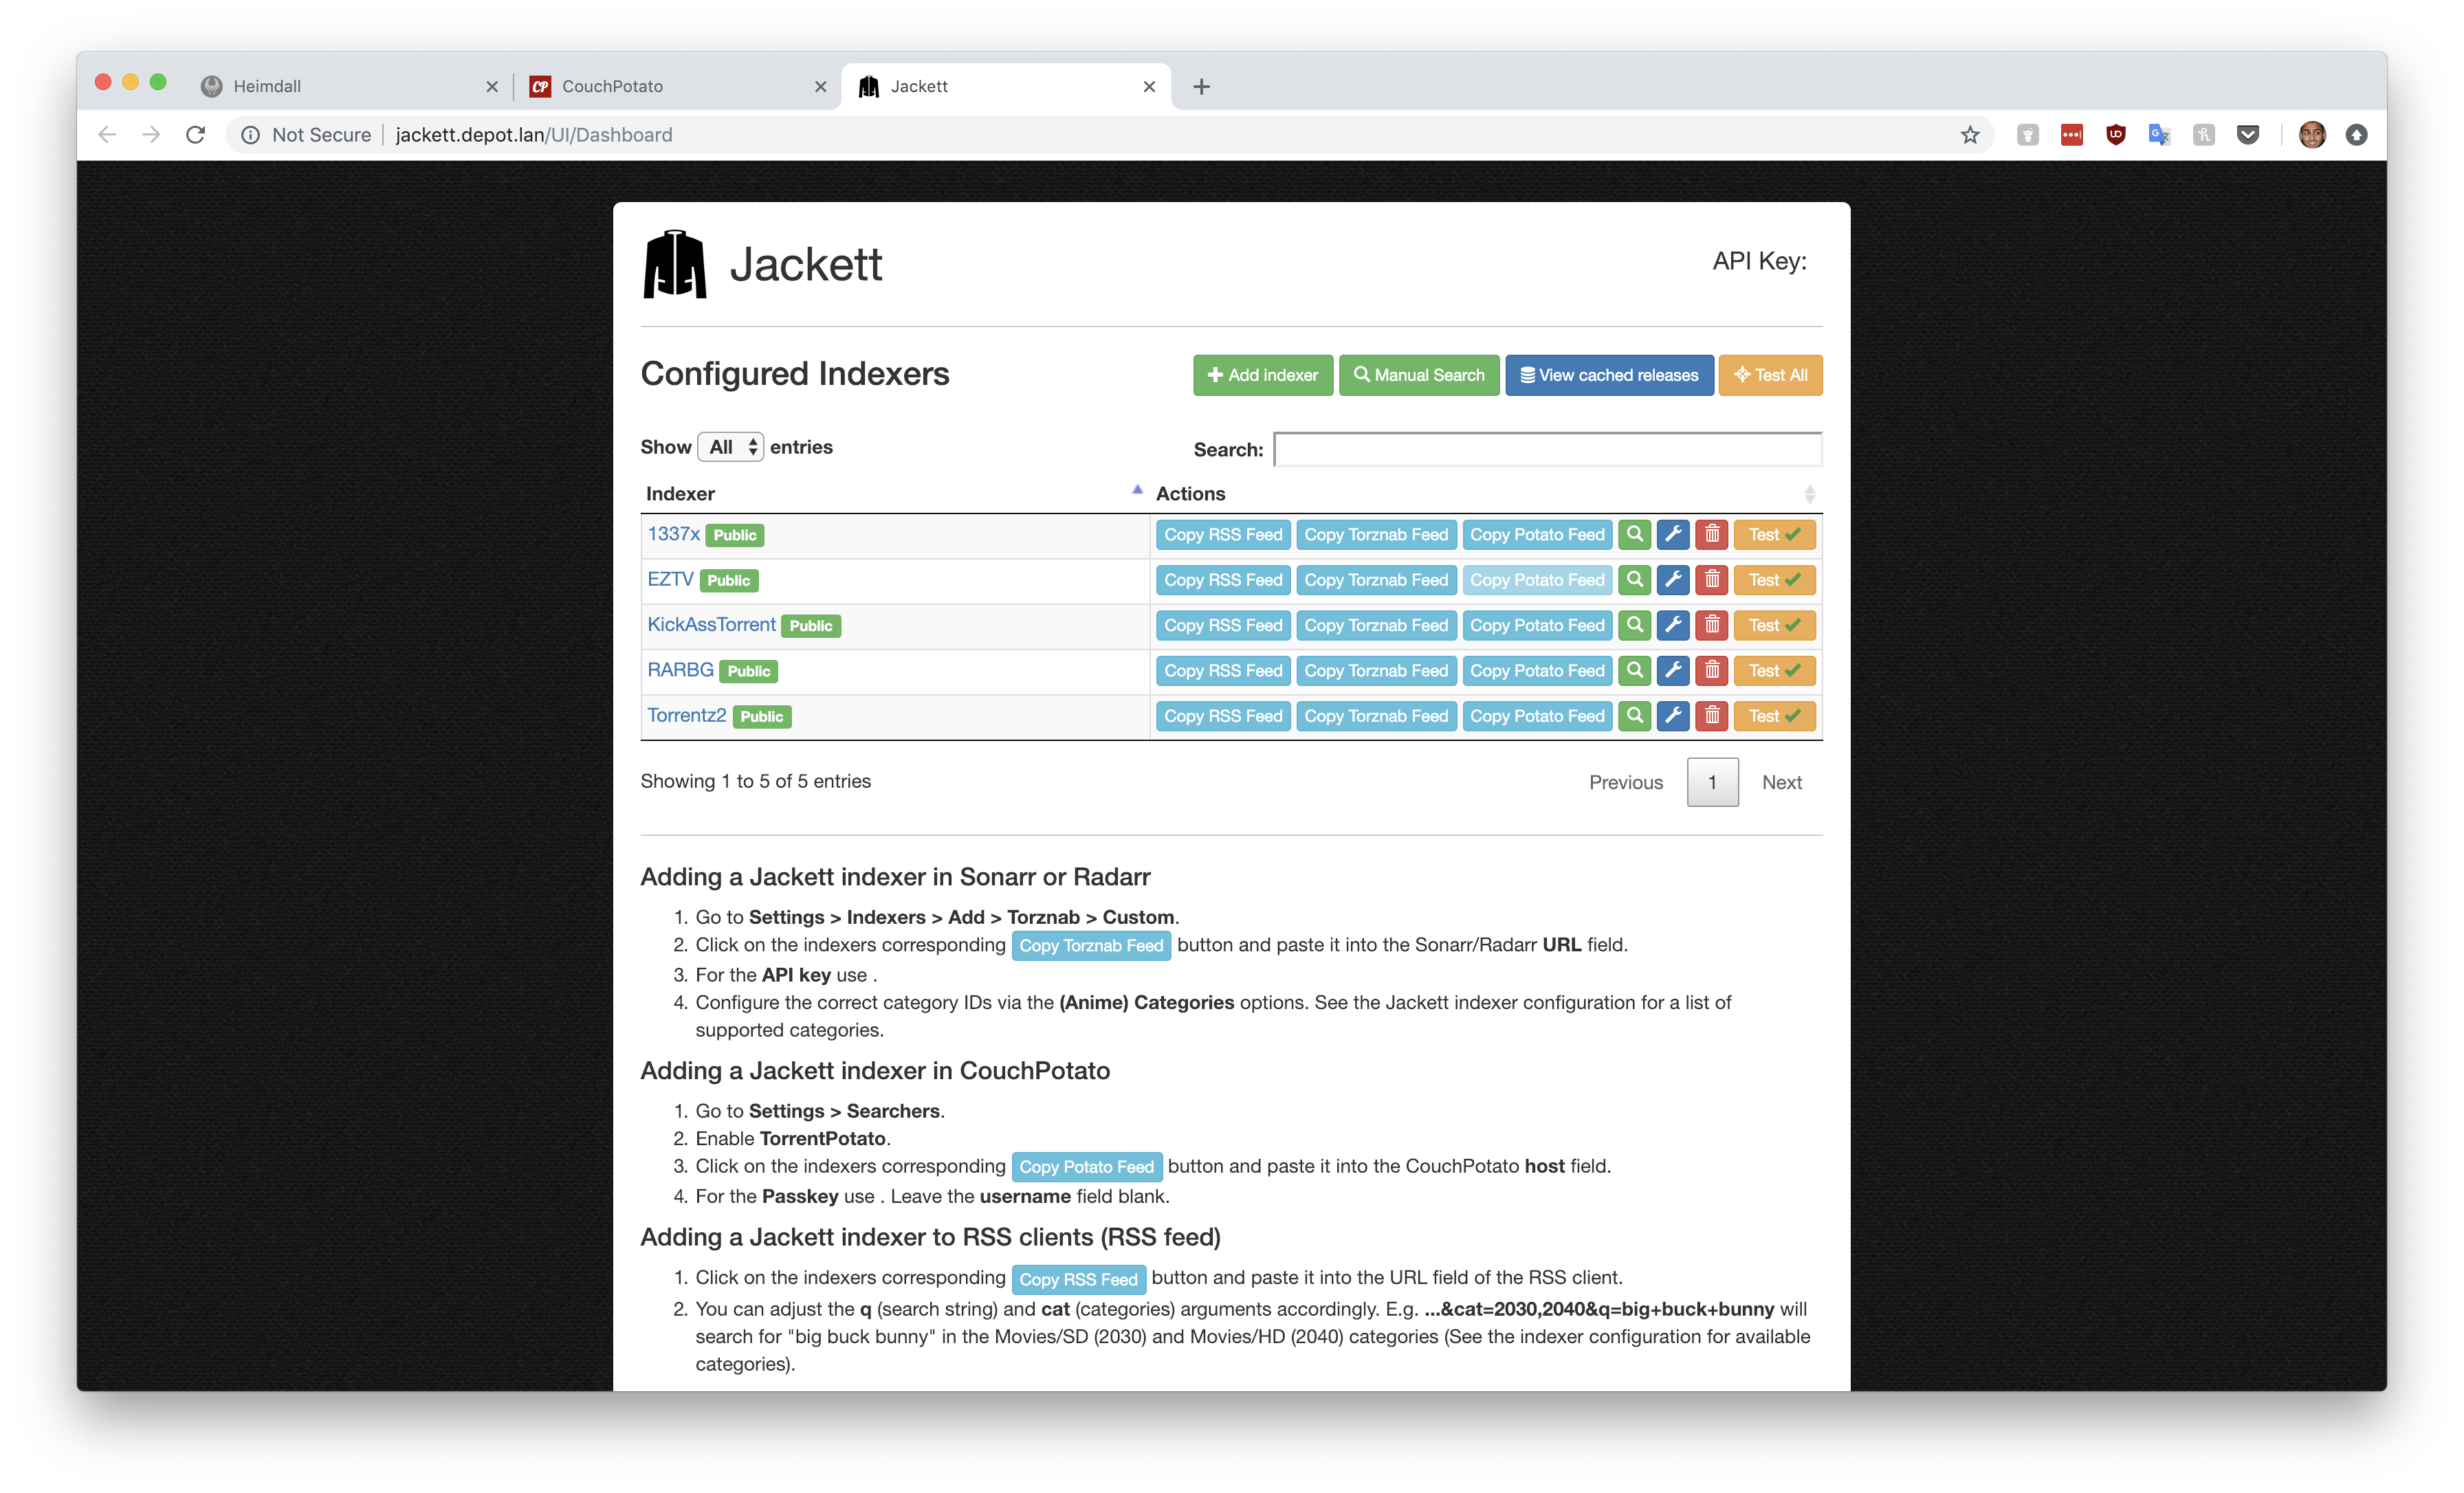
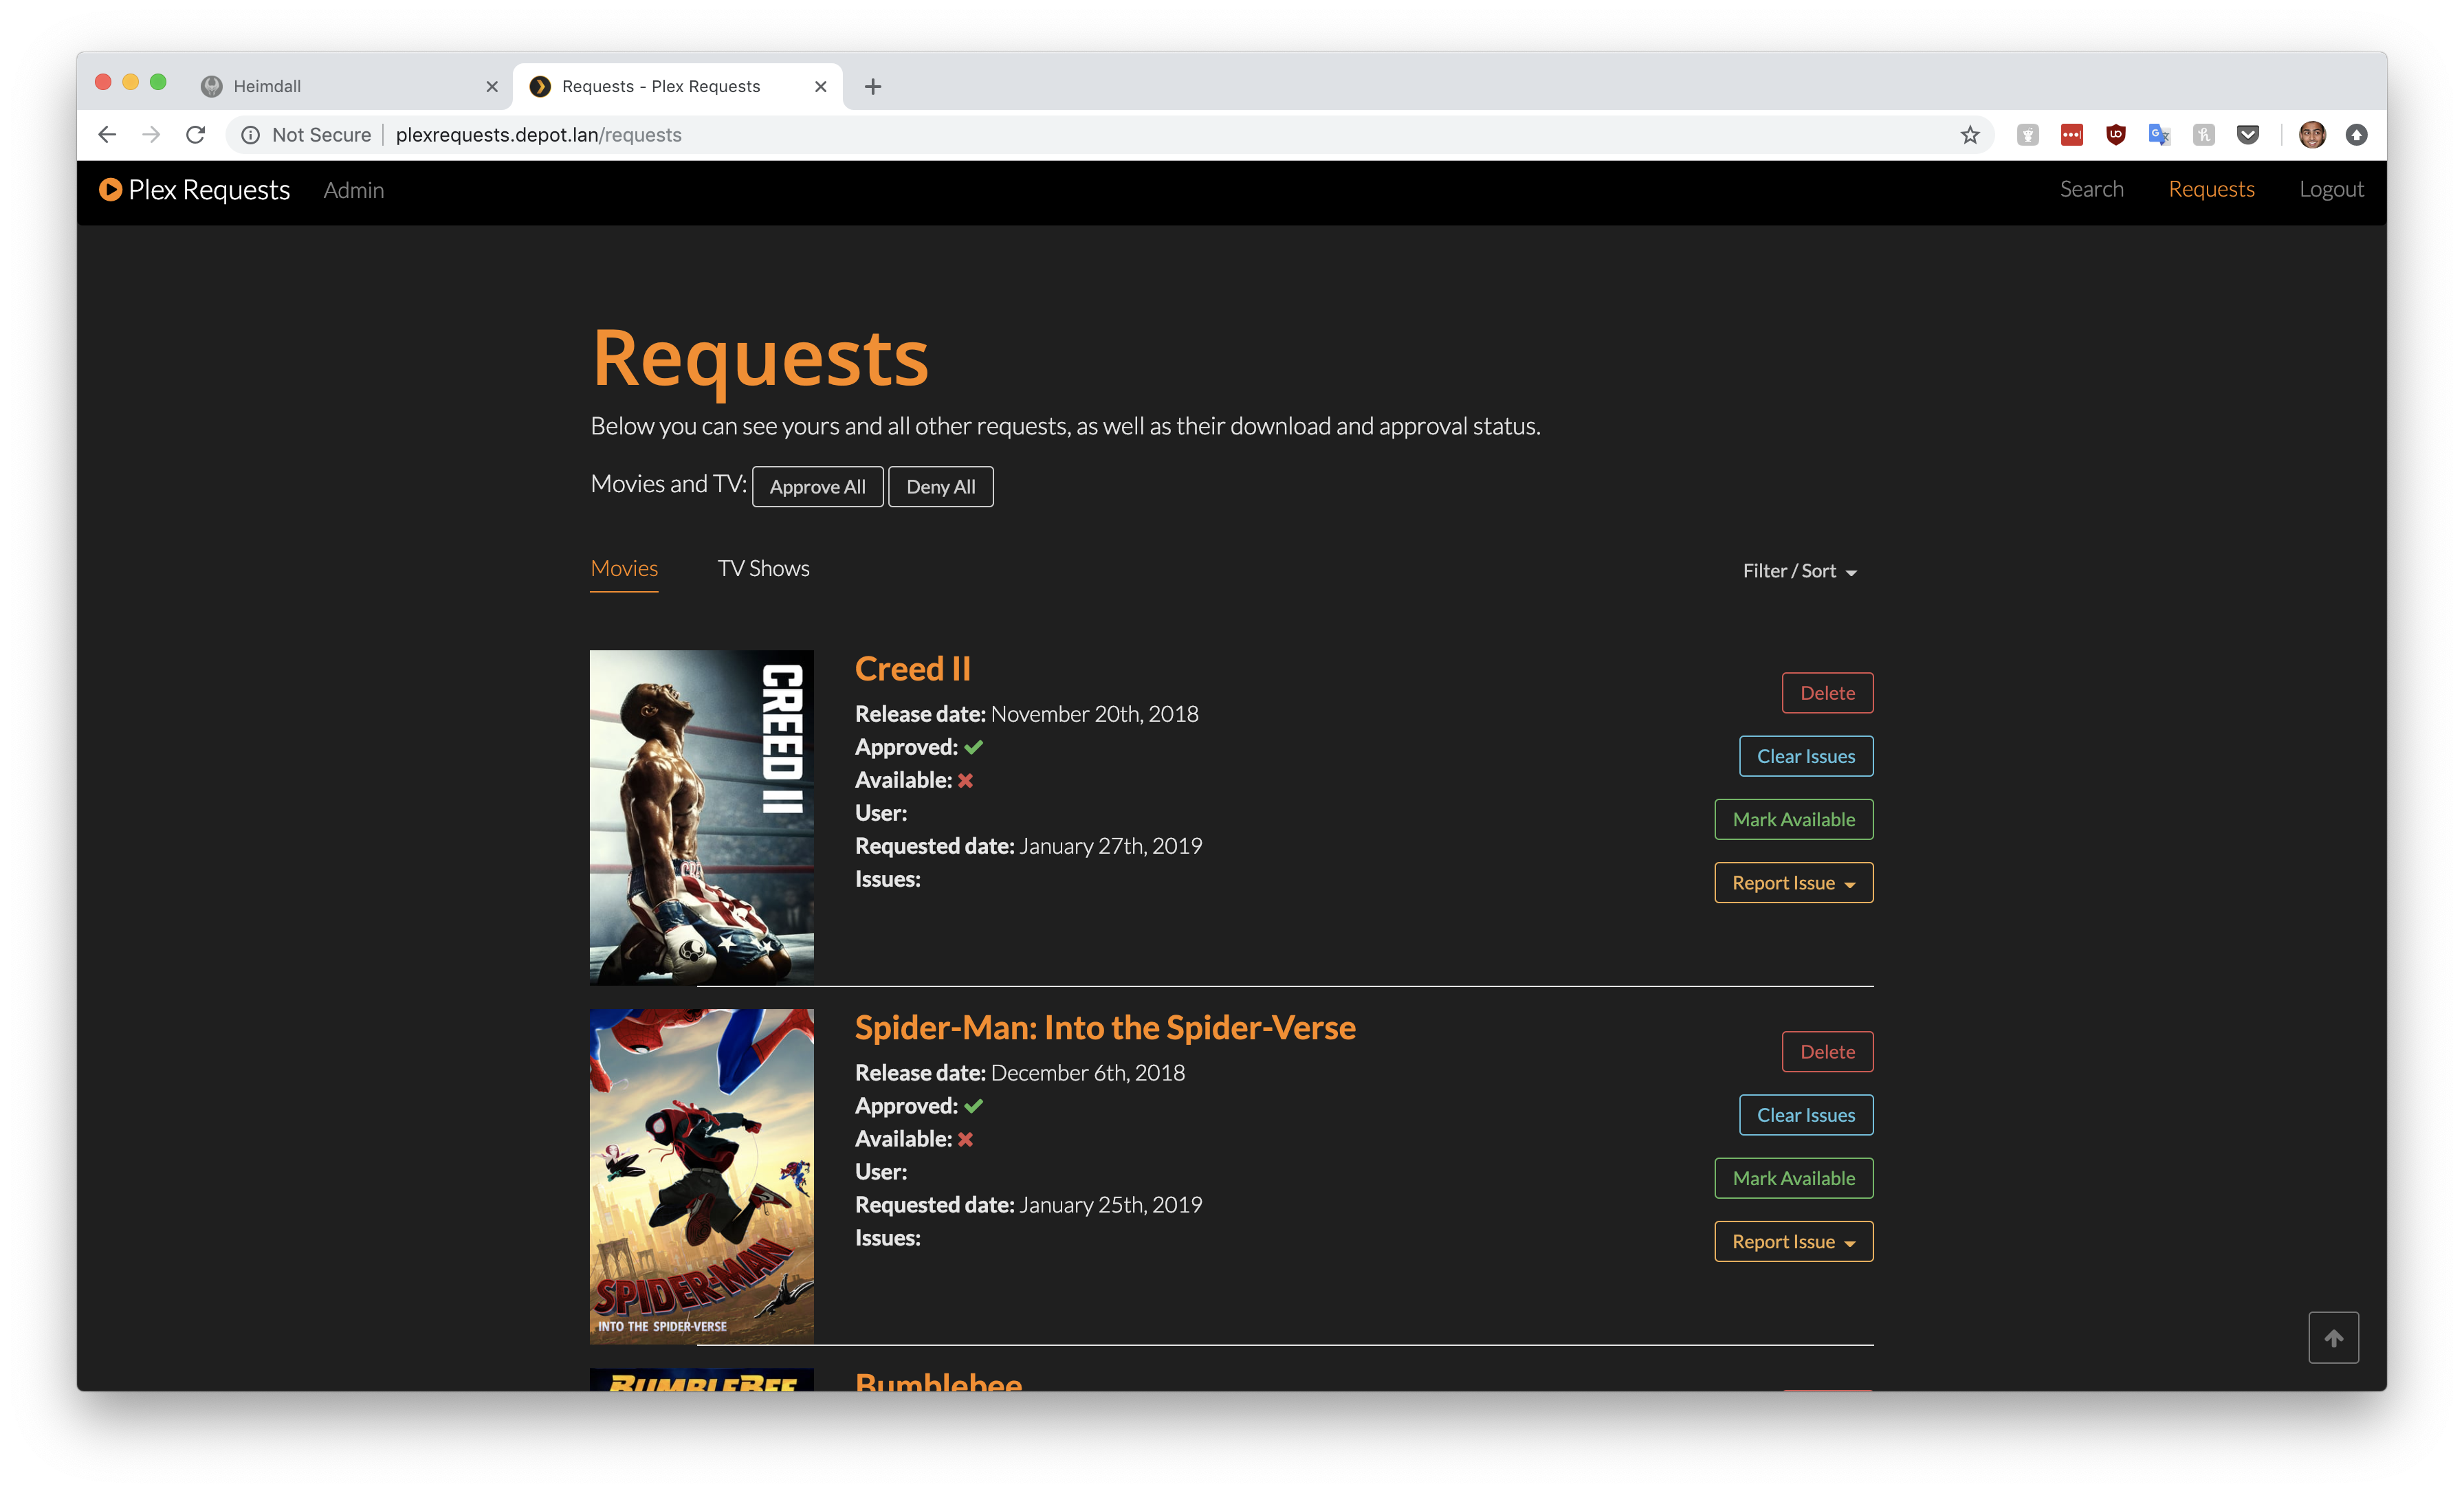
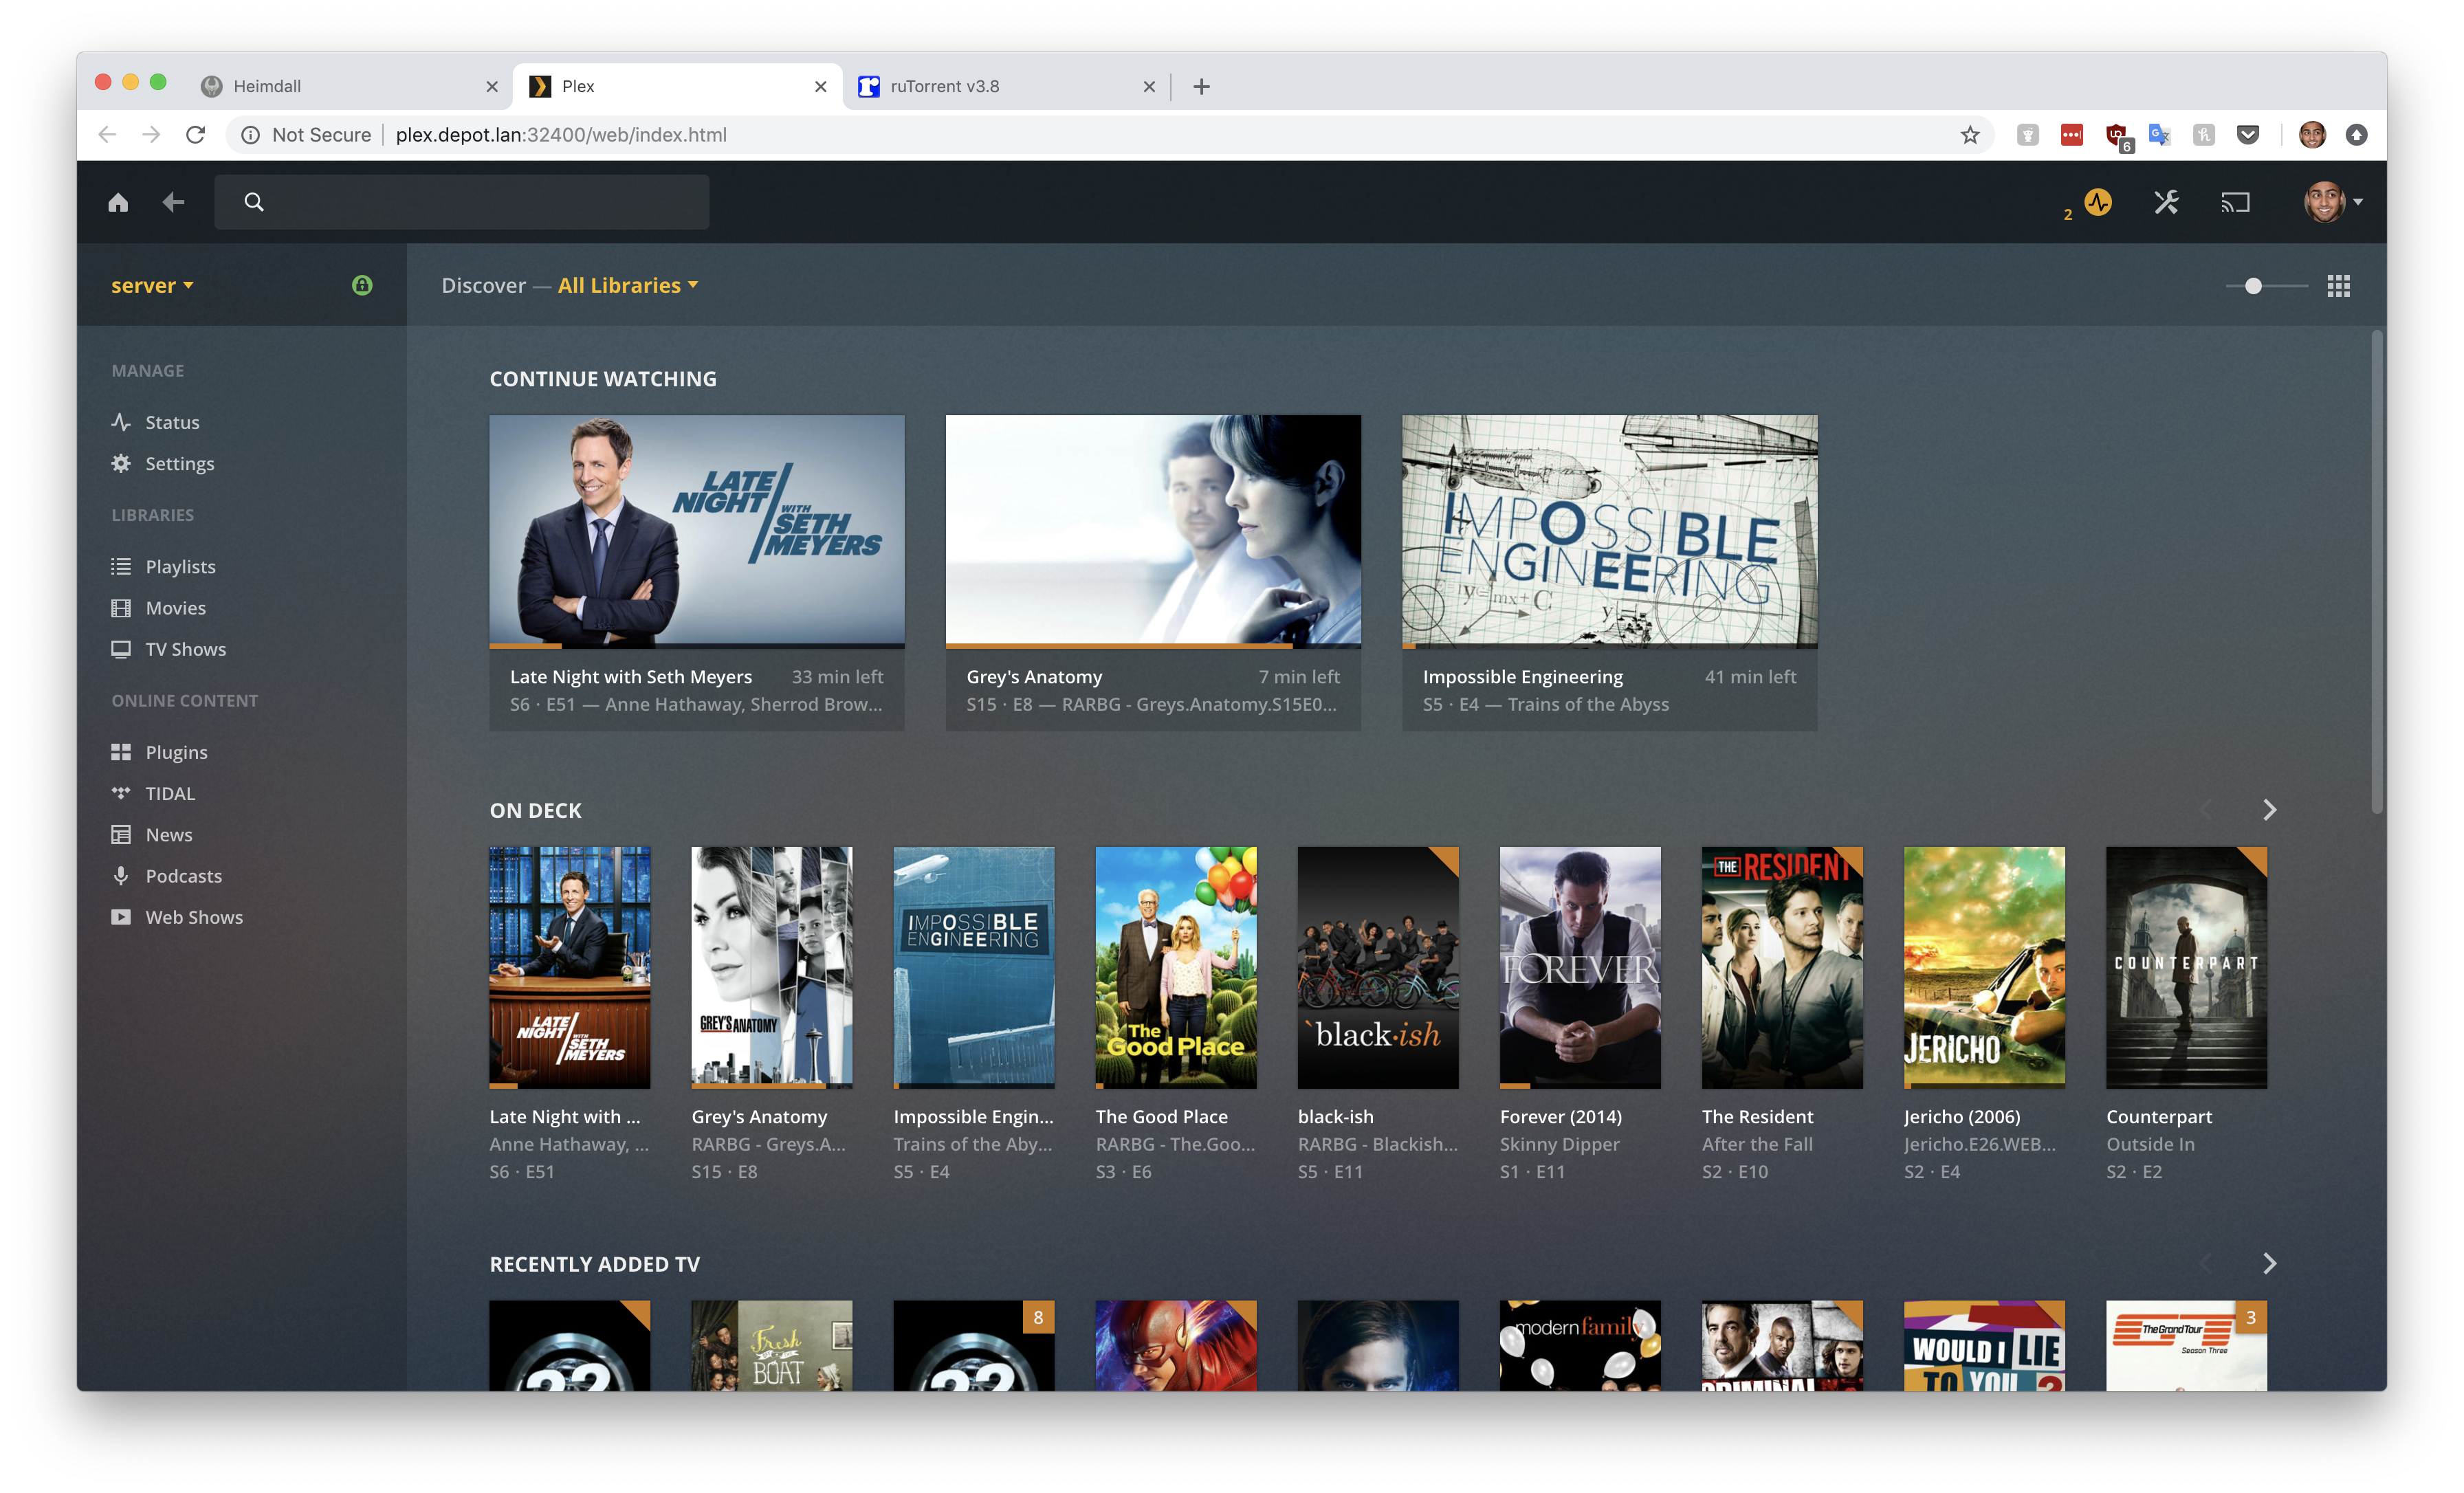

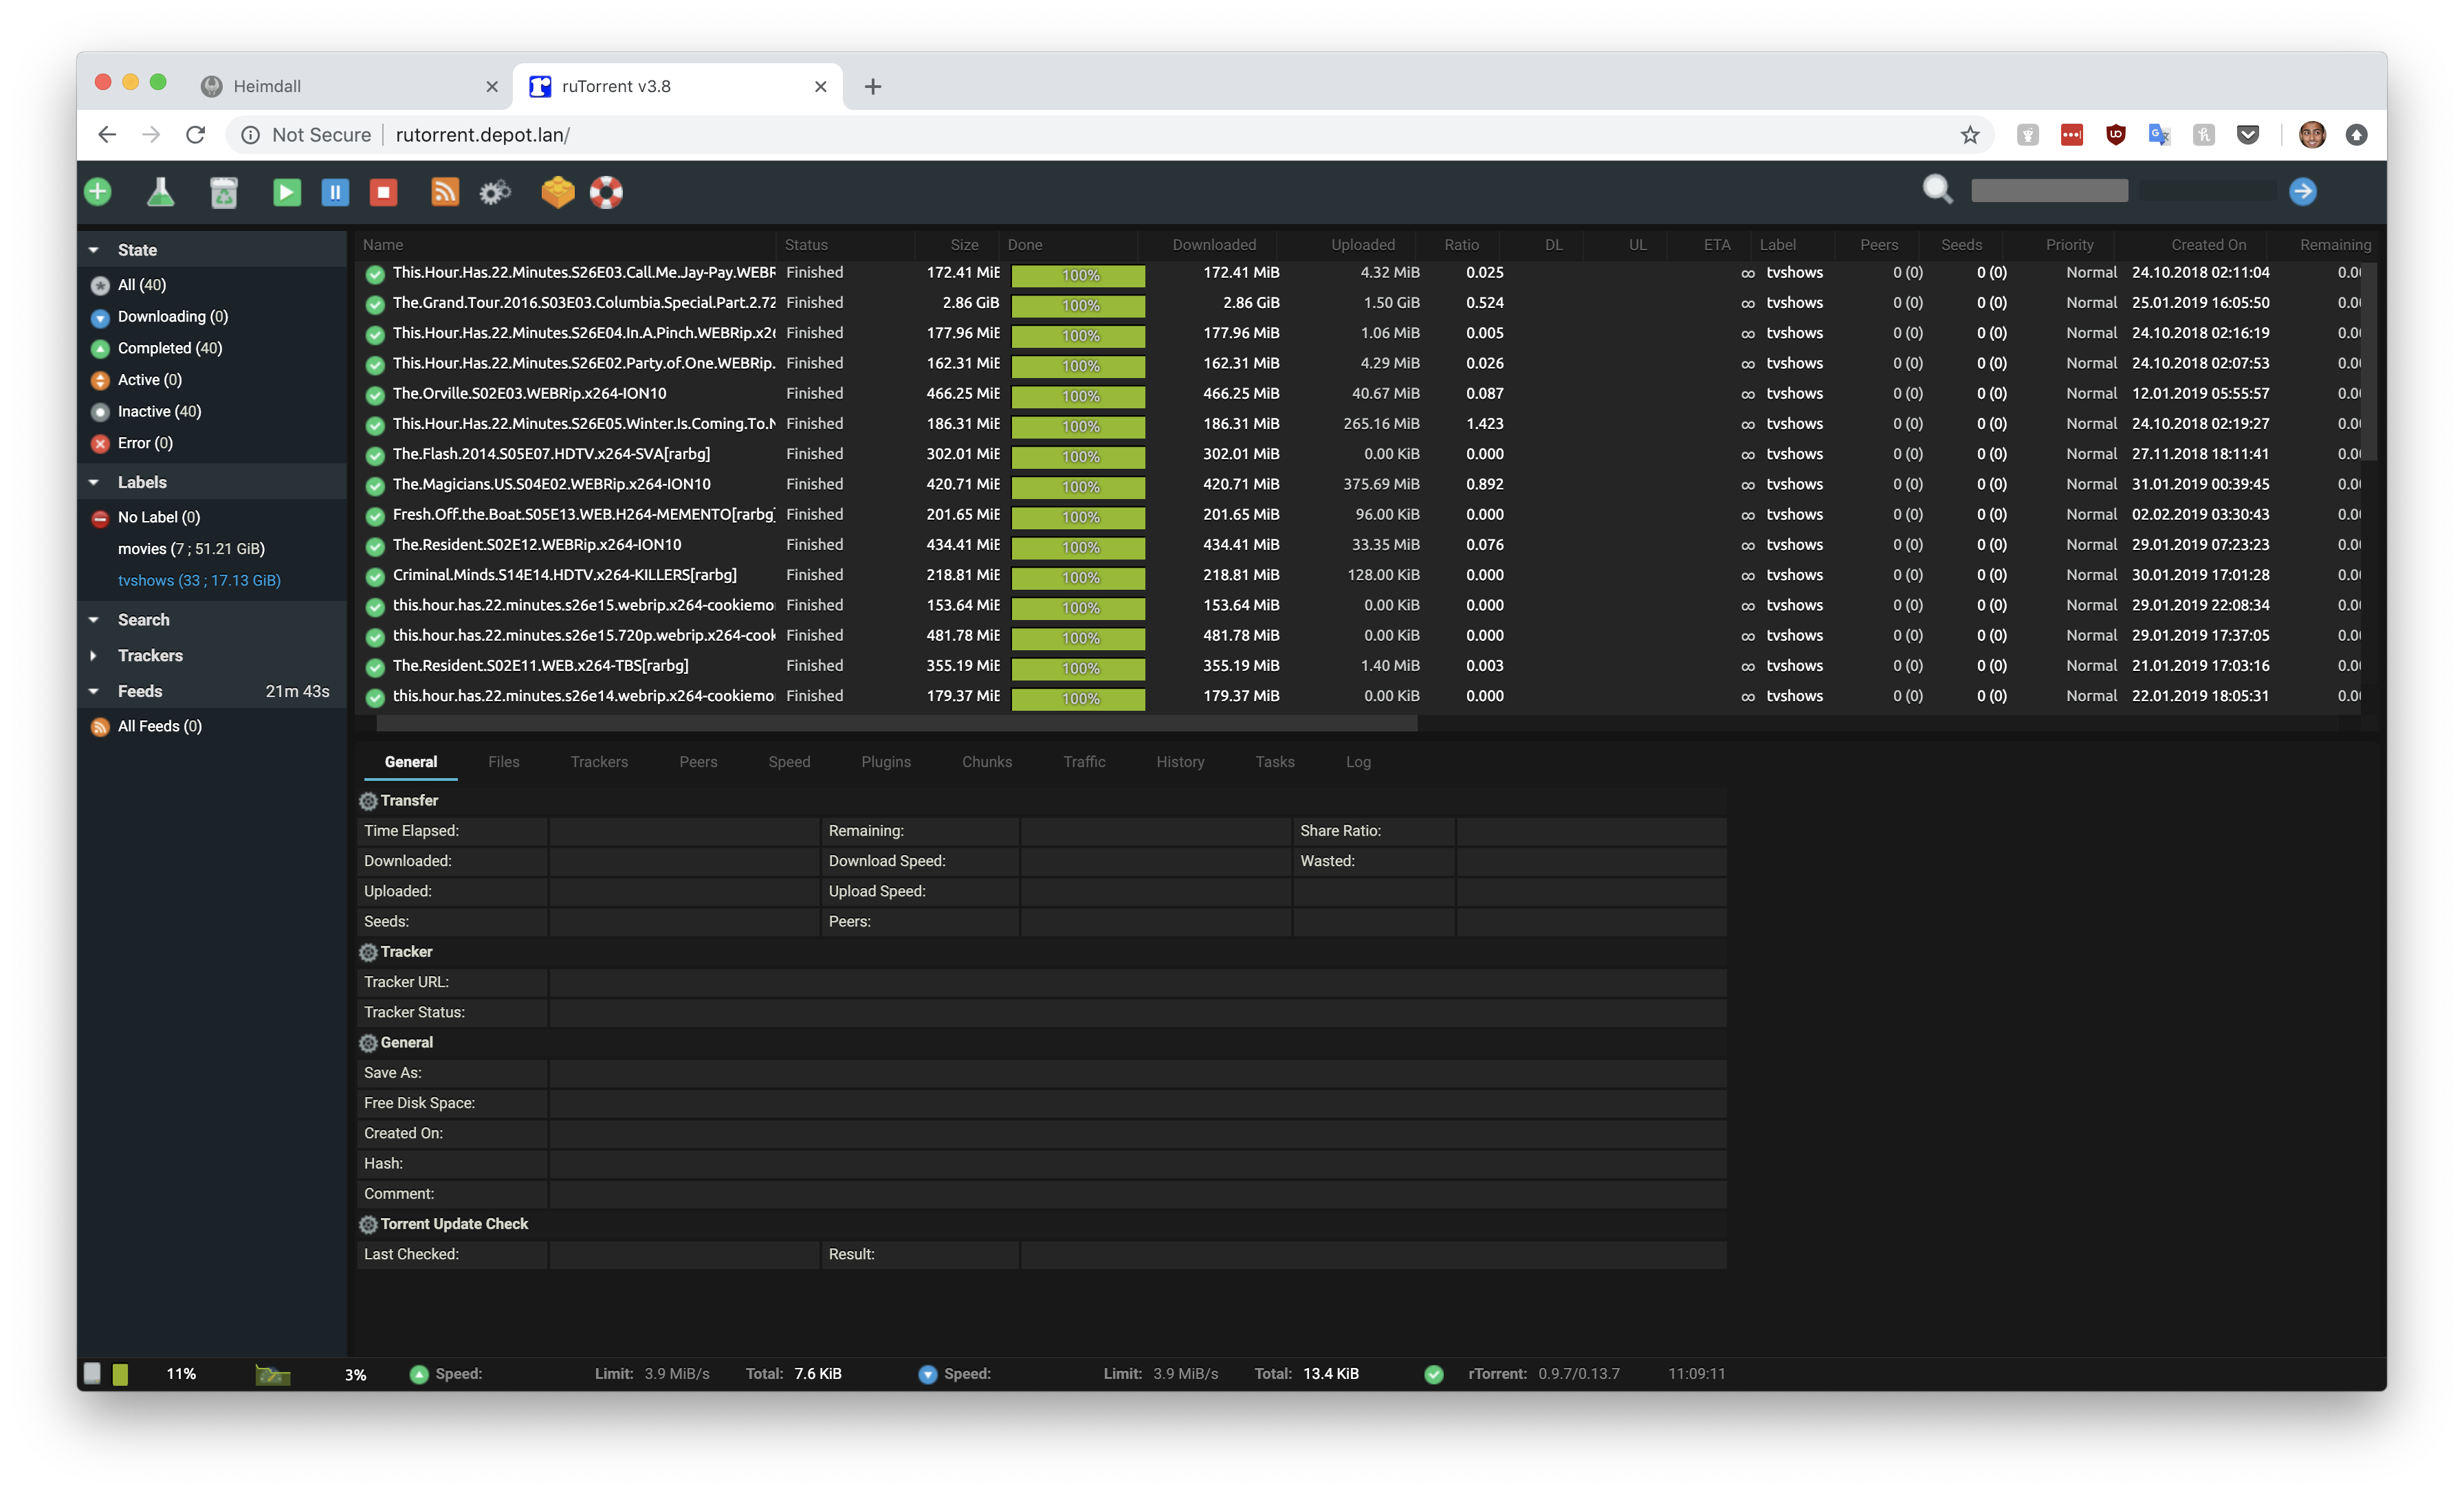

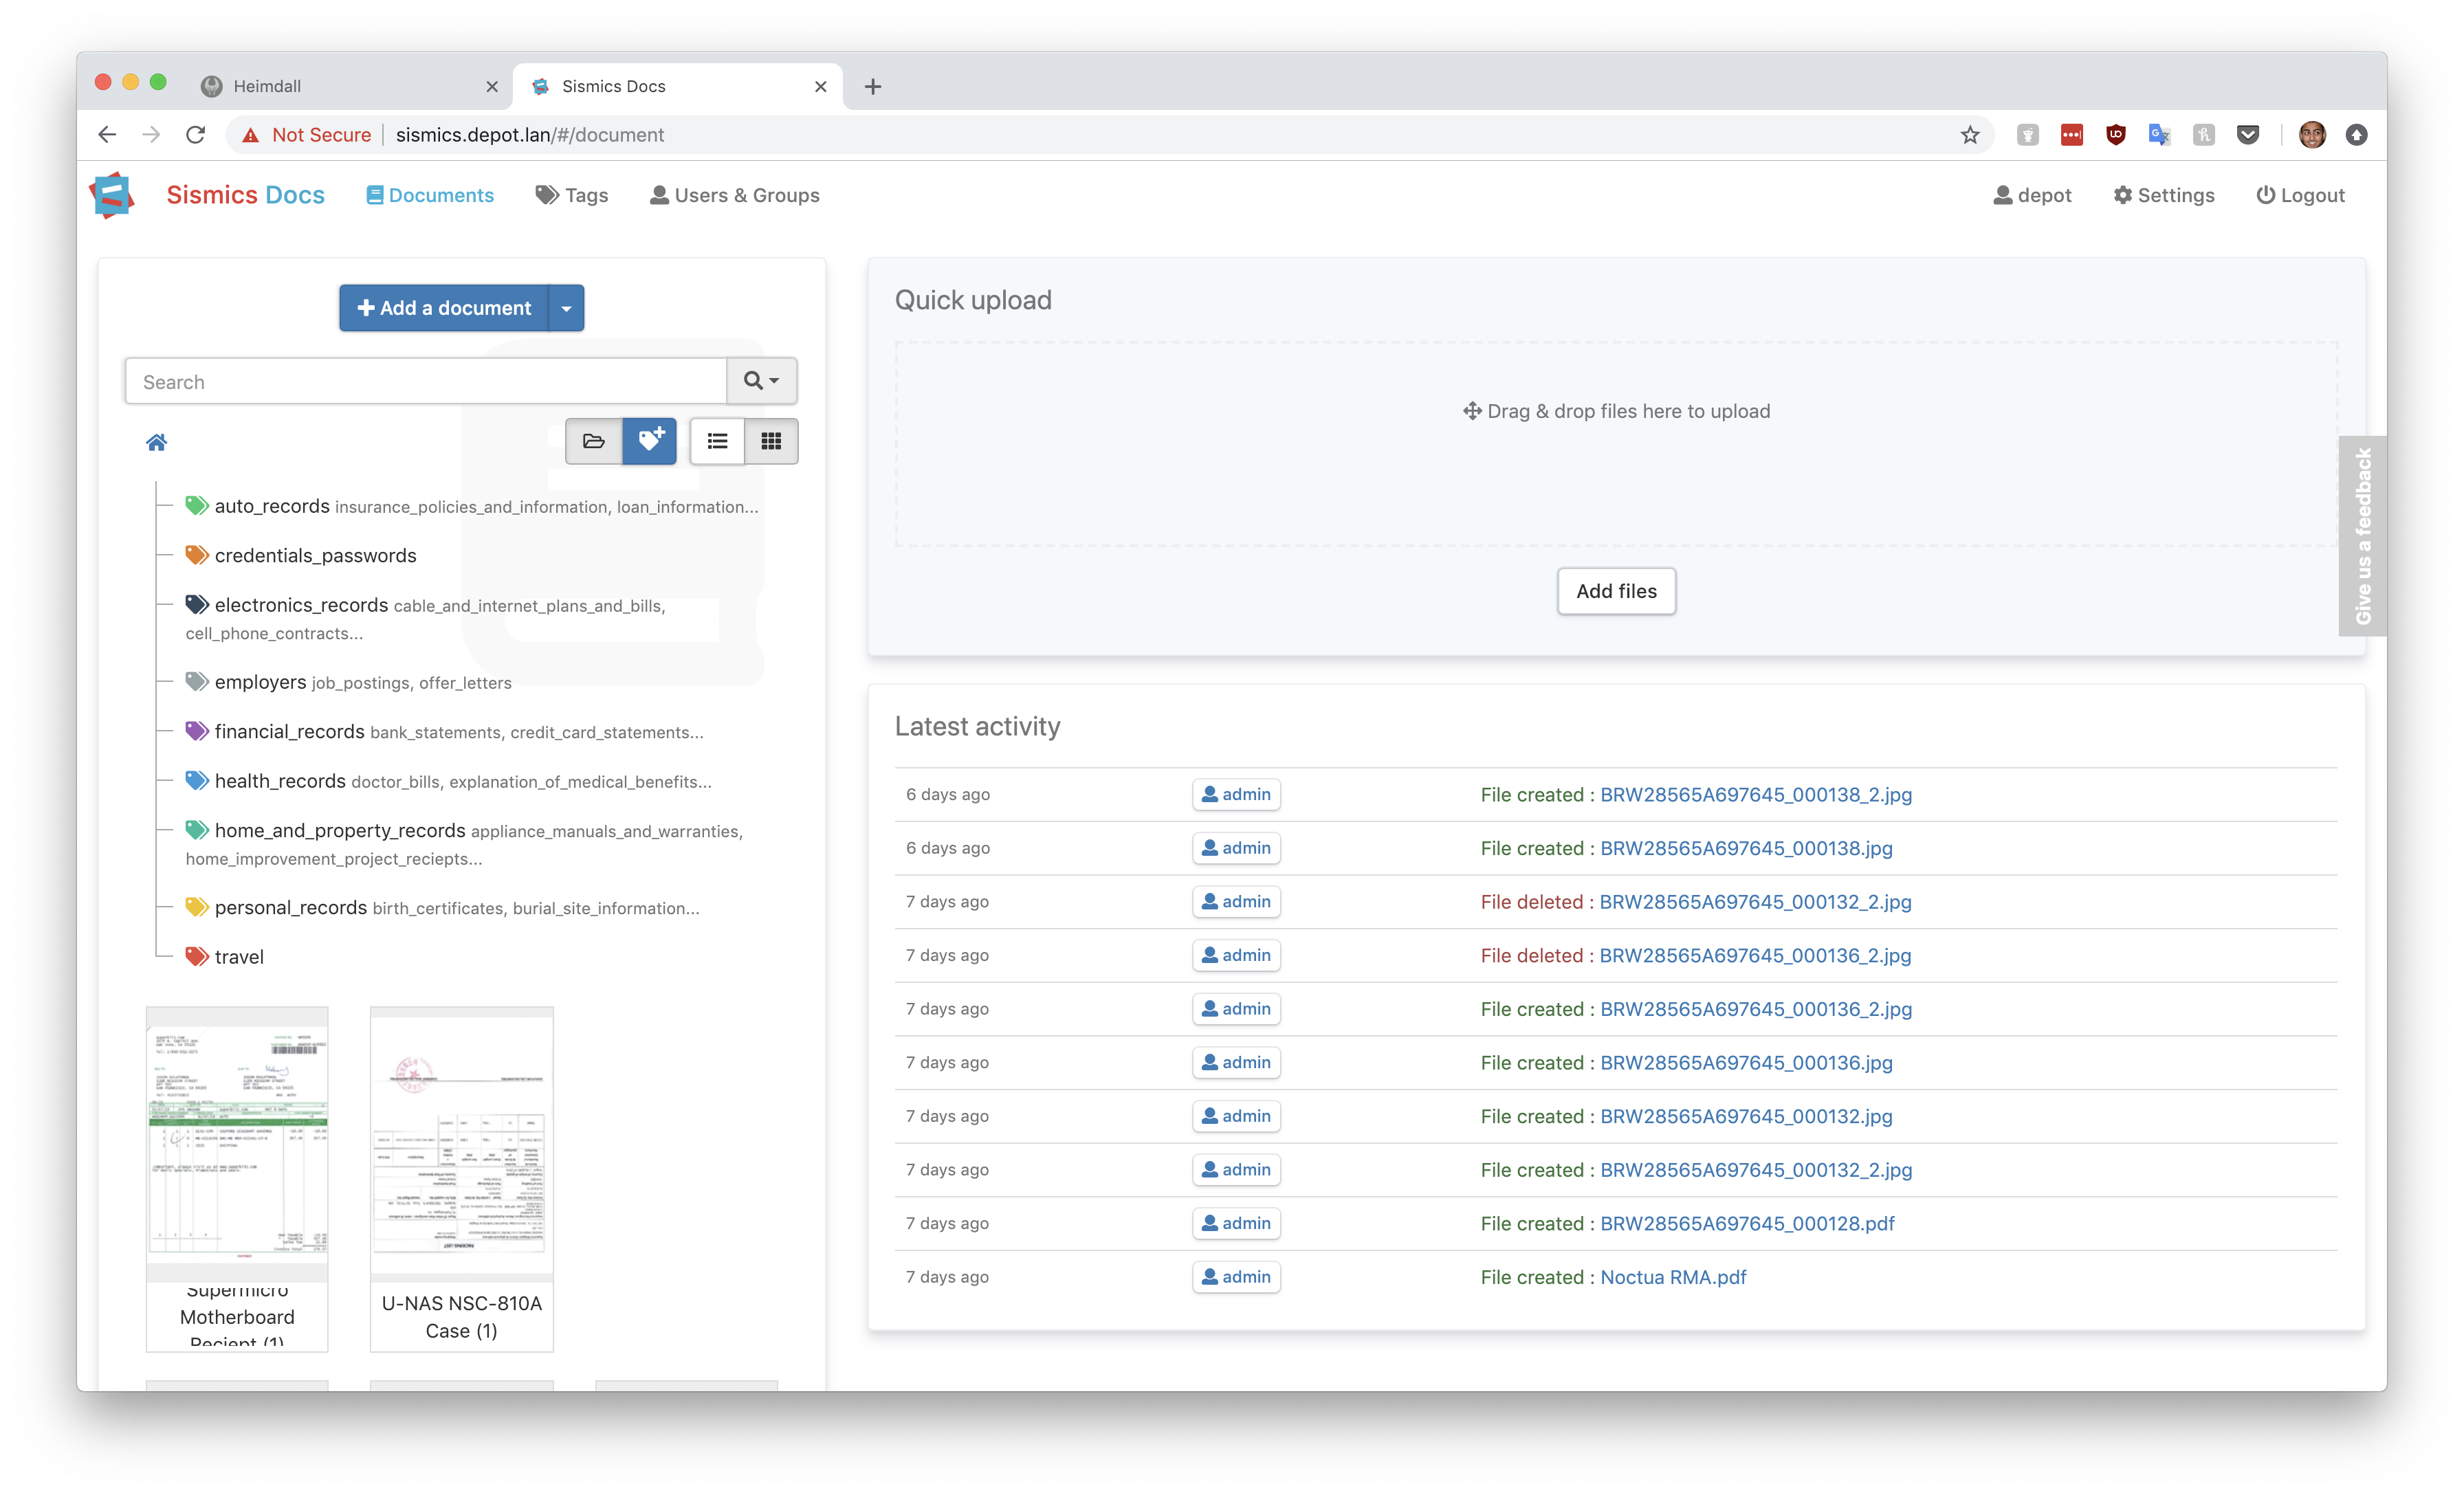
Still interested? Good. Now that we have an idea what the finished product will look like, lets discuss the actual software stack and my requirements.
While this blog post will describe the step by step instructions for setting up CoreOS & Mediadepot, then mediadepot/docs repo contains additional documentation that you might find interesting.
Given that our goal of building the “The Ultimate Media Server” is pretty hard to quantify, lets give ourselves some constraints and requirements that we can actually track.
- The server will be self hosted, with only one physical node (if you need a multi-node media server, this wont work for you)
- The server will be running headless (no monitor is required)
- The server will be running a minimal OS/hypervisor. This is to limit the amount of OS maintenance required, and ensure that all software is run in a maintainable & isolated way.
- The server will be using JBOD disk storage (allowing you to aggregate and transparently interact with multiple physical disks as a single volume)
- Redundancy is should be supported but is not a requirement.
- The server will provide a automation friendly folder structure for use by media managers (sickrage, couchpotato, sonar, plex, etc)
- The server will provide a monitoring solution with a web GUI.
- The server will provide a routing method to running web applications via a custom domain *.depot.lan
- The server will provide a method that user applications can use to notify the user when events have occurred (download started, completed, media added)
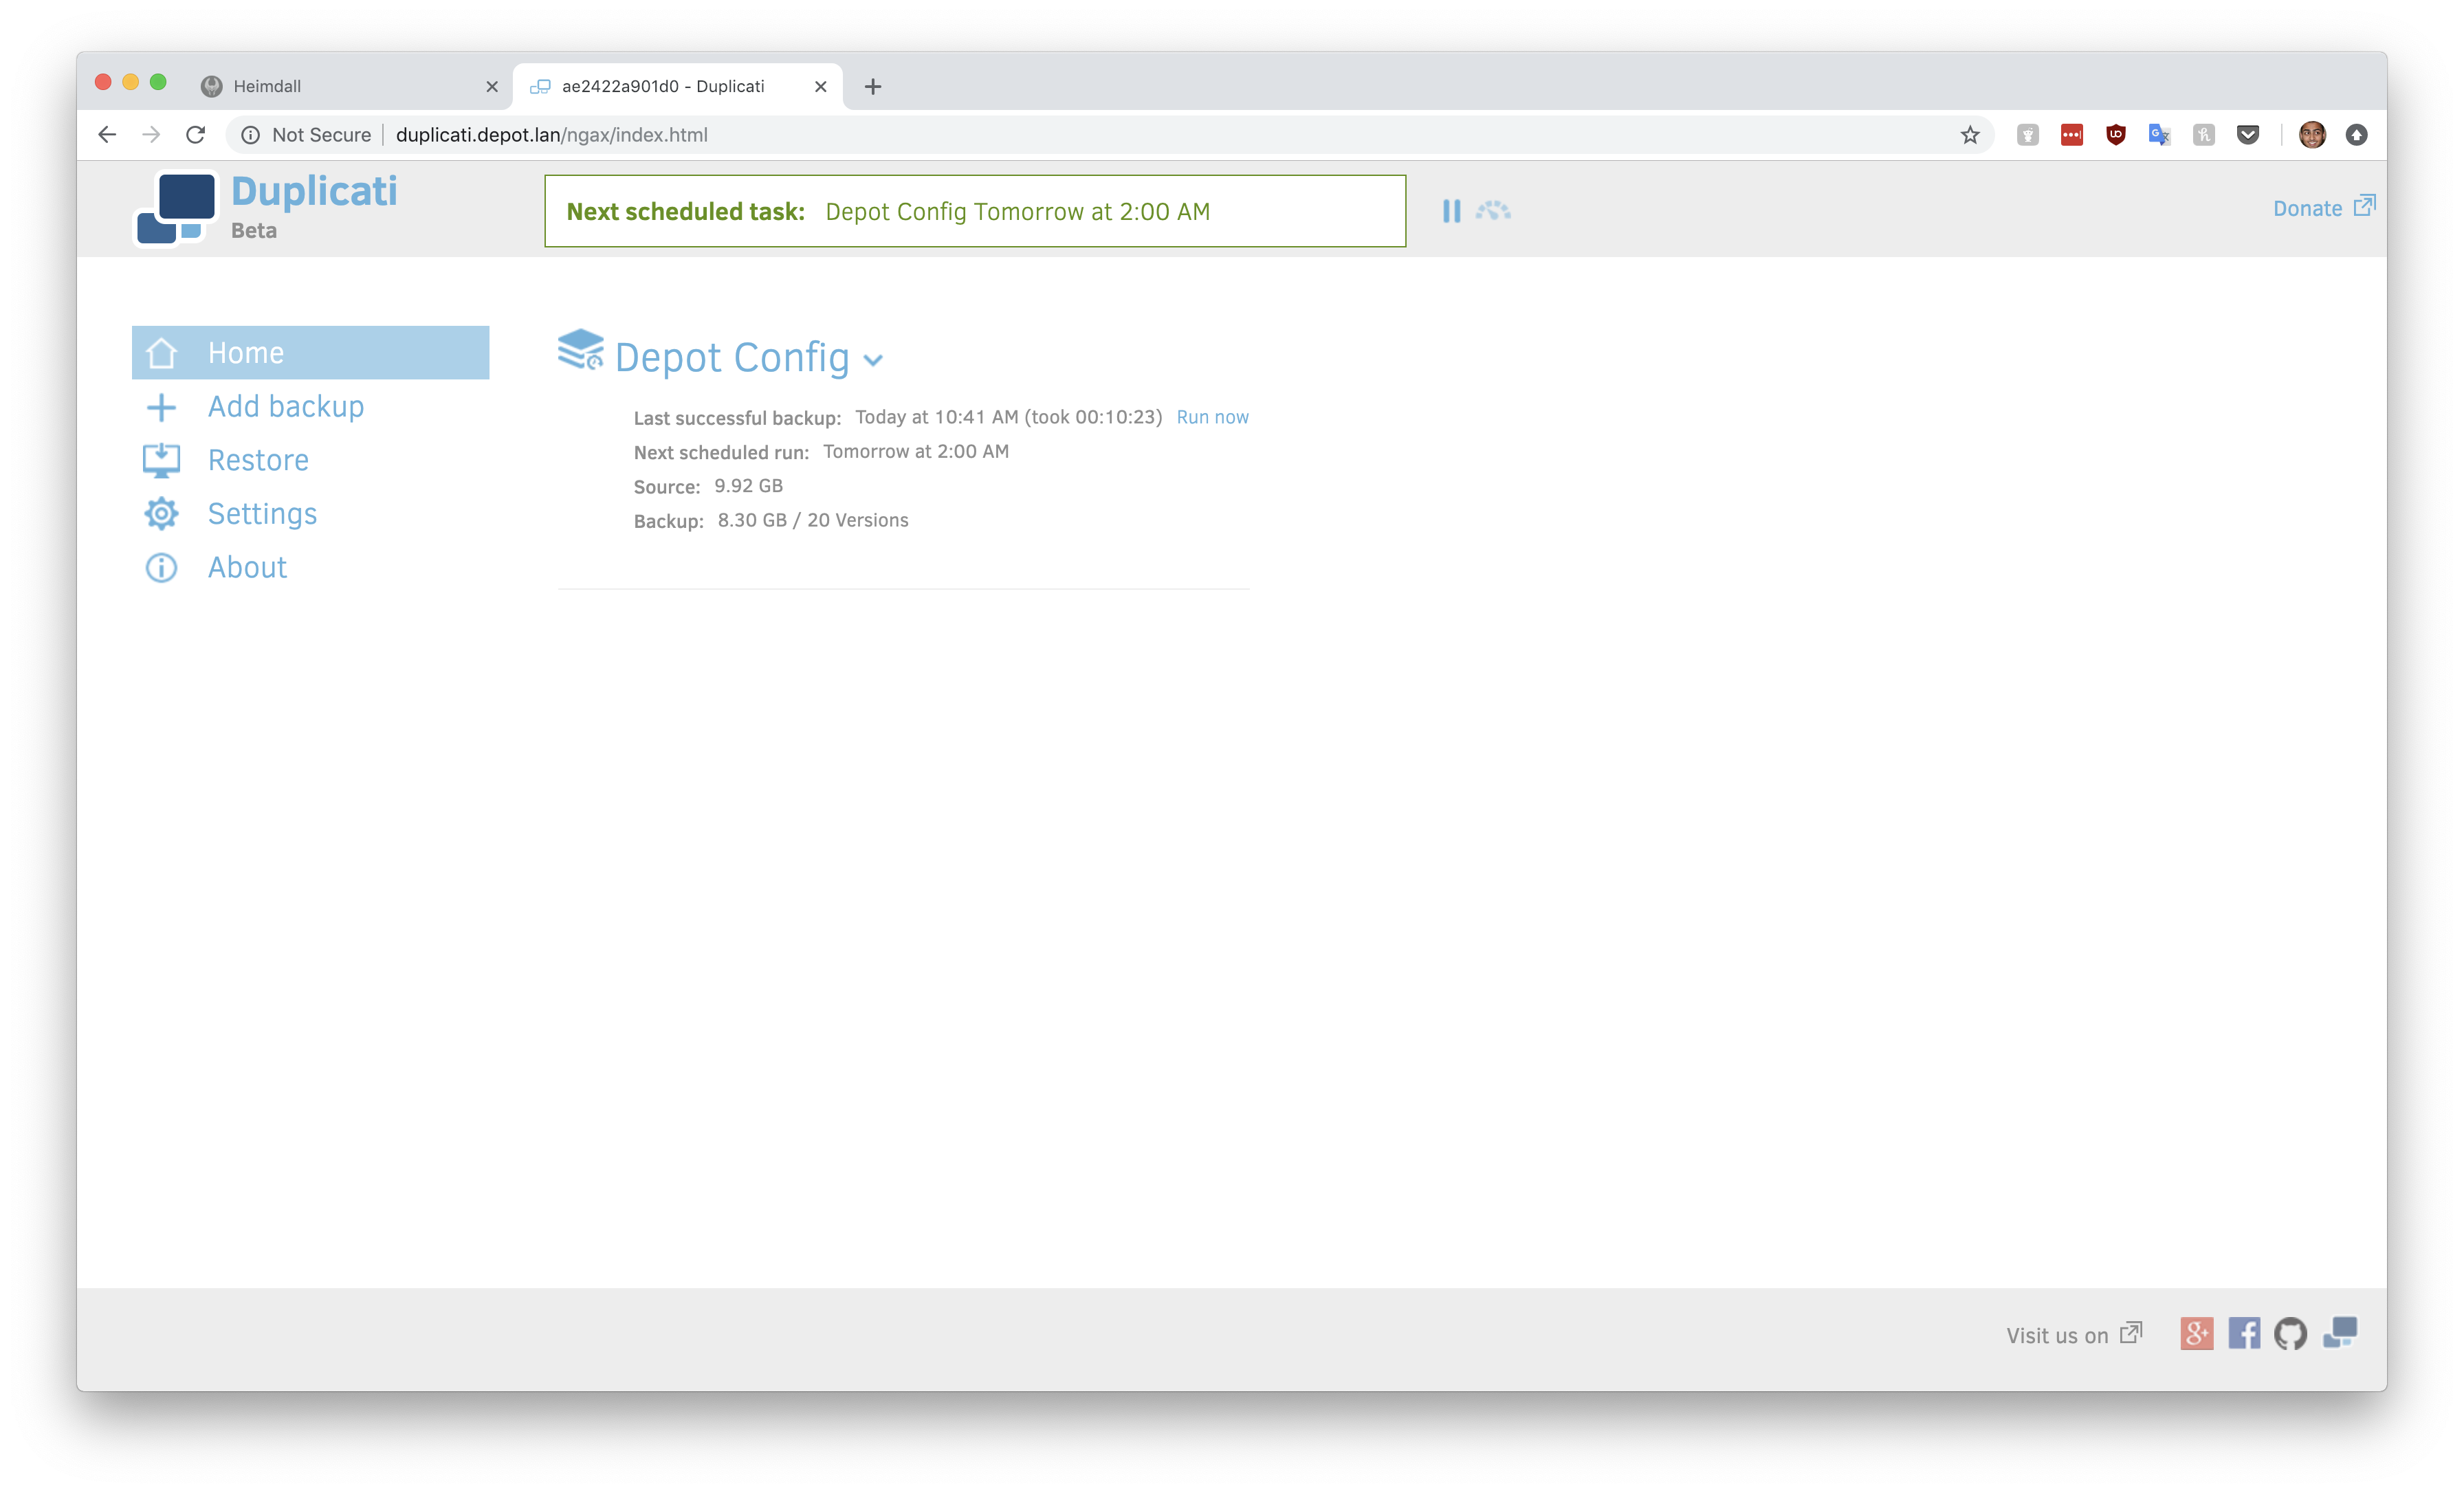
- The server will provide a way to backup application configuration to a secondary location.
The first two items on the list are already done. The hardware chosen in Part 1 was only for a single server. The headless requirement (#2) is solved by the IPMI functionality built into our SuperMicro X11SSL-CF motherboard.
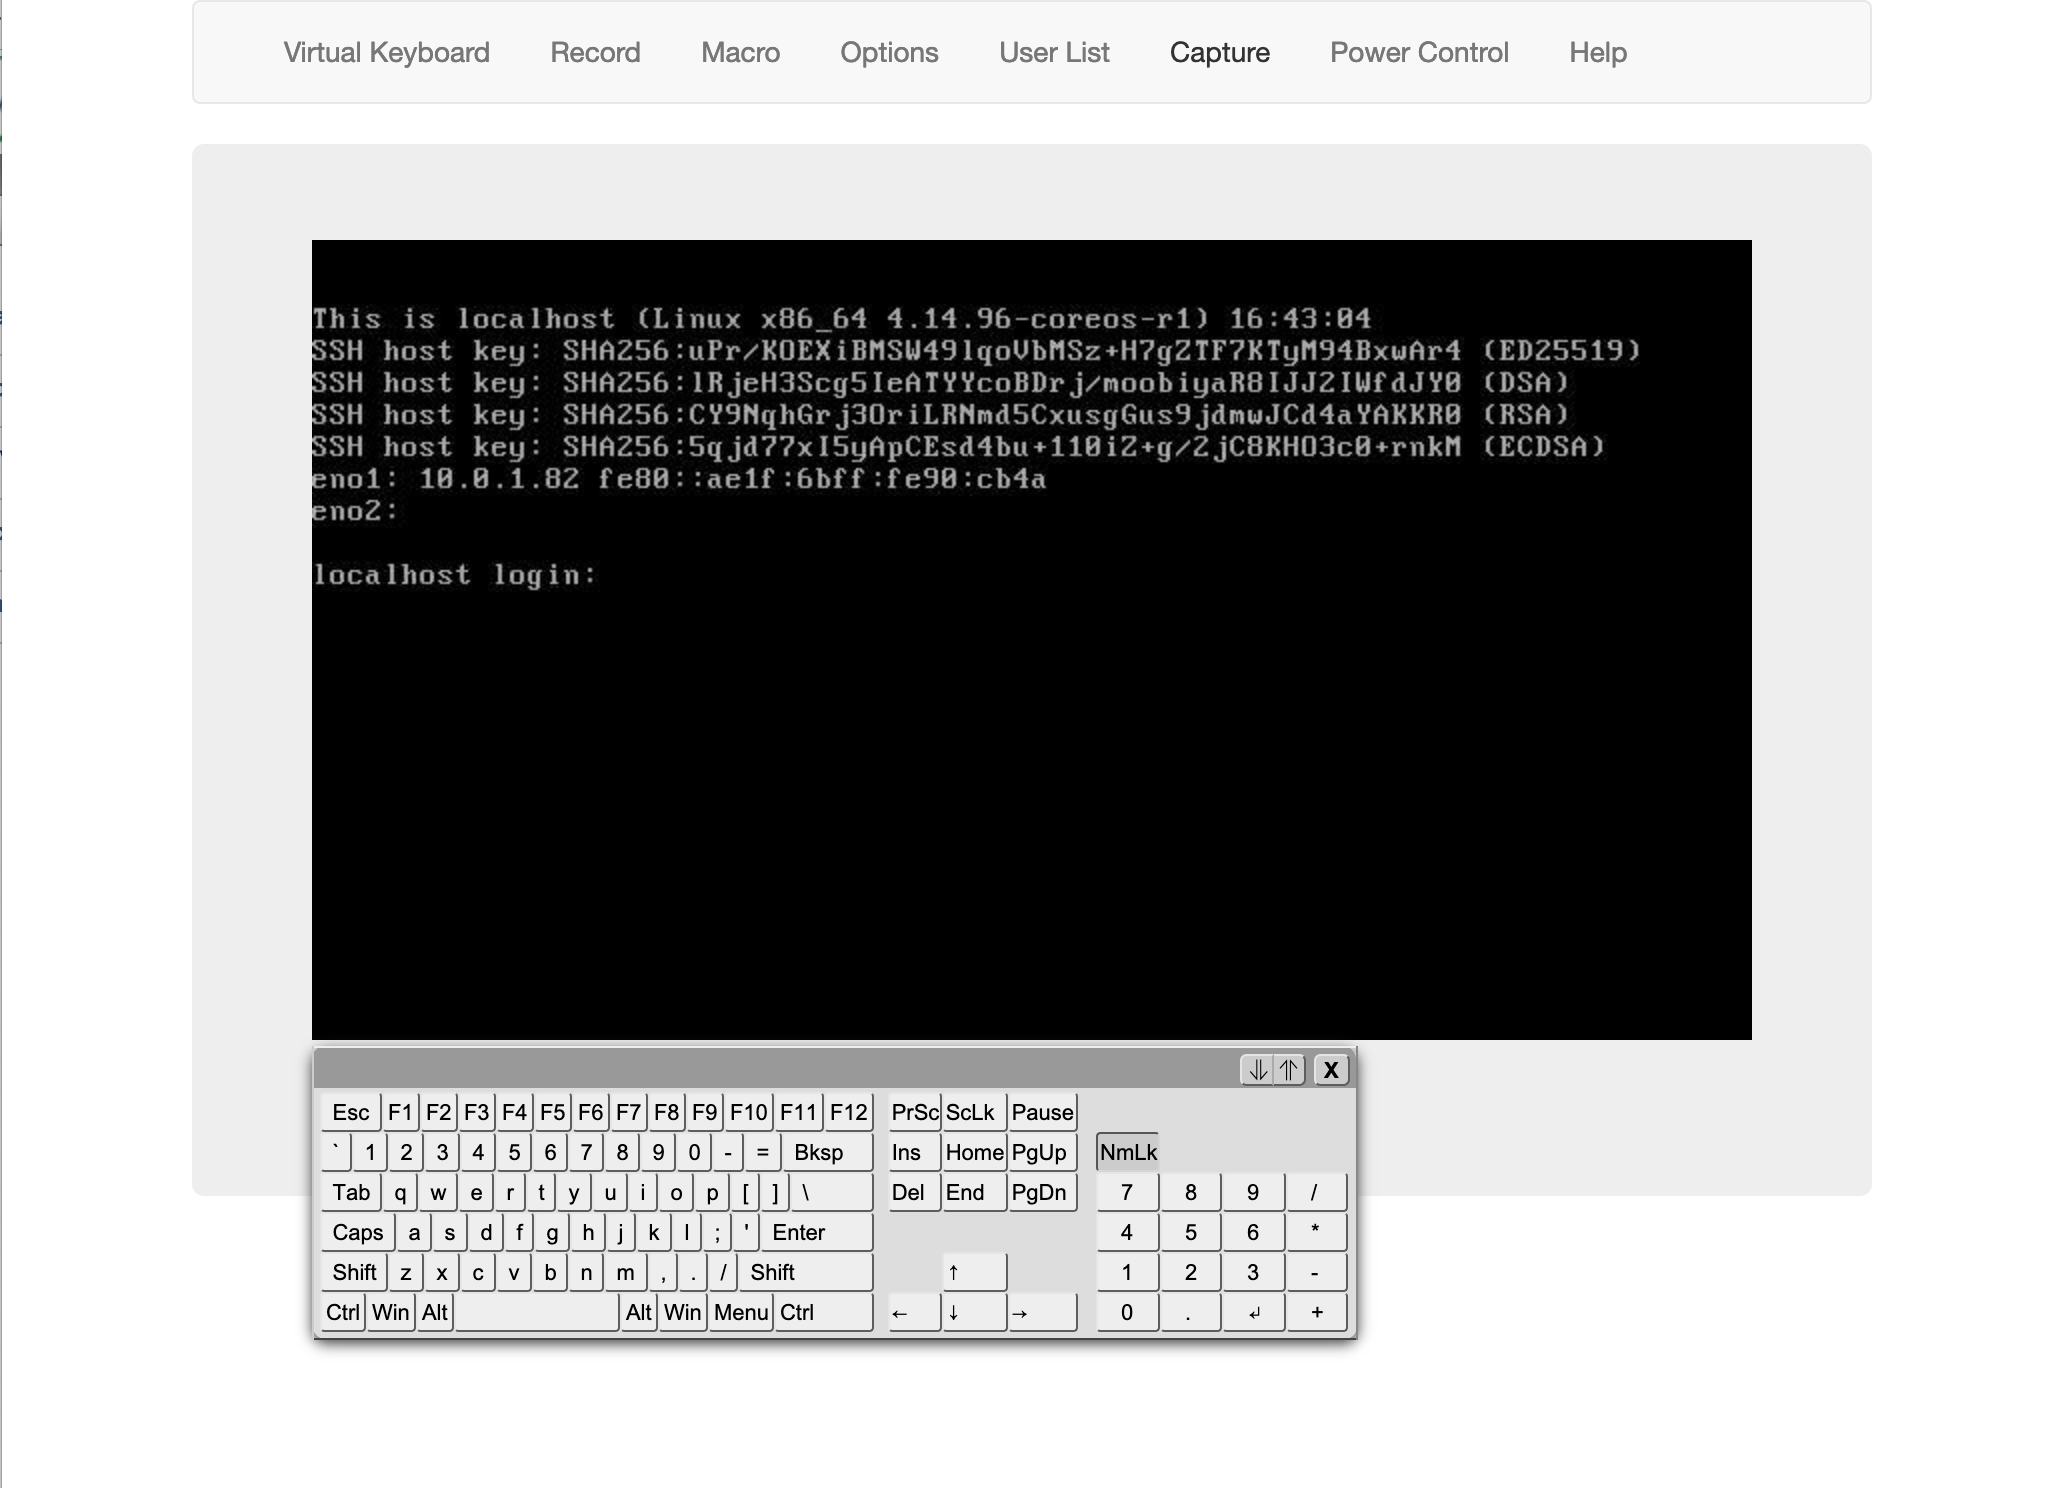
IPMI provides us with the ability to remotely manage the server, including the ability to see what’s “running” on the server using a virtual display + KVM.
CoreOS
Requirement #3 is where this blog post really starts. Rather than going with a traditional virtualization/hypervisor solution like VMWare ESXI or Proxmox, I’m going to evangelize the use of CoreOS Container Linux as the base Operating System for your Home Server
So what is CoreOS?
As an operating system, Container Linux provides only the minimal functionality required for deploying applications inside software containers, together with built-in mechanisms for service discovery and configuration sharing. Container Linux provides no package manager as a way for distributing payload applications, requiring instead all applications to run inside their containers.
https://en.wikipedia.org/wiki/Container_Linux
Basically CoreOS is an incredibly slim Linux OS that is designed to do one thing, and one thing only: run Docker containers. As mentioned in the wikipedia article, CoreOS does not have a package manager and requires that all user applications run in docker containers, drastically reducing the amount of OS maintenance required (#3)
JBOD Storage
This latest iteration of my Home Server follows atleast a half dozen other Home Server’s I’ve built over the years. While I’ve used various software and hardware RAID solutions in the past, it’s been my experience that JBOD (Just-A-Bunch-Of-Drives) solutions work best for home servers.
- JBOD allows you to easily mix-and-match drives, letting your server grow with you.
- Performance & Redundancy may not be as important as Raw Storage & Simplicity for home servers
- While disk failures can result in data loss, you only lose the content of that drive, rather the whole drive array (depending on RAID mode)
While I have played with various JBOD file systems (mhddfs, greyhole, zfs), I’ve found that MergerFS is simple and bulletproof, without any weird file system hacks to get JBOD working.
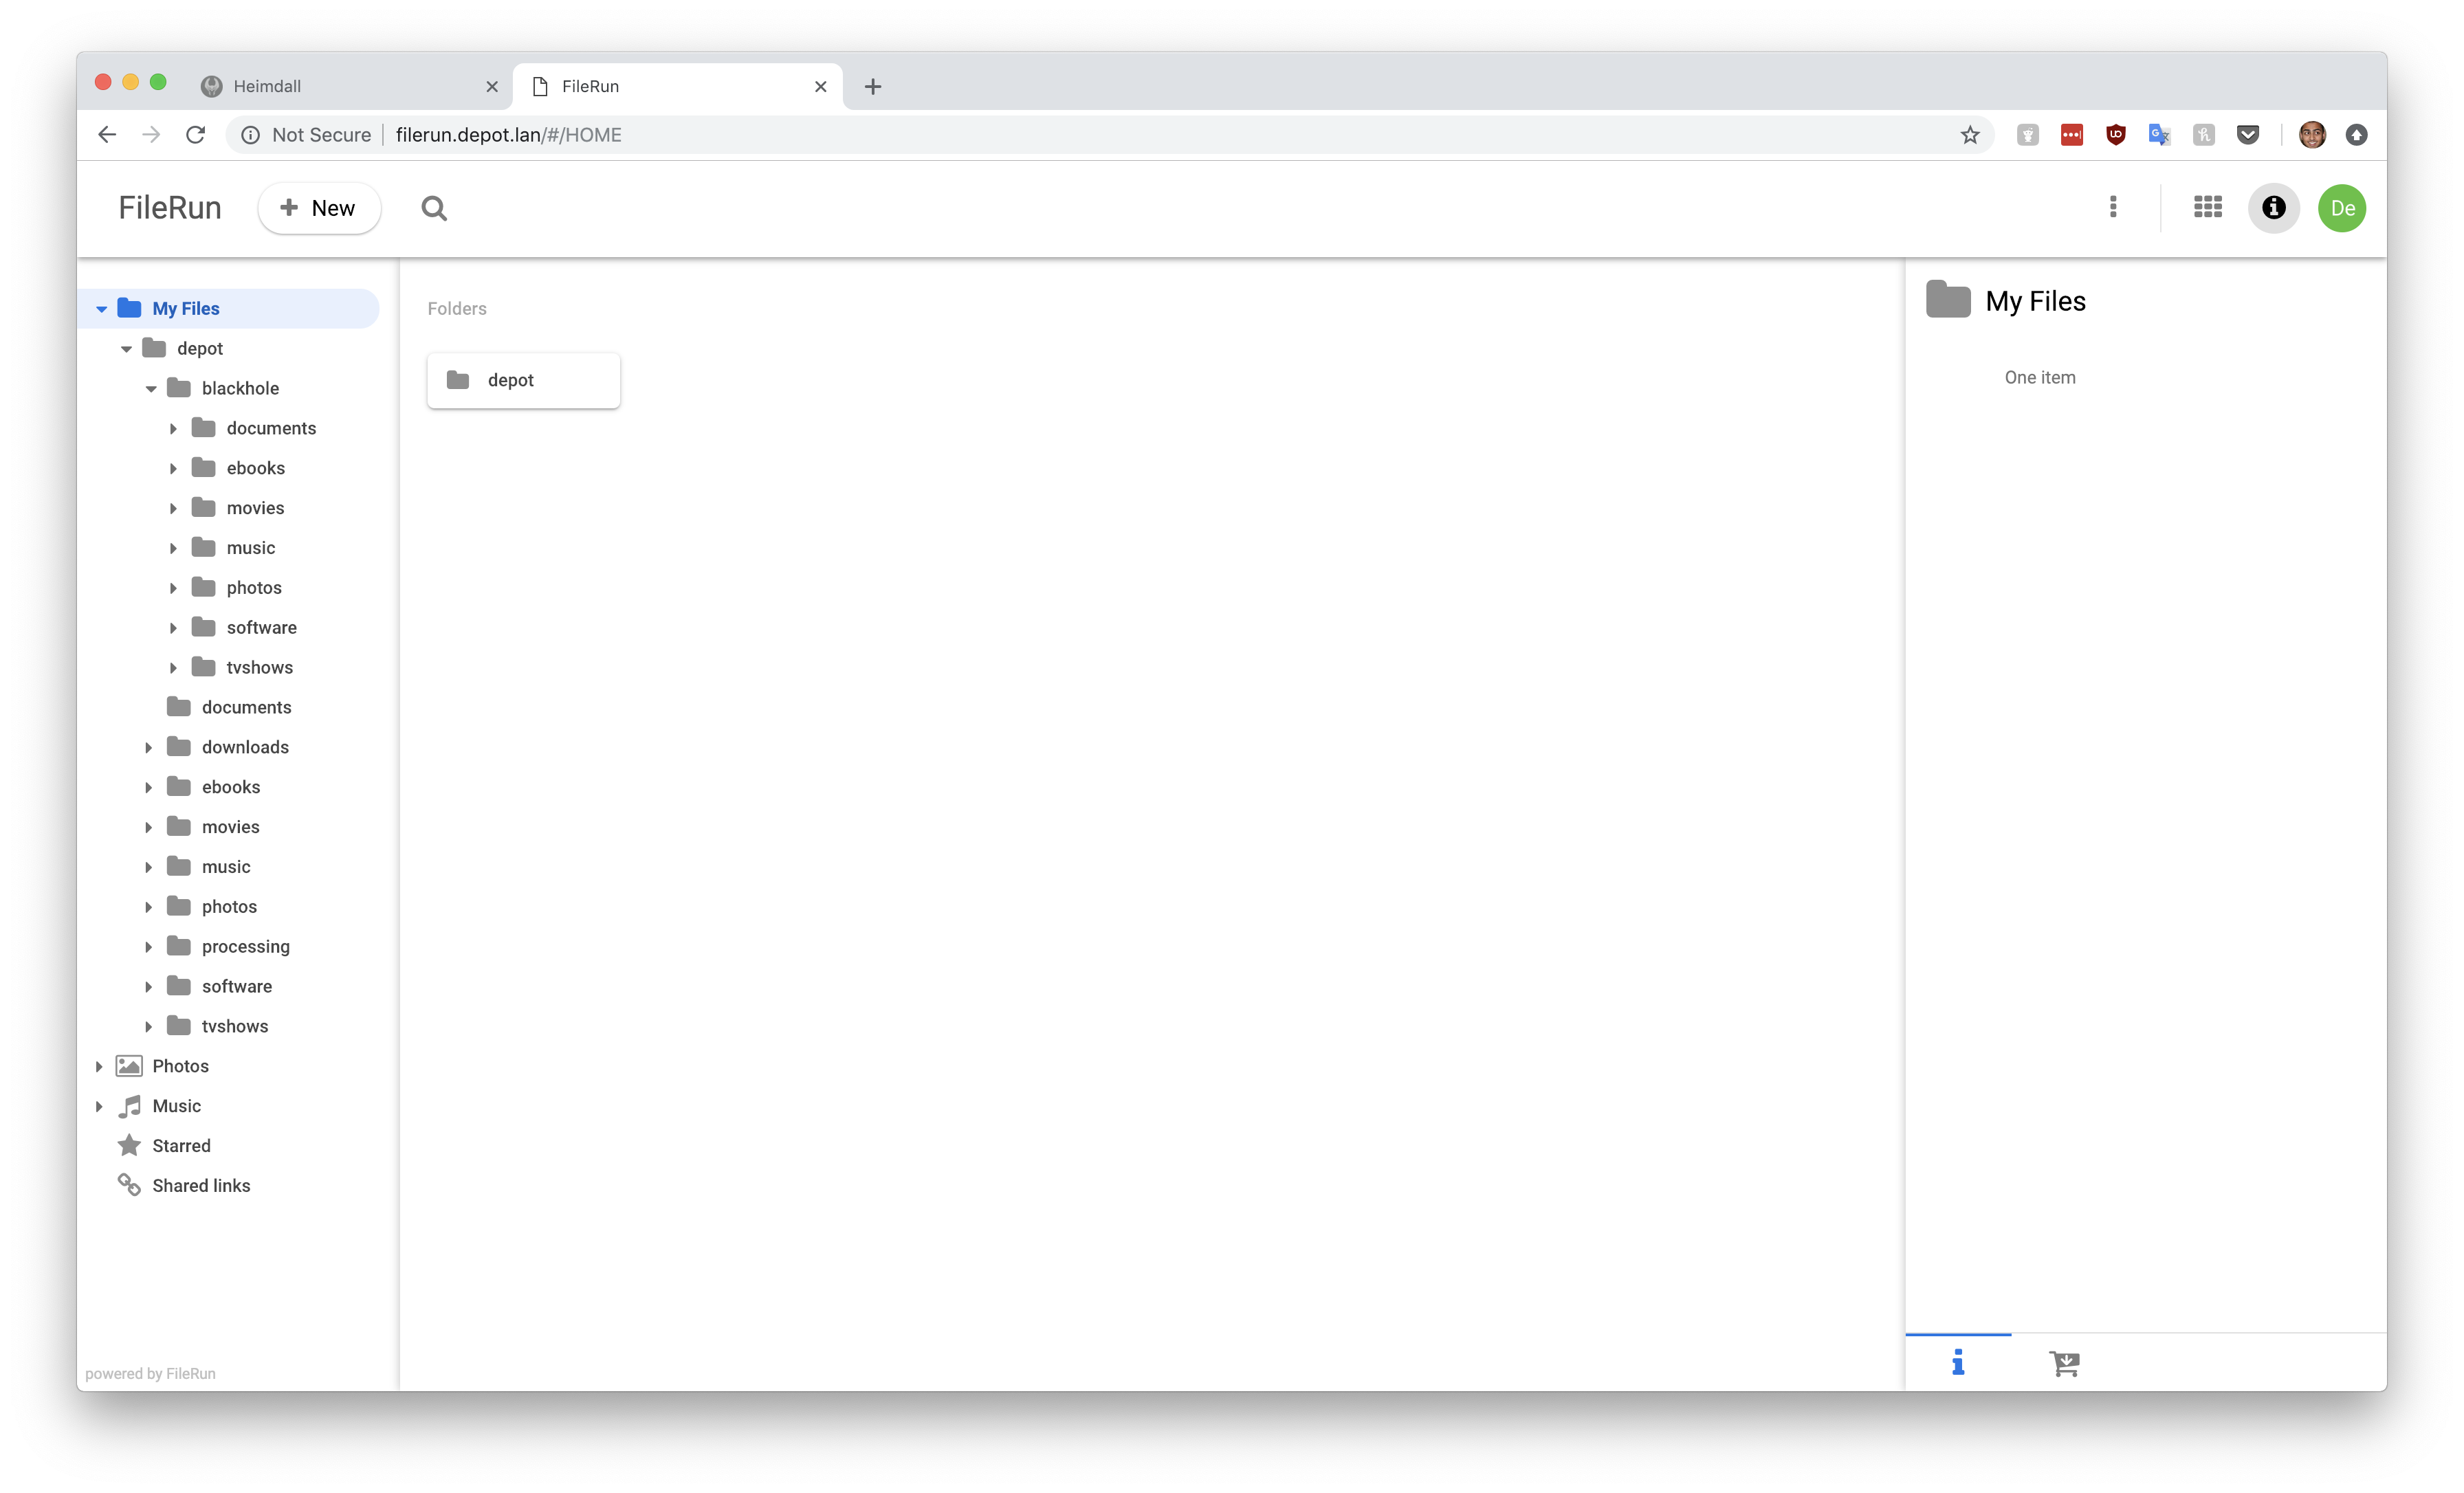
Folder Structure
Next up is finding a folder structure that works for all the data we need to store on our server. While this seems like a fairly trivial problem, once we start using automatic media downloaders like SickChill, CouchPotato, Sonarr & Radarr, things become much more complicated.
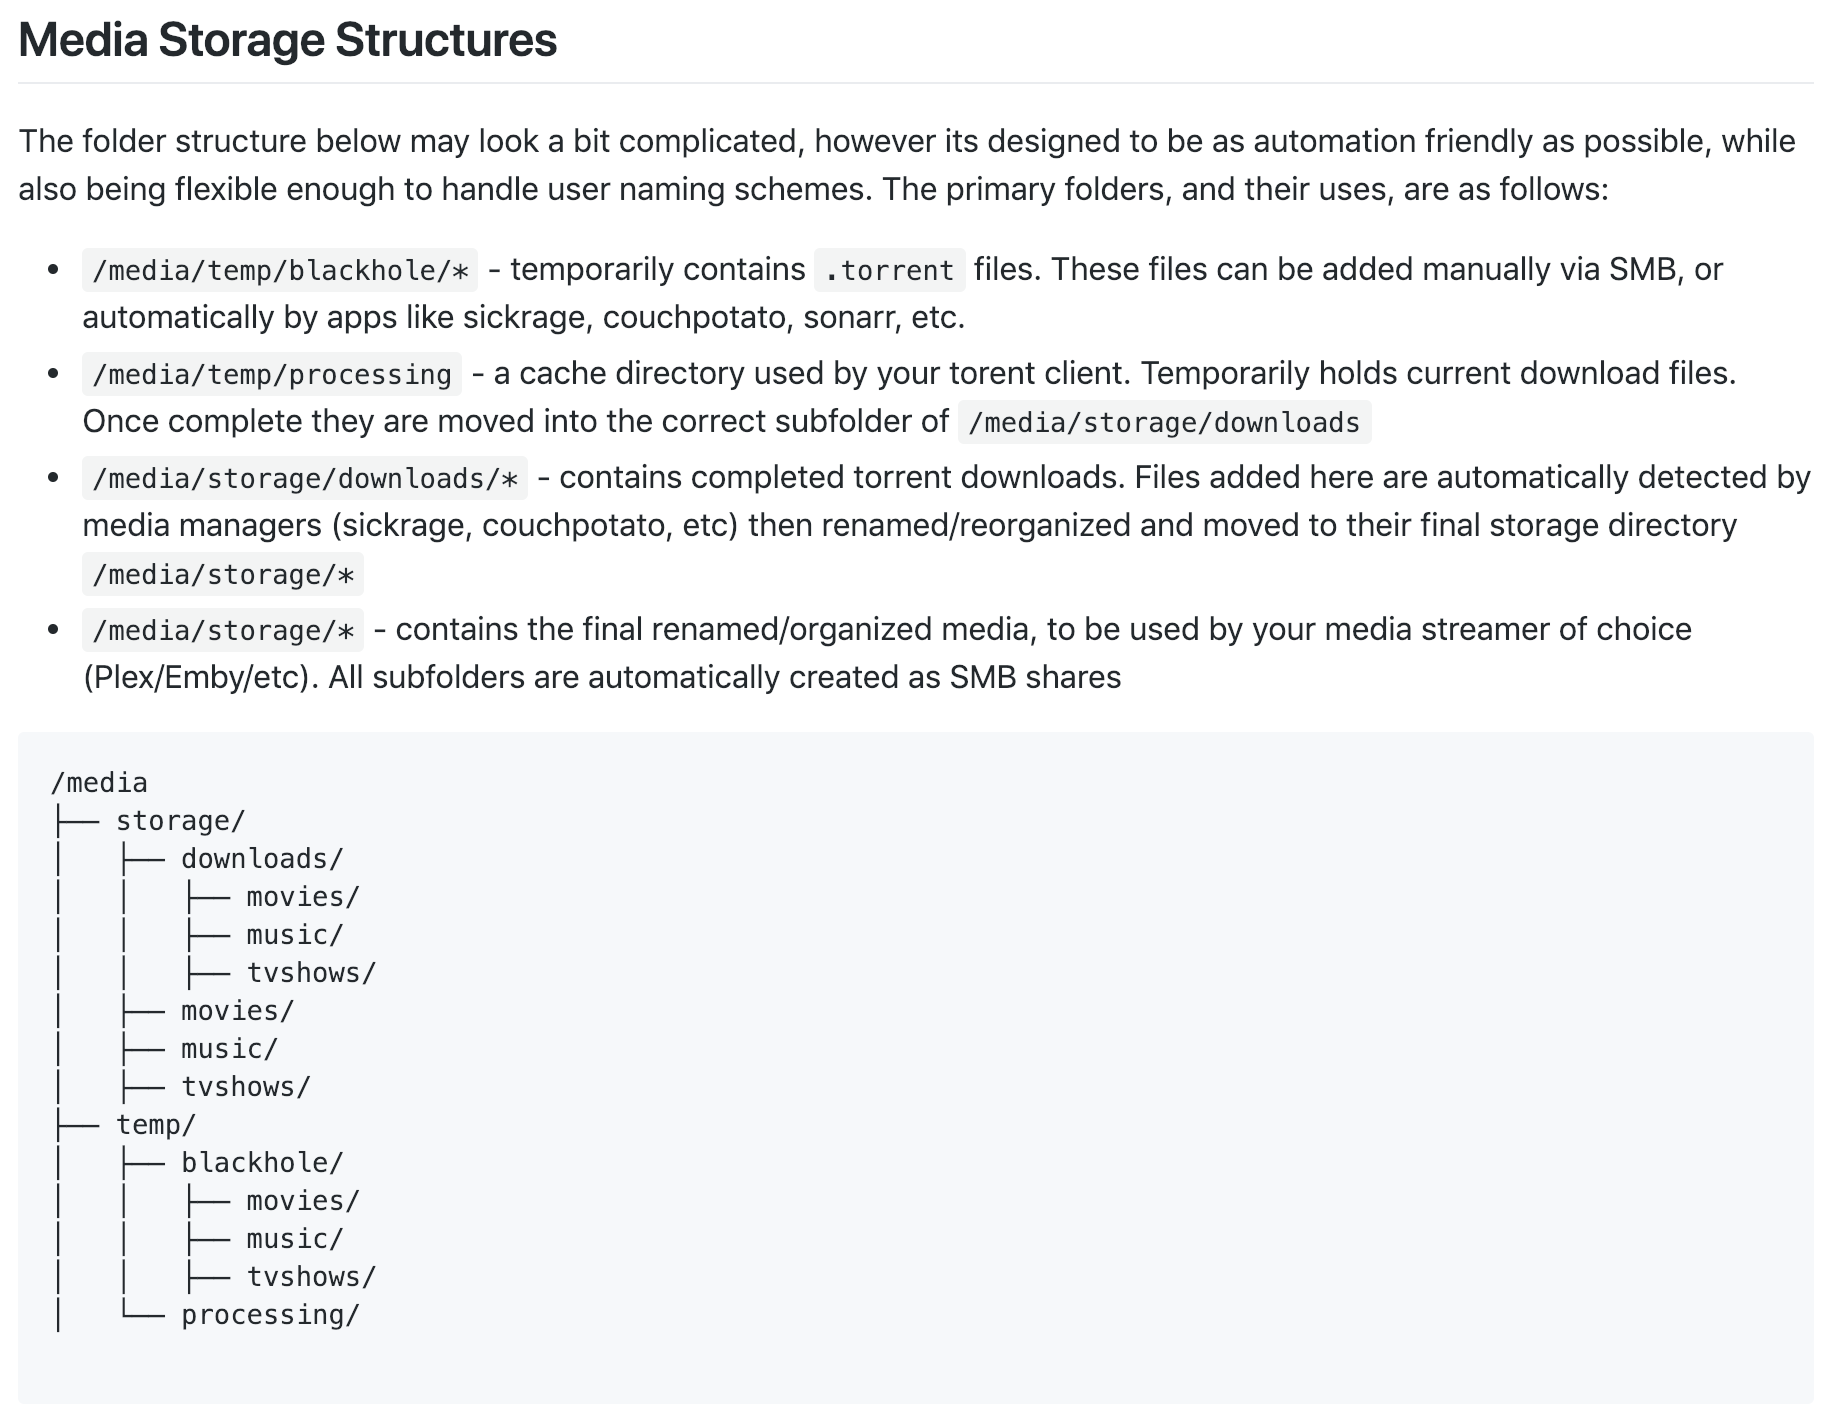
Here’s the structure that I’ve been using for years:
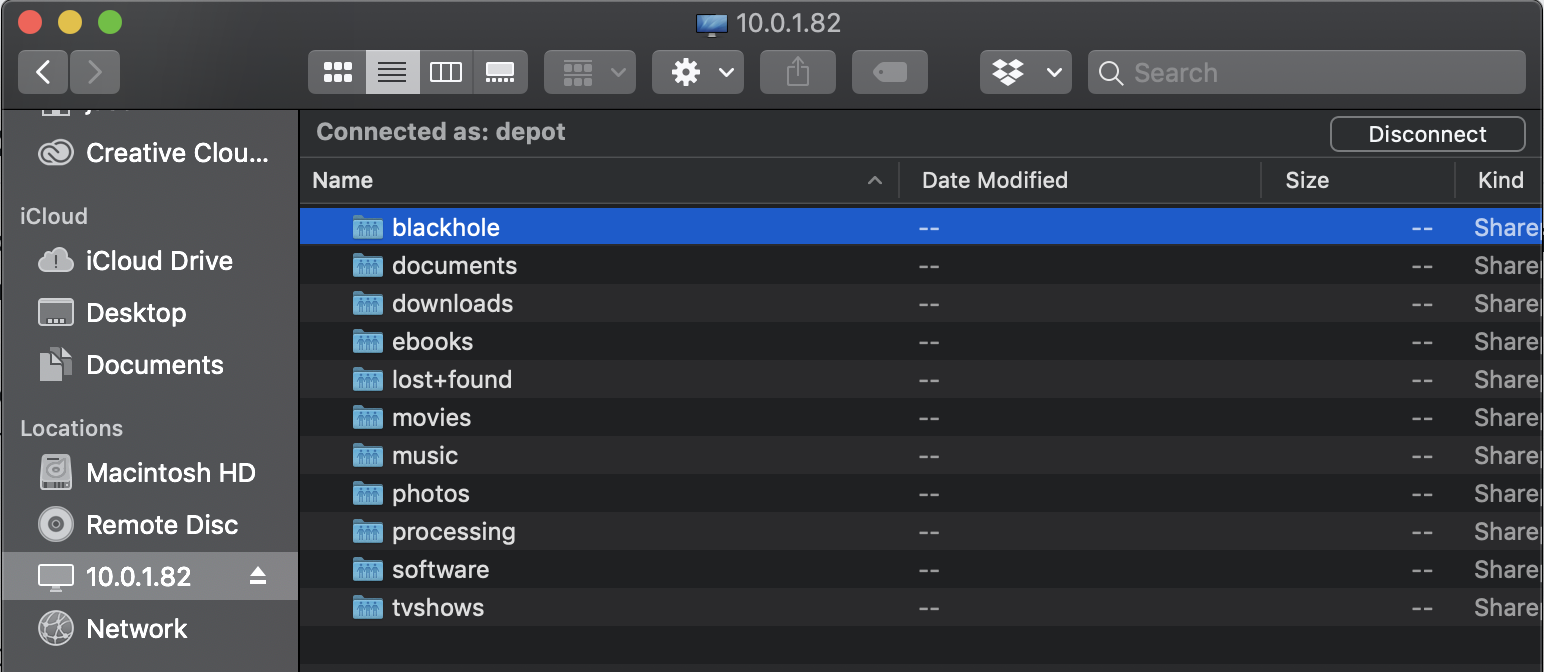
/media/temp/blackhole/*- temporarily contains.torrentfiles. These files can be added manually via SMB, or automatically by apps like sickrage, couchpotato, sonarr, etc./media/temp/processing- a cache directory used by your torent client. Temporarily holds current download files. Once complete they are moved into the correct subfolder of/media/storage/downloads/media/storage/downloads/*- contains completed torrent downloads. Files added here are automatically detected by media managers (sickrage, couchpotato, etc) then renamed/reorganized and moved to their final storage directory/media/storage/*/media/storage/*- contains the final renamed/organized media, to be used by your media streamer of choice (Plex/Emby/etc). All subfolders are automatically created as SMB shares
/media
├── storage/
│   ├── downloads/
│   │   ├── movies/
│   │   ├── music/
│   │   ├── tvshows/
│   ├── movies/
│   ├── music/
│   ├── tvshows/
├── temp/
│   ├── blackhole/
│   │   ├── movies/
│   │   ├── music/
│   │   ├── tvshows/
│   └── processing/
This structure is automation friendly, easy to manage via the commandline, and customizable.
Monitoring
While Corporate and Enterprise monitoring solutions have a lot of features, for a home server I’ve found that theres really only 3 things that I need:
- a nice light-weight dashboard that tracks CPU, Disk & Memory usage
- a way to track the S.M.A.R.T health status of my storage disks (and get notified if something has changed)
- a way to manage the Dockerized applications running on my server, and restart/update them if necessary
While Graphana + Prometheus solutions are common for generating nice server dashboards, it’s not quite as light-weight as I like. Netdata is extremely light-weight, extensible, gorgeous, and works out of the box.
On Linux, the defacto standard for S.M.A.R.T disk monitoring is smartmontools, so that’s an easy choice. With a bit of customization, we can also get notifications via PushBullet or PushOver.
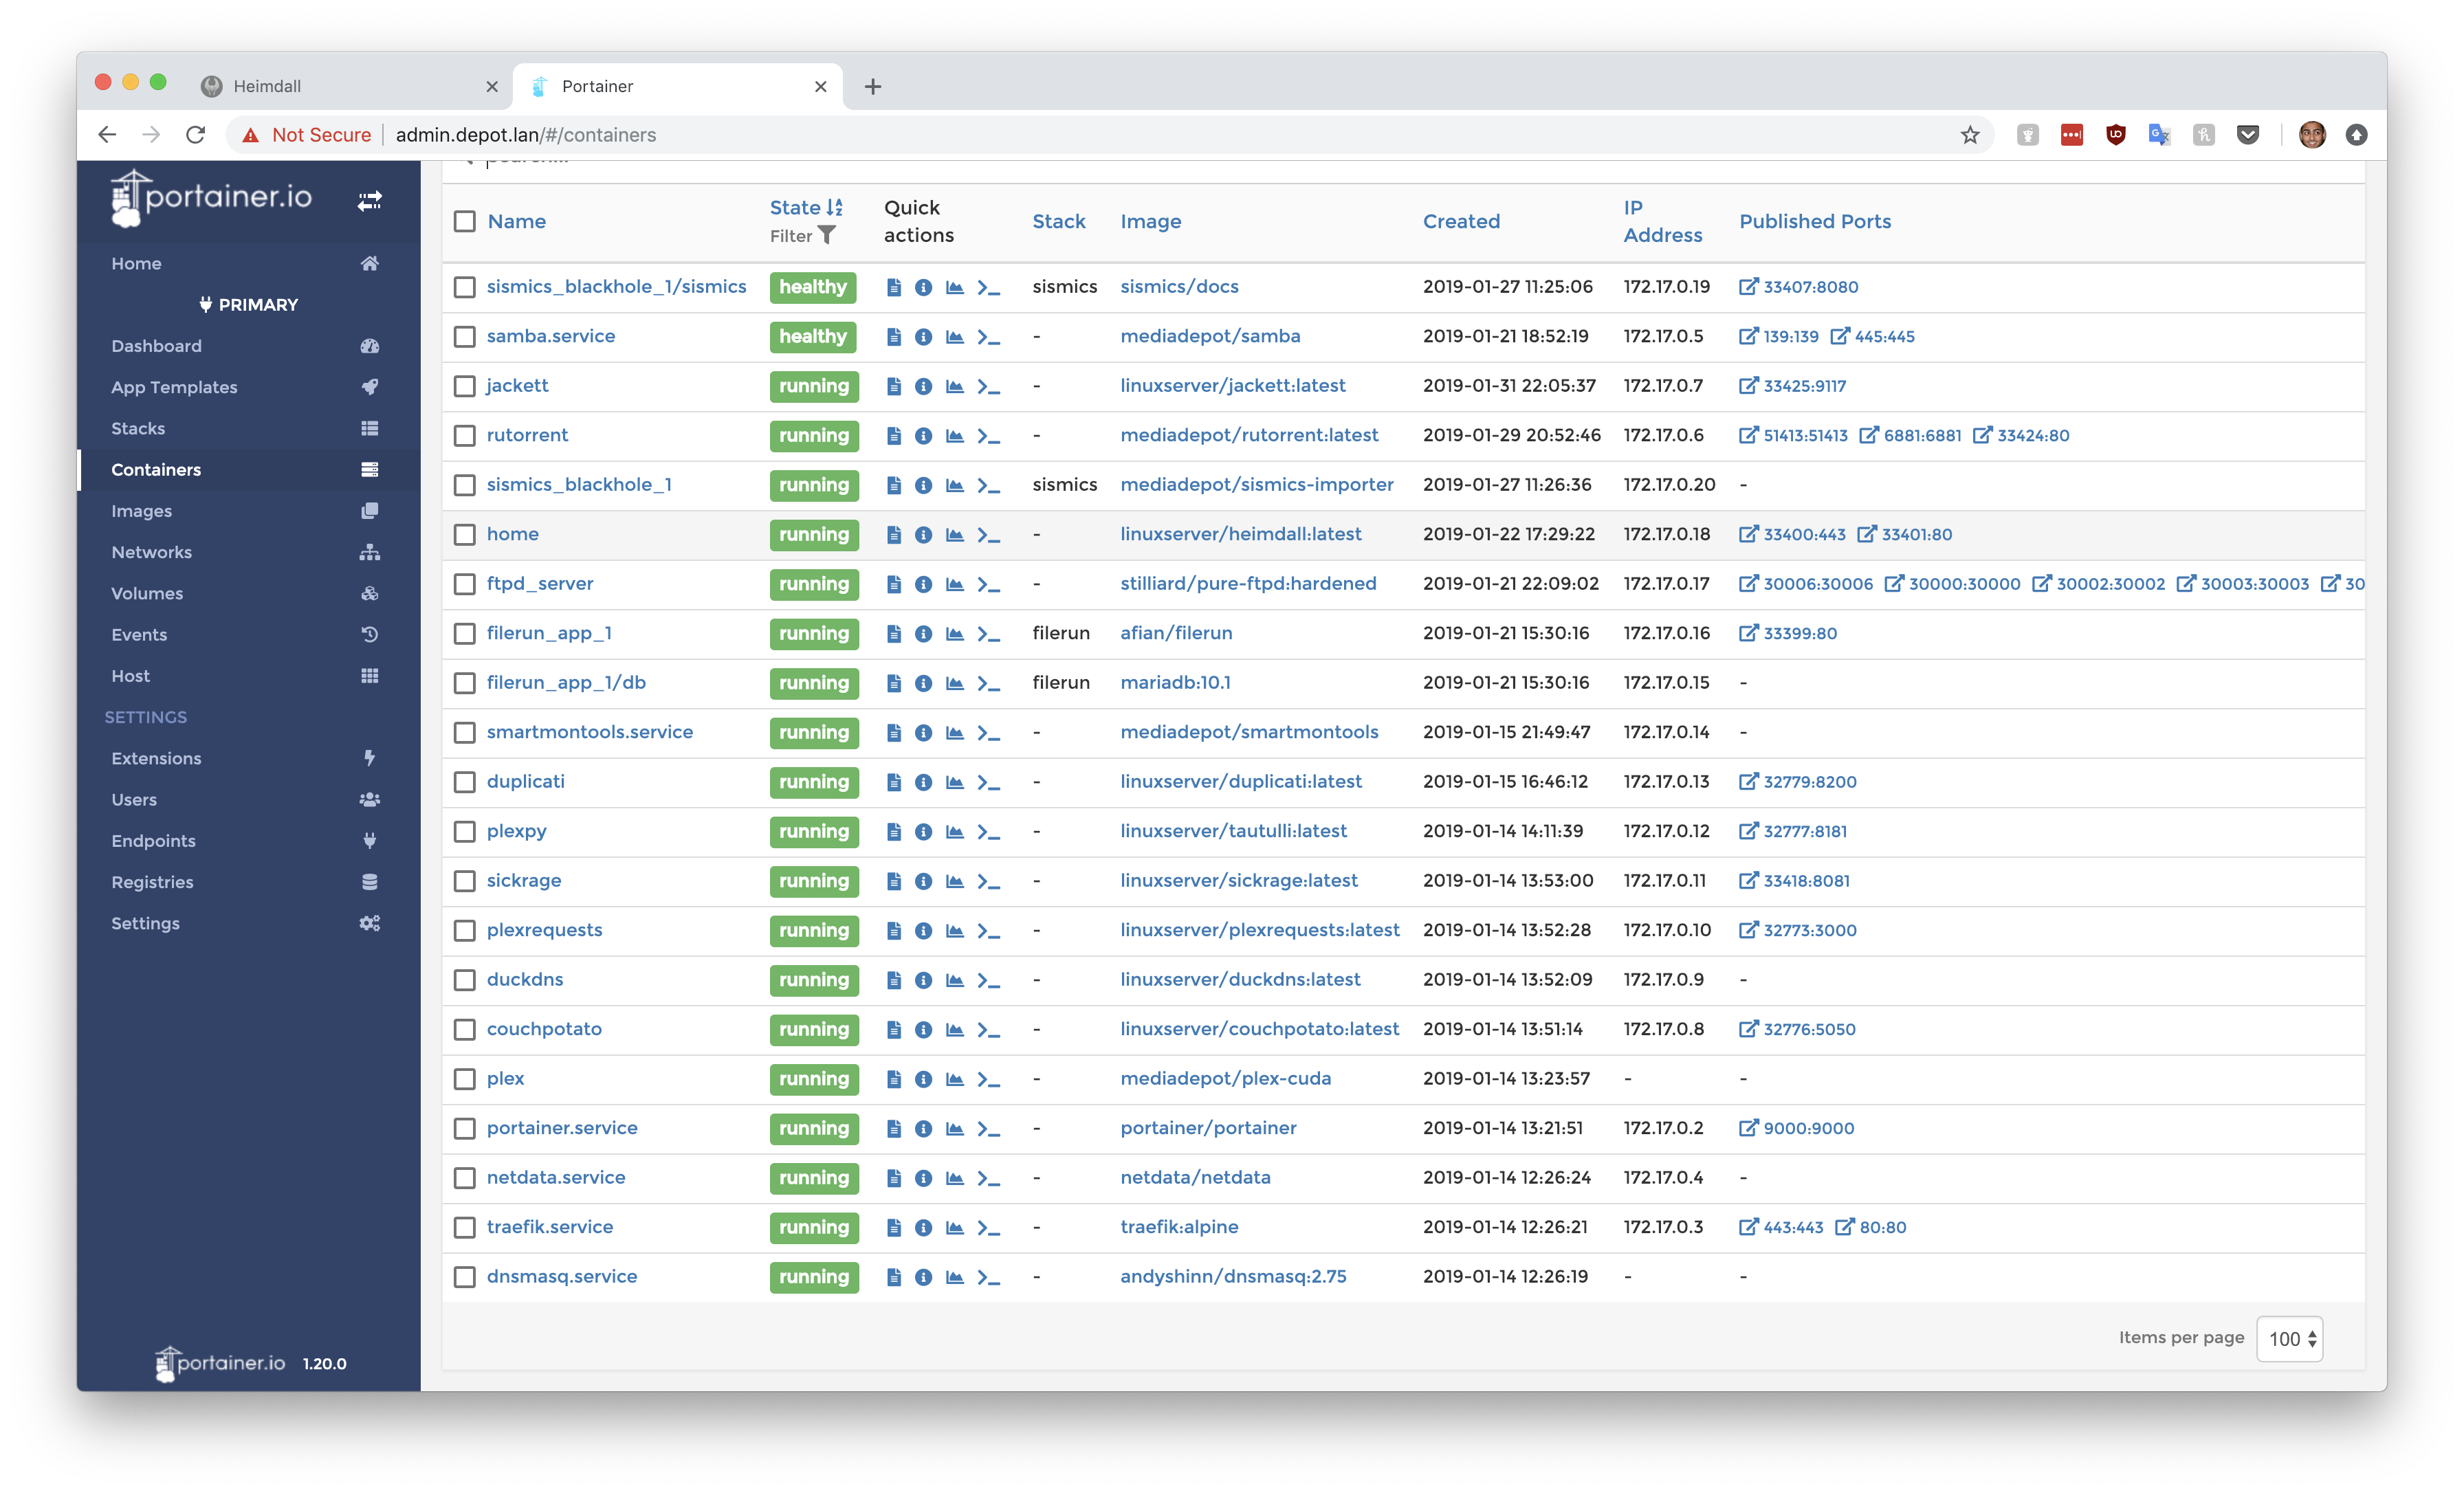
Finally, we’ll need a Docker manager with a web interface that we can use to remotely manage our Dockerized applications. Once again, there’s alot of alternatives, but there’s only one that has the functionality that want with the lightweight footprint that I desire: Portainer
Routing & Subdomains
Subdomains is a quality of life improvement that becomes almost a necessity when you’re running more than 3 or 4 services on your server.
Remembering sickrage.depot.lan and couchpotato.depot.lan is much more reasonable than 10.0.1.100:54338 and 10.0.1.100:54221.
Having those subdomains map automatically to the relevant Docker container is the responsibility of a reverse proxy called Traefik
Once configured it’ll automatically watch for new (or updated) Docker containers and automatically assign them a subdomain.
No more ports.
Routing is a bit more complicated. Now that you have these nice subdomains for applications on your server, how do you tell all your devices (including phones, laptops, tablets, etc) that these new websites exist on your home network rather than the internet?
Traditionally you’d need to update your OS host file (located at /etc/hosts or c:\Windows\System32\Drivers\etc\hosts) with
a new entry per domain, but that gets old fast, and doesn’t really work for locked down mobile devices like Tablets & Phones.
The solution here is to run a tiny (notice a pattern here?) DNS service on the server. This DNS service is configured to
capture all requests for *.depot.lan and respond with the server’s IP address, while redirecting all other DNS requests to
the public internet.
Unlike the hosts file, DNS configuration is user customizable even on mobile & tablet devices. Now all we need to do is update our devices to use this new DNS service. It introduces a bit of latency, but thankfully most mobile devices (laptops/tables/phones) configure DNS on a network by network basis, meaning your custom DNS service will only be activated when your on your home network.
Installation
If you’ve been following along so far (or skipped ahead), you may have noticed a significant lack of code snippets or instructions for how to get this all setup.
You’re in luck. All the steps required to customize a CoreOS based Home Media Server as I’ve described are codified in an Ignition project.
It’s all open source, and MIT licensed. Feel free to fork it, or add any features you think might be relevant, I’m open to PR’s.
If you’re not familiar with Ignition, its the official configuration management solution for CoreOS. You can take the configuration I wrote and customize it for your needs. In addition the Ignition configuration references each feature separately, so you can disable any features that are irrelevant to your installation.
Once you’ve modified the ignition.yaml file, you’ll need to “transpile” it to a JSON format that ignition actually understands. To do that, you’ll need to install the Container Linux Config Transpiler, but we’ll just use a simple Docker image with the Config Transpiler pre-installed.
docker run --rm -v $(pwd):/data keinos/coreos-transpiler ct -strict -pretty -in-file /data/ignition.yaml -out-file /data/ignition.json -files-dir=/data/files/ -platform=custom
With that all out of the way, lets get into the installation steps.
- Download bootable CoreOS image from https://coreos.com/os/docs/latest/booting-with-iso.html
- Create bootable USB/CD with contents of CoreOS image
- Start server and boot from CoreOS USB/CD.
- Determine the OS installation disk
sudo fdisk -l # note, the boot disk will probably be /dev/loop0 - Copy the ignition.json config bootstrap file that you created earlier to the file system (using CURL, or another USB)
- Begin CoreOS installation on specified disk, NOTE: specified disk will be reformatted
sudo coreos-install -d /dev/sda -C stable -i ignition.json - On installation completion, remove bootable USB/CD
- Restart server
- Wait for CoreOS to start and
cloud-initprocess to complete. - Go to
http://admin.depot.lanto see Portainer dashboard and begin setup.
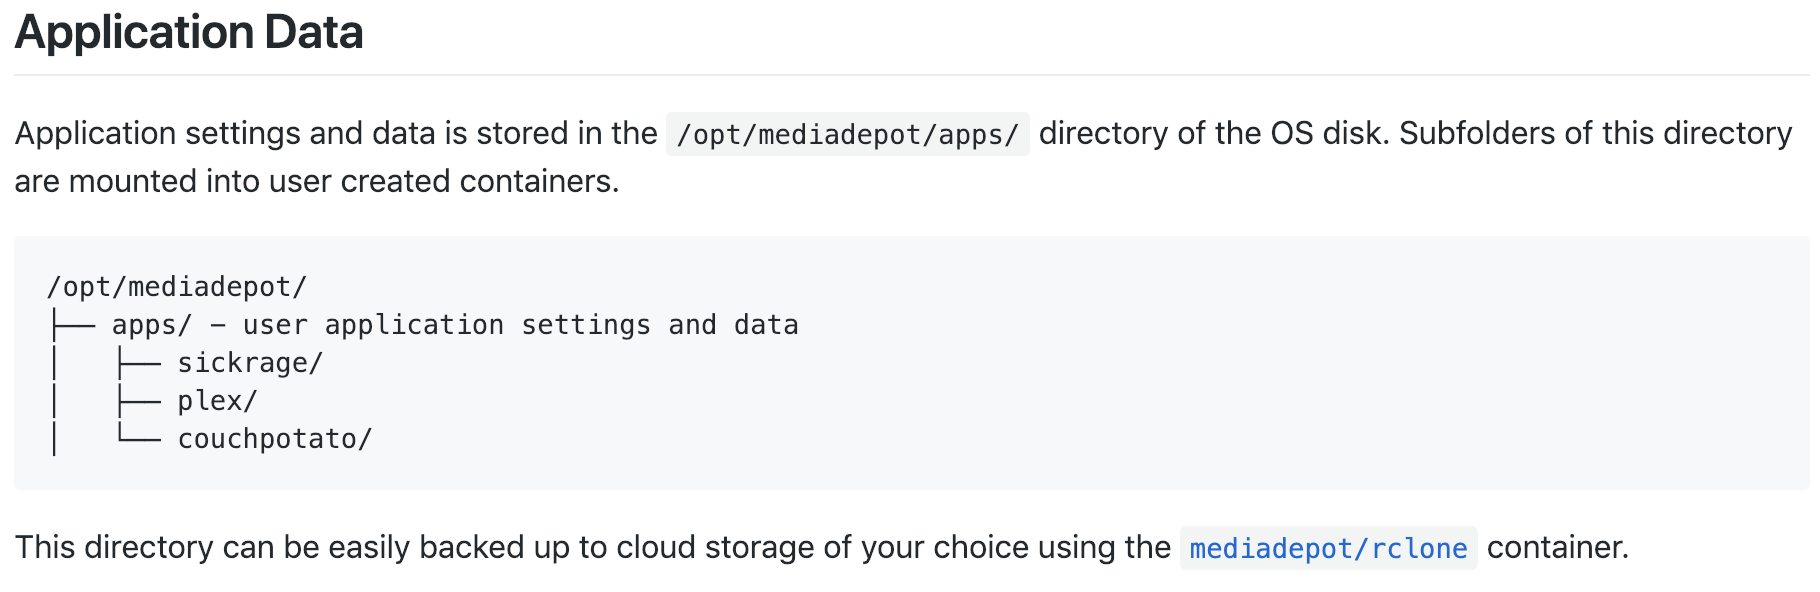
I’ve been drinking the Docker kool-aid for years, and as a configuration management & deployment tool it’s only gotten better and more popular.